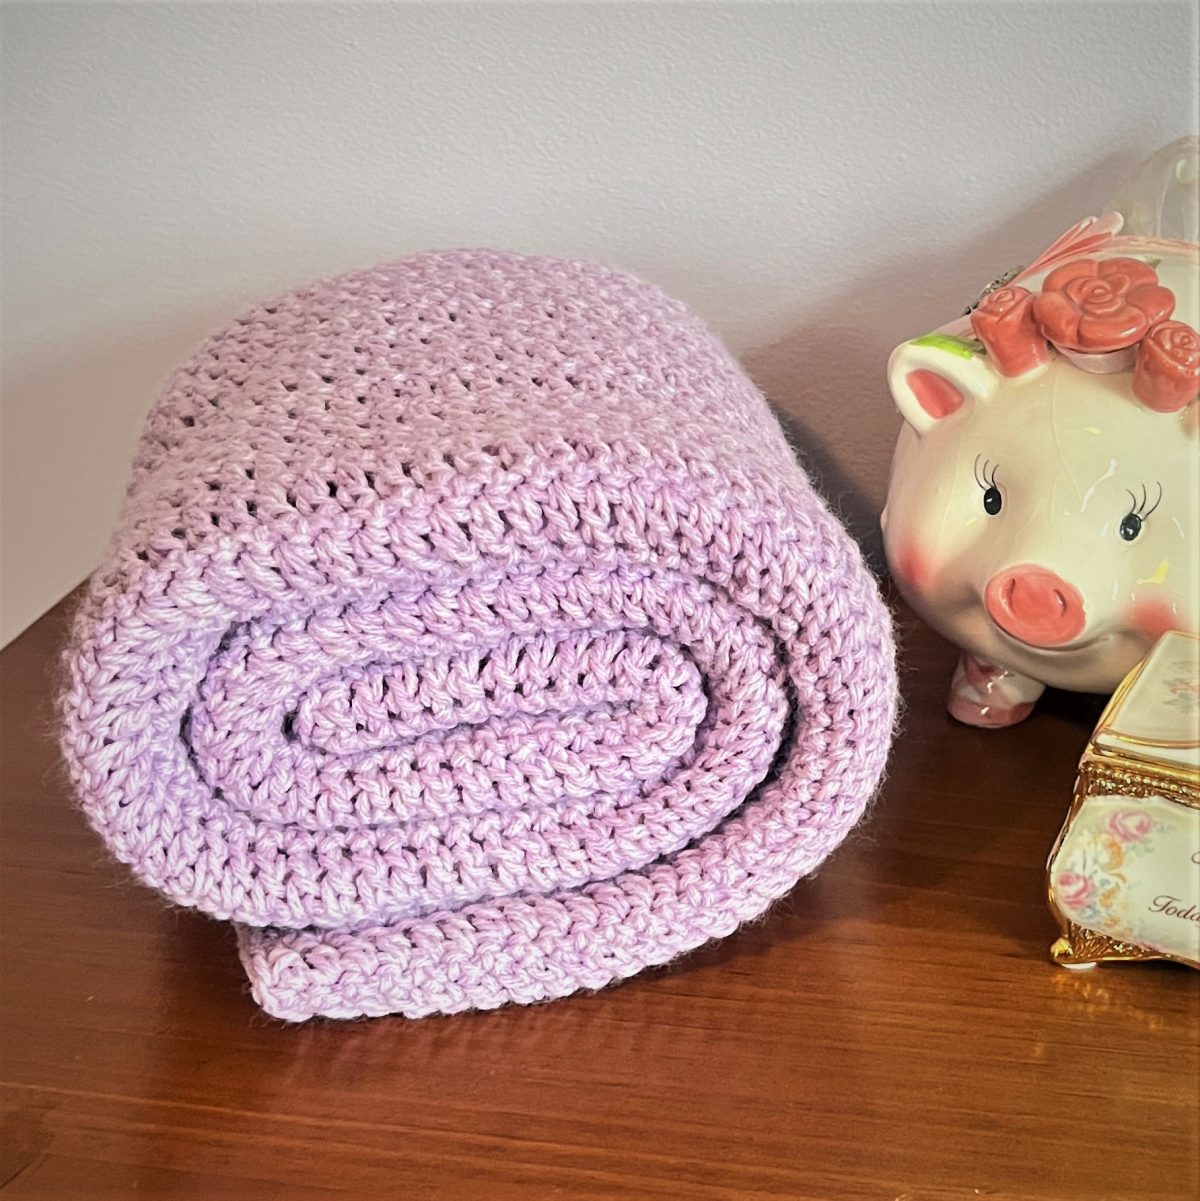
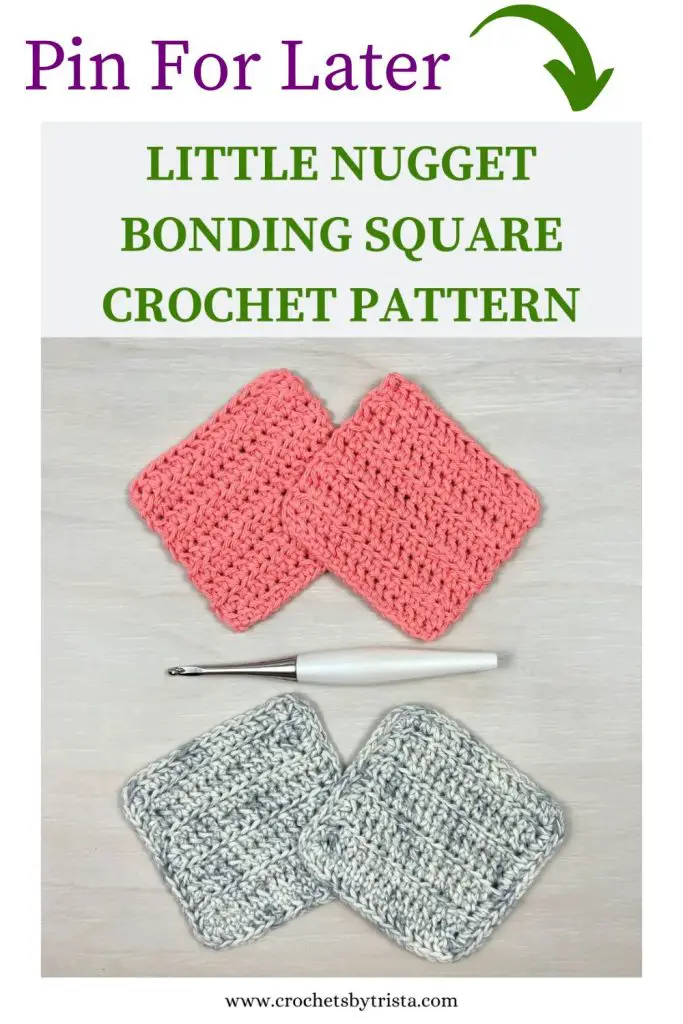
The Little Nugget Bonding Square is a easy to follow free crochet pattern that can be made quickly as a gift to a preemie baby’s family.
****Post contains affiliate links – which means if you make a purchase from the links below, I will get a small percentage of the sales at no additional cost to you****
What is a bonding square?
Bonding squares are used by parents with newborn preemie babies in the NICU. The parent wears one square on their body for a few hours for the fabric to absorb their scent. The square is then placed in with the baby. The baby then learns the scent of the parent.
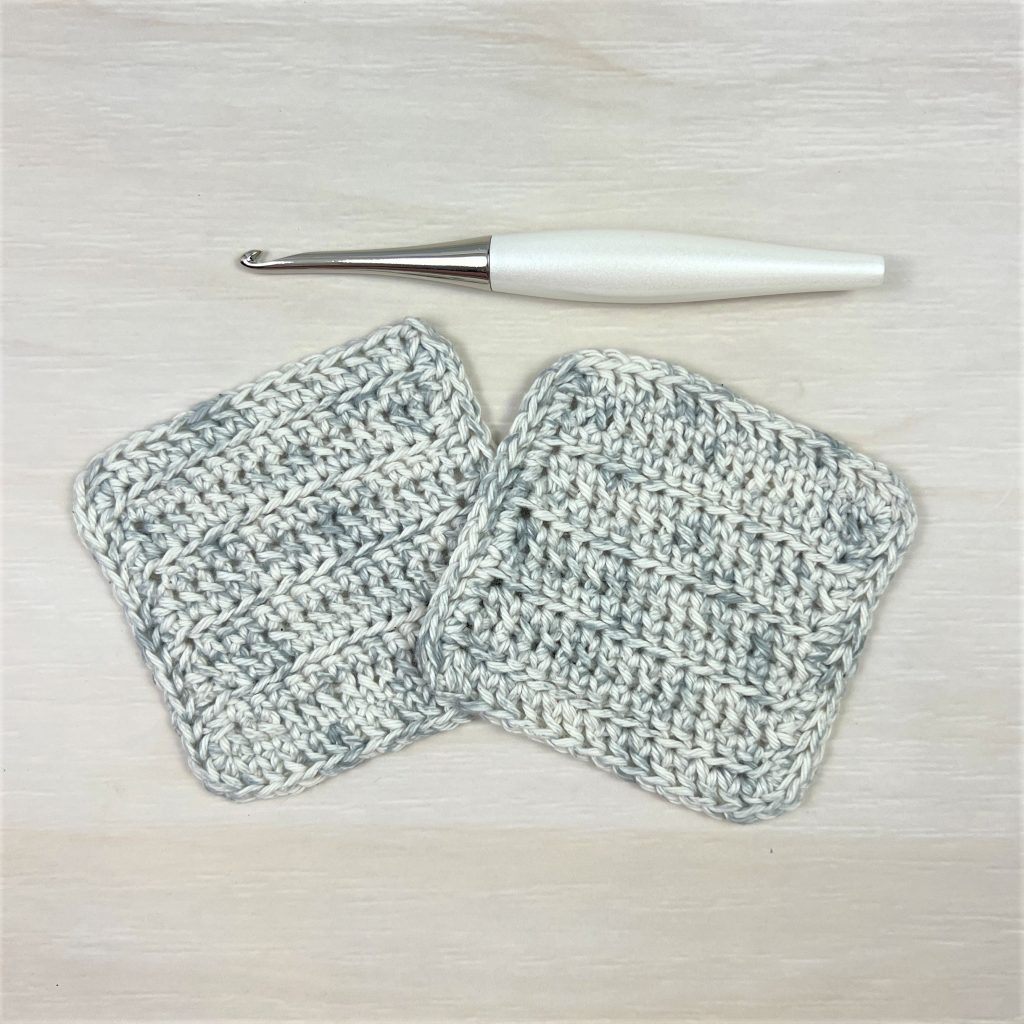
It is best to make bonding squares in pairs. That way baby can always have a fresh square with them.
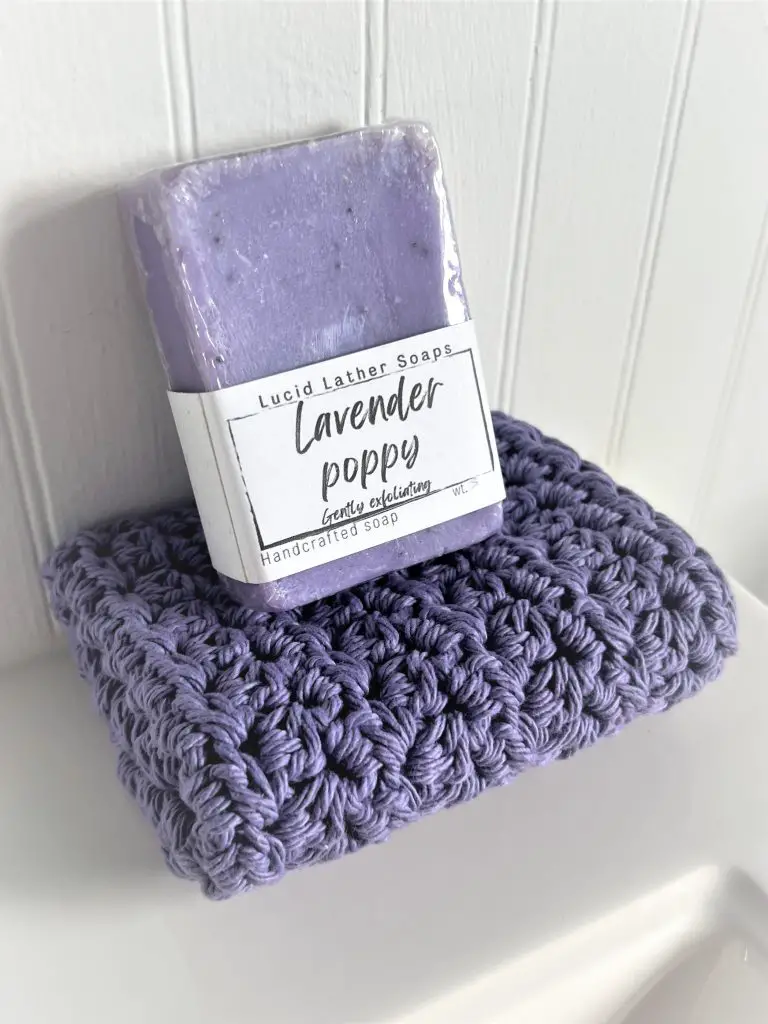
After my research about bonding squares you want to use soft yarn and a material that can hold scents. Newborn babies have very sensitive skin so a softer yarn is best, parents also don’t want to be wearing a rough square against their skin either.
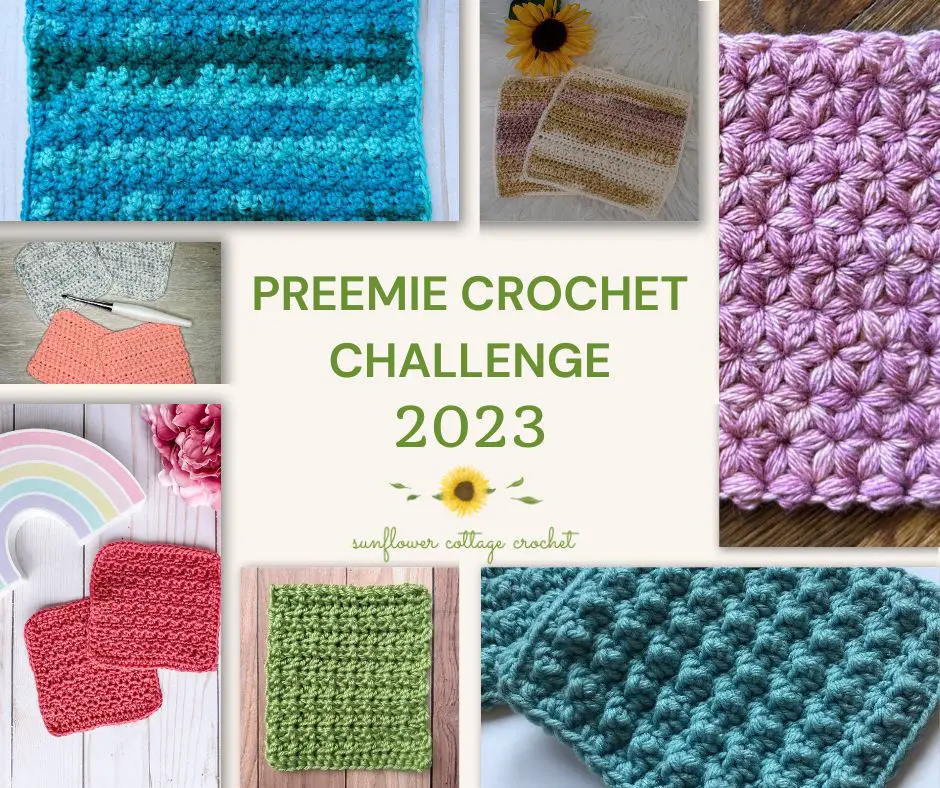
2023 Preemie Crochet Challenge
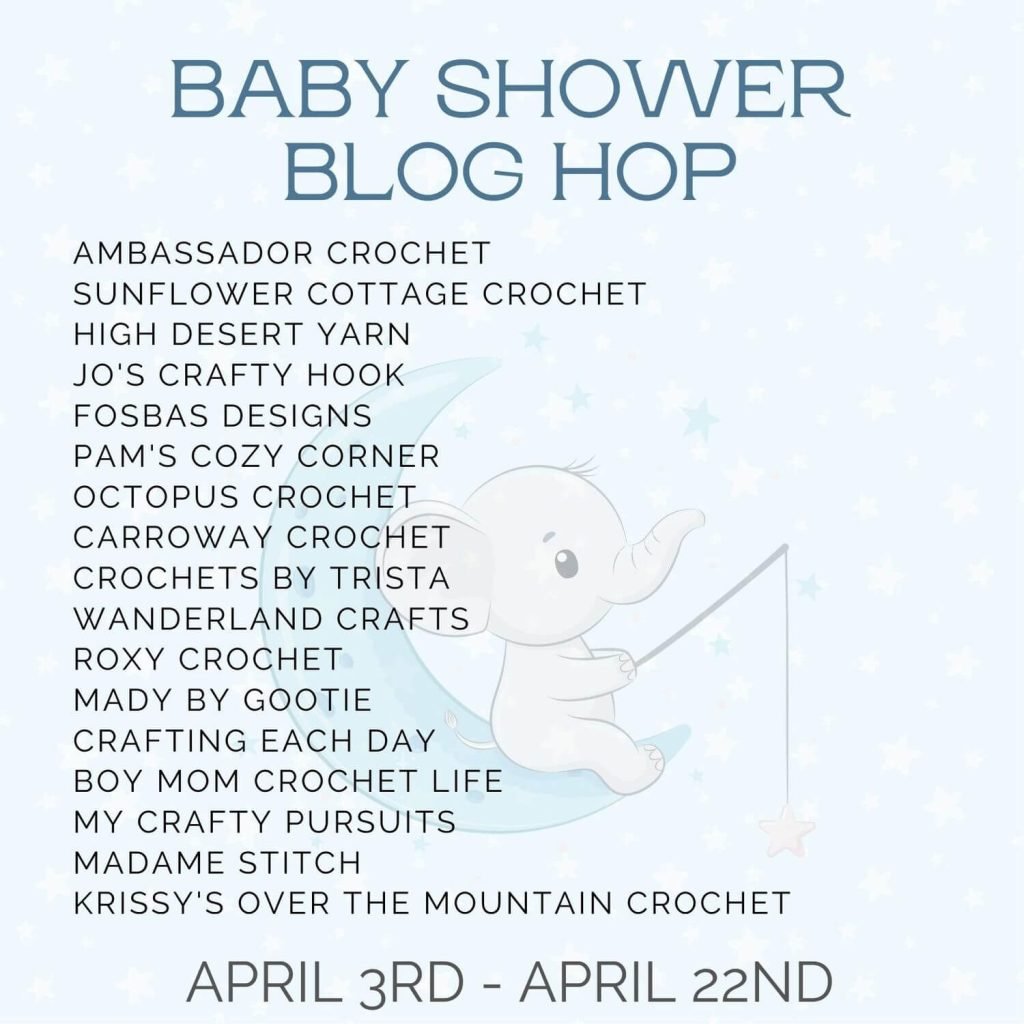
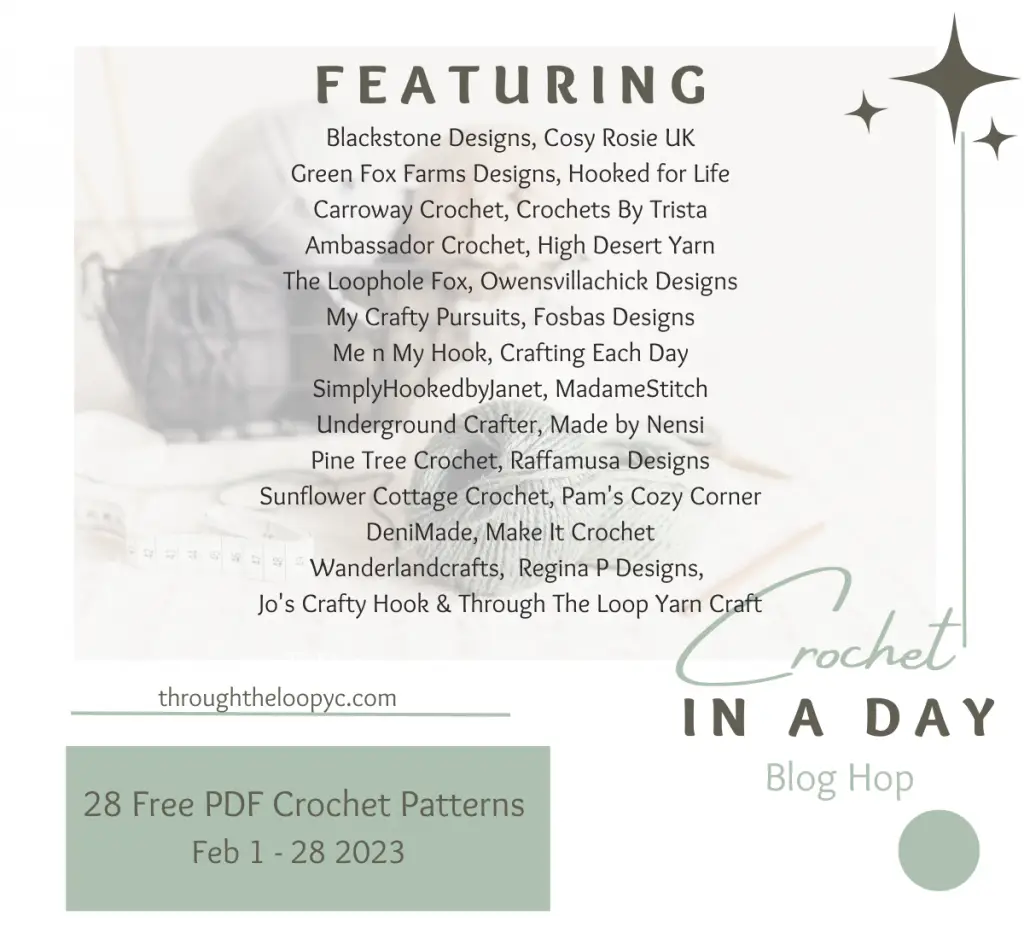
The Little Nugget Bonding Square is featured in the 2023 Preemie Crochet Challenge hosted by Helen of Sunflower Cottage Crochet. The event runs June 19th to July 17th.
Like previous years; by accepting the free pdf download you are pledging to donate at least one item from that pattern. You can send them to a charity/organization/NICU/family of your choosing.
Previously featured Crochets By Trista patterns in the Crochet Preemie Challenge include:
Newborn Preemie Blanket
Josey’s Hug Preemie Blanket
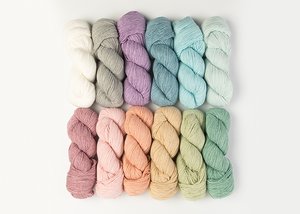
The Yarn
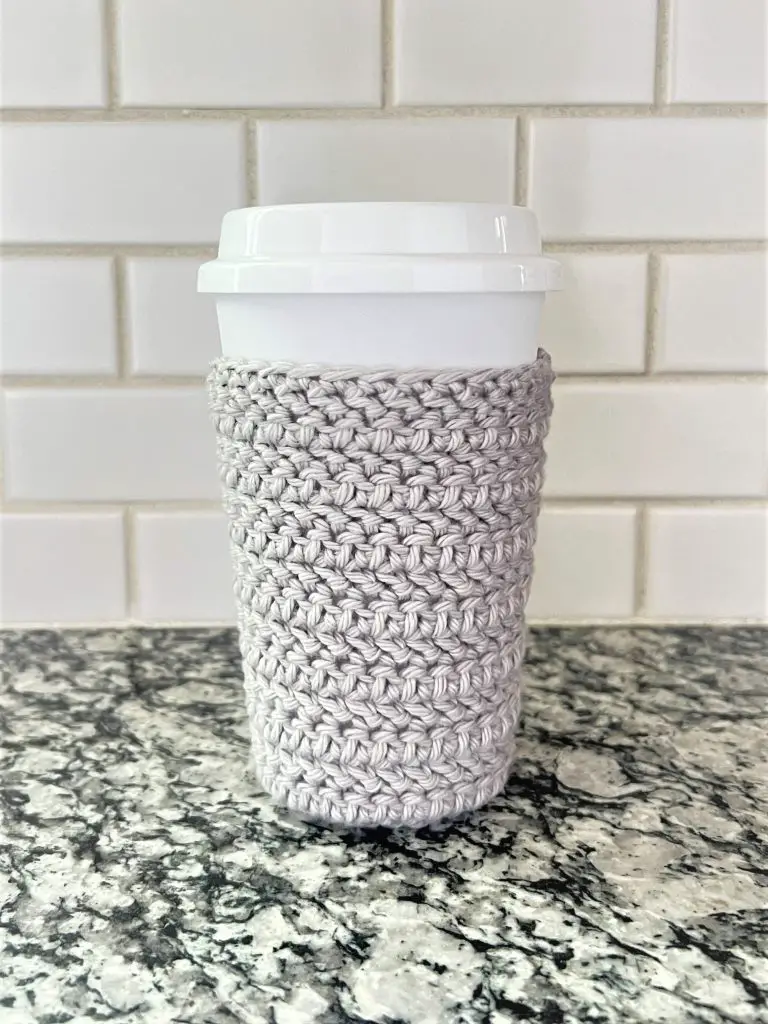
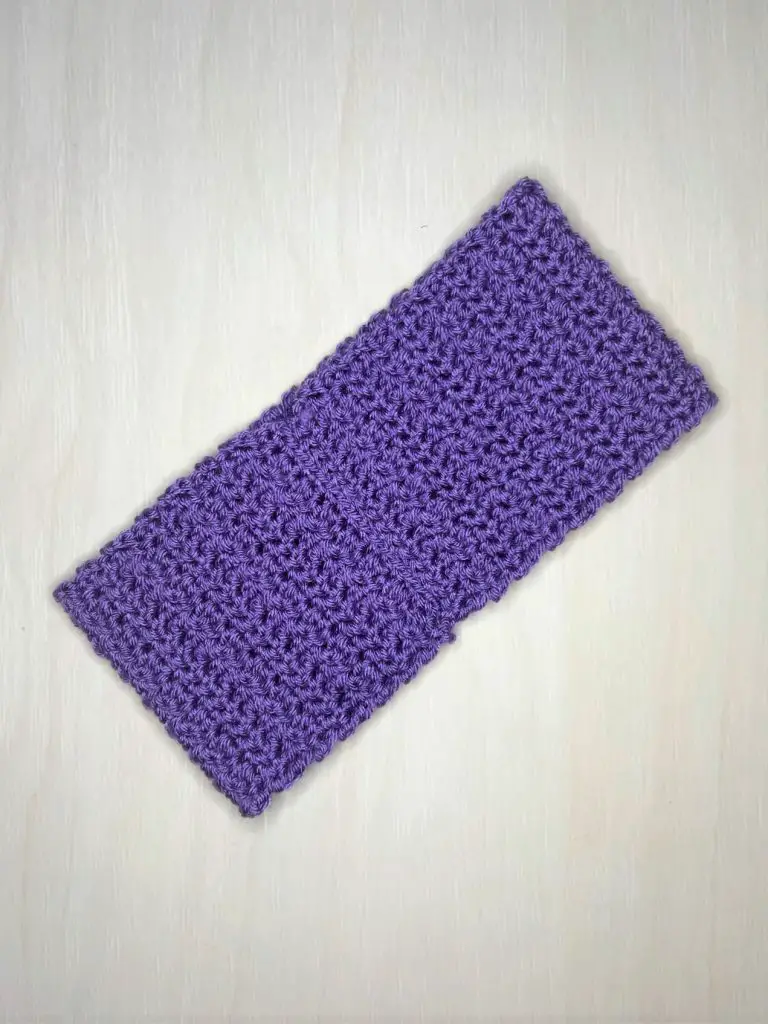
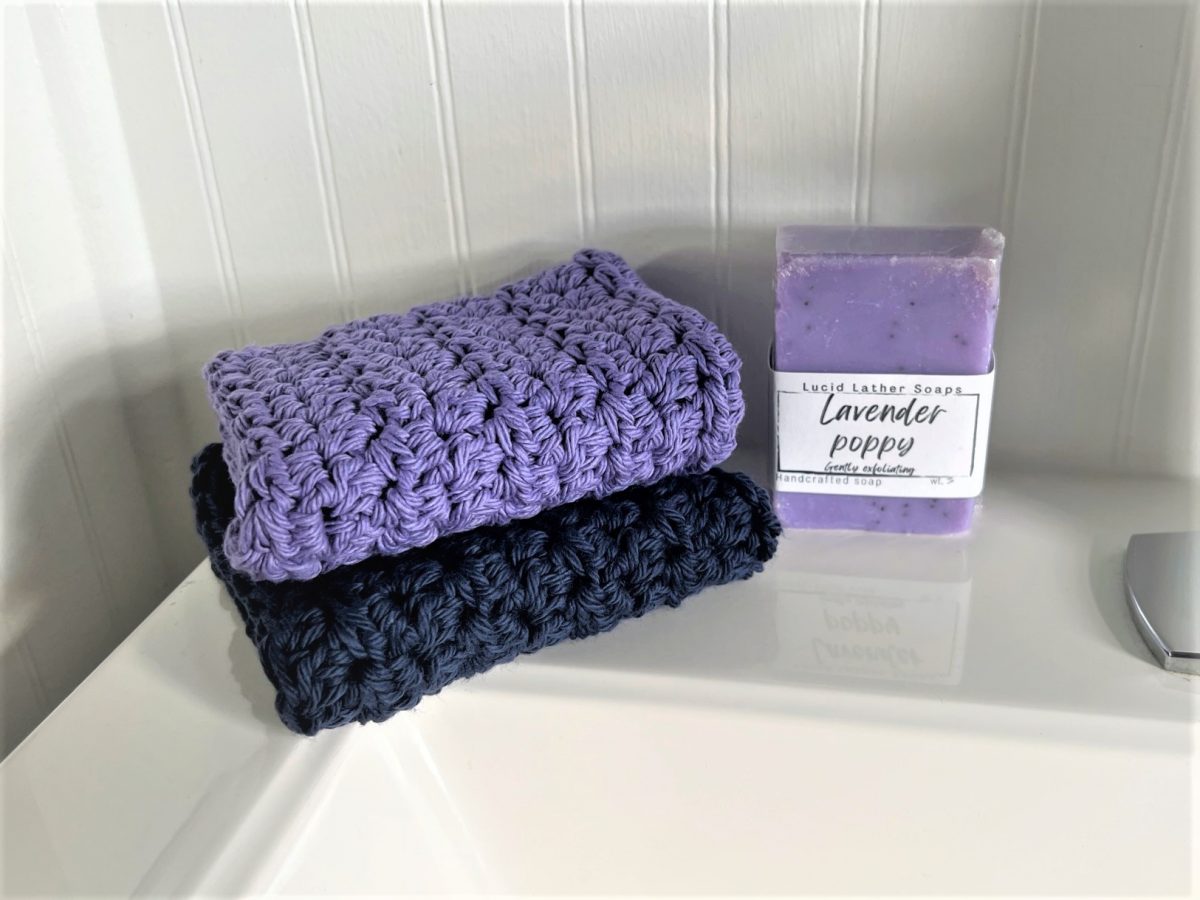
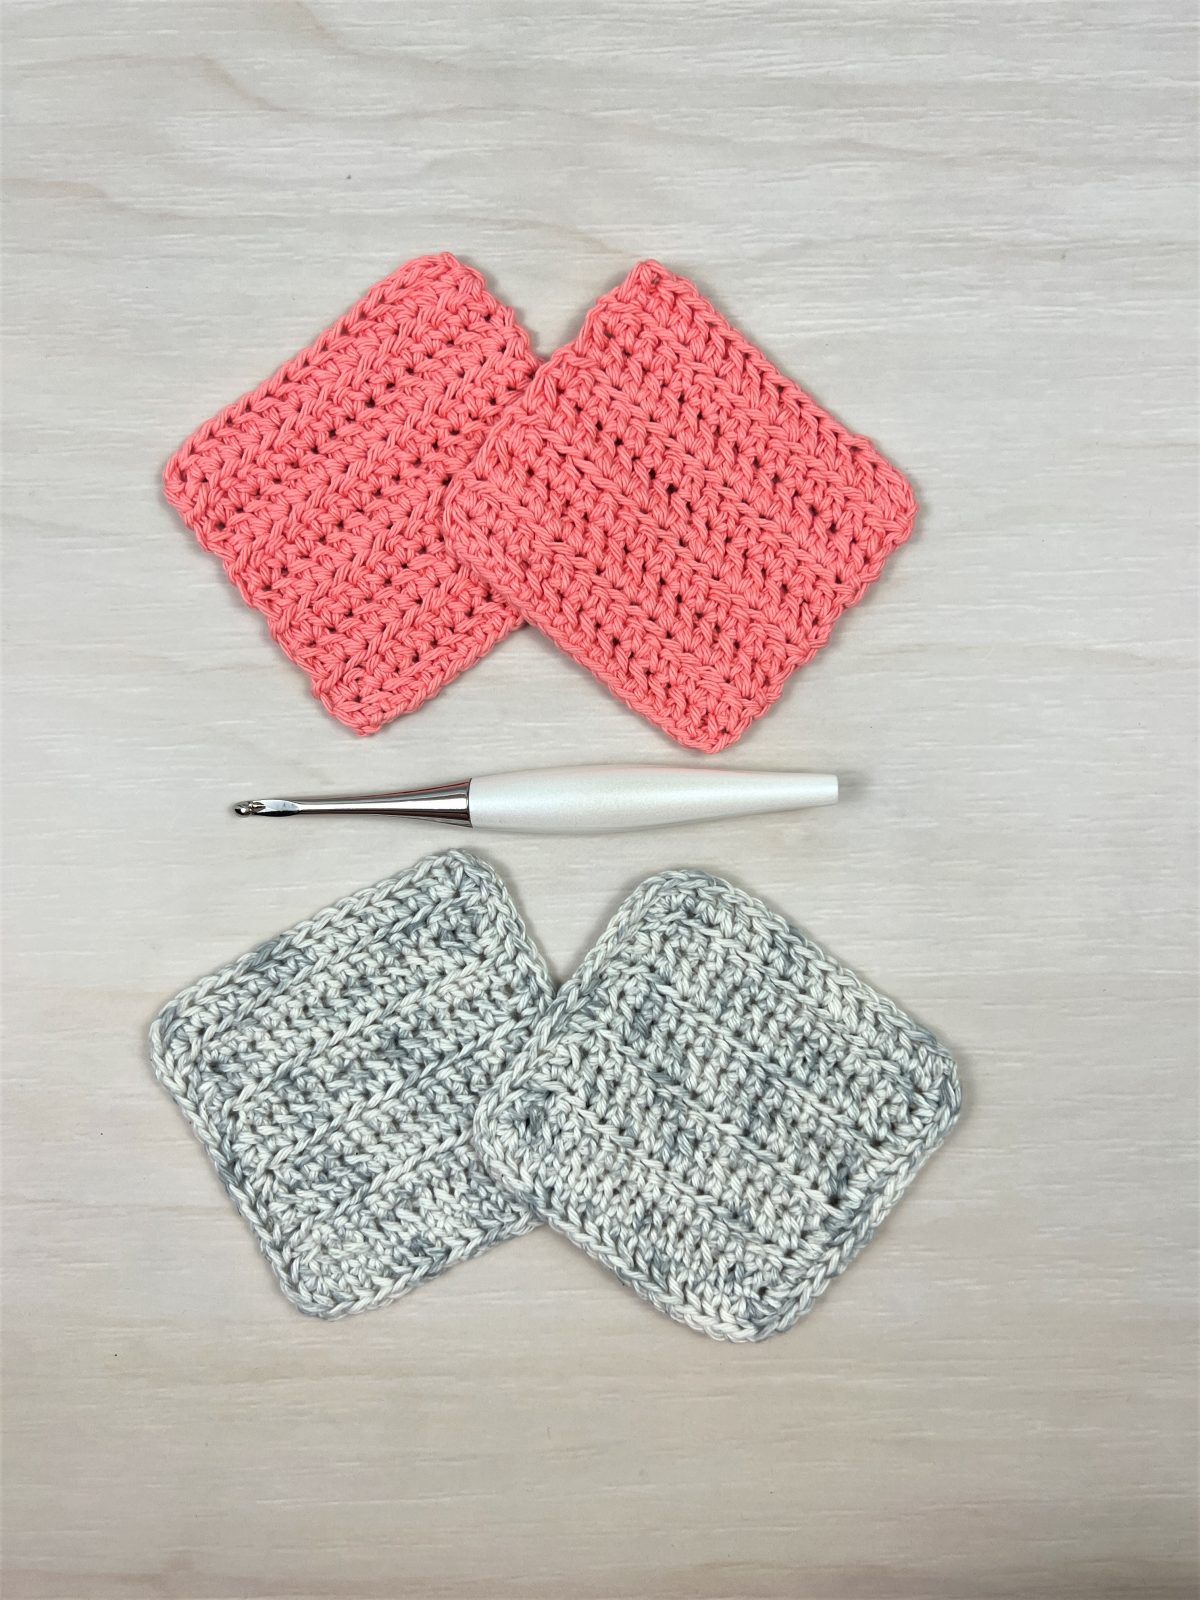
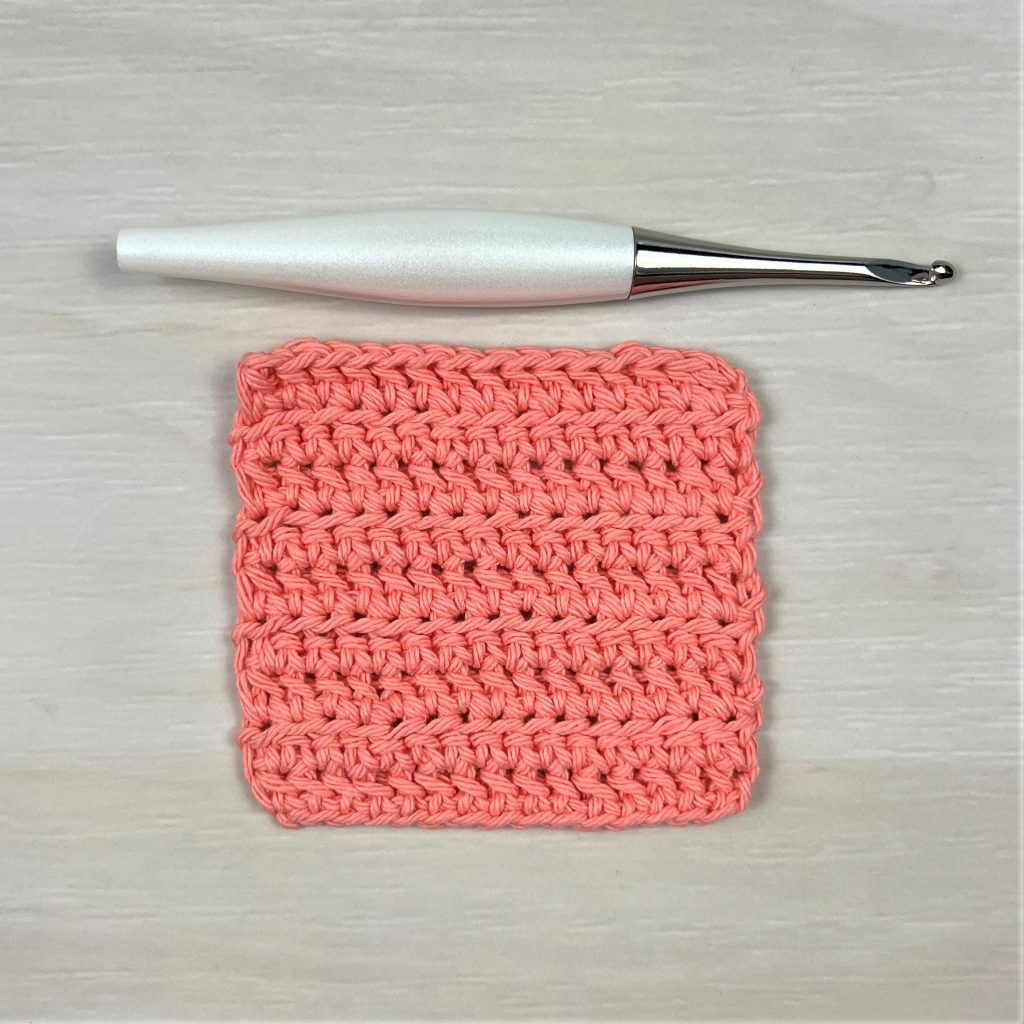
I used some remnants of my KnitPicks Comfy Color Mist left over from my Magnolia Top. It is 75% pima cotton 25% acrylic blend. It is super soft and perfect for a set of bonding square because it will gentle against baby’s delicate skin.
Supplies Needed
Approximately 50 – 60 yards cotton yarn – KnitPicks Comfy Color Mist or comparable yarn.
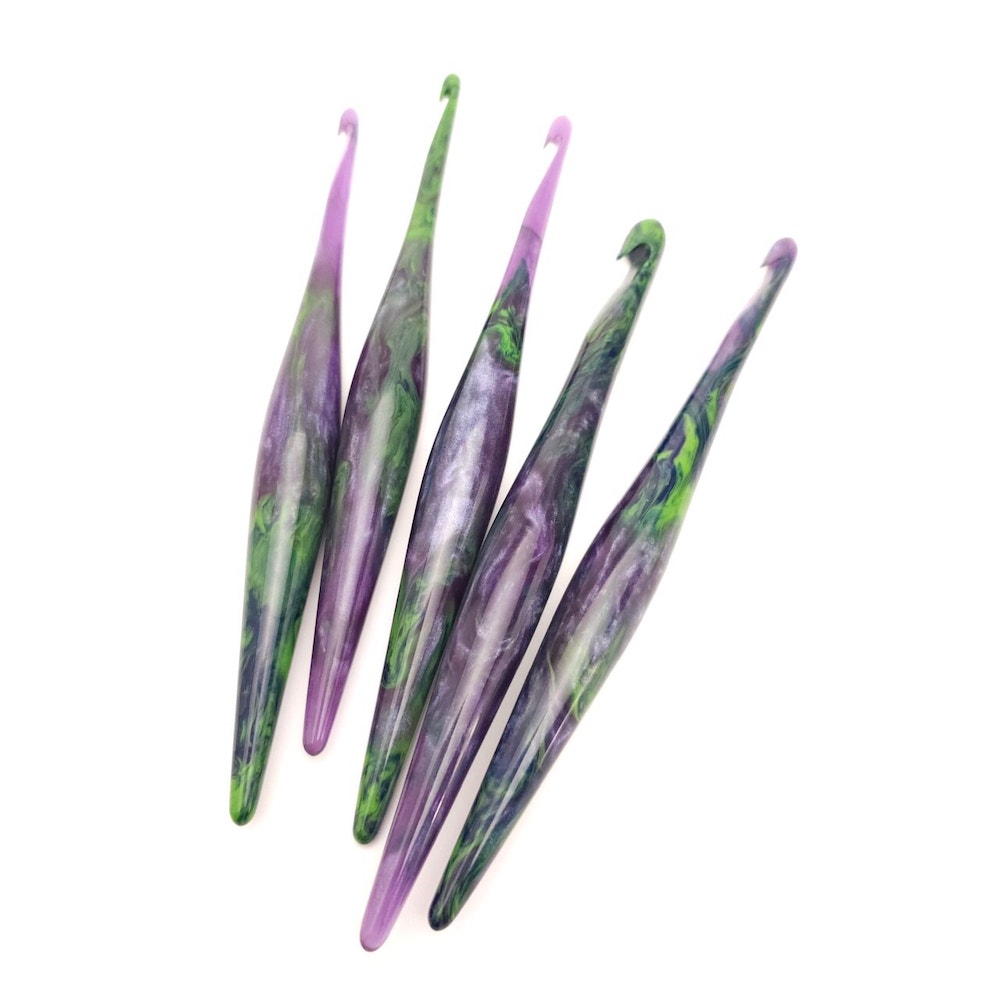
H/5.00mm crochet hook
Measuring tape
Scissors
Yarn needle

Stitches Used
Ch – Chain
Hdc – Half Double Crochet
Lhdc –Linked Half Double Crochet
Sl St – Slip Stitch
St(s) – Stitch(es)
Stitch Definition
Lhdc – Linked Half Double Crochet: Insert hook through the bottom leg (foot) of the previous stitch. YO and pull up a loop (2 loops). Insert hook into next stitch, YO and pull up a loop (3 loops), YO and pull through all 3 loops.
Gauge & Finished Size(s)
Gauge: N/A
Size: Approximately 4” X 4” square
Pattern Notes
Try to use a softer cotton yarn, it will be gentler again baby’s delicate skin.
Make at least one pair (2) bonding squares.
The border provided is optional.
Size may vary based on yarn used.

Availability
You can purchase an ad-free PDF of the Little Nugget Bonding Square on Ravelry and Etsy.
As part of the Preemie Crochet Challenge you can get this pattern for free using the coupon code found HERE. We just ask that you donate at least one finished set to your favorite preemie charity or organization.

The Pattern
Ch 16
1.) Hdc in 2nd Ch from the hook, Lhdc in next St and each St across. (15)

2.) Turn, Ch 1, Hdc in 1st St, Lhdc in next St and each St across. (15)
Repeat row 2 until square.
Continue to optional border.

Finish off and weave in ends.
Optional Border
Ch 1, turn, Hdc in 1st St, Lhdc evenly around with 3Lhdc in each of the 4 corners, Sl St to 1st Hdc.
Finish off and weave in ends.

Follow Crochets By Trista on:
Facebook
Instagram
Pinterest
Ravelry
Etsy
Ribblr
Love Crafts
Join the
“Crochets By Trista Crochet Community”
on Facebook.
I’d love to hear from you! Don’t hesitate to contact me. Let me know what you’re working on or designs you’d like to see in the future. Use the links above or email me at crochetsbytrista@gmail.com
If you’ve purchased my designs in the past, leave a review. I want to know what you think.