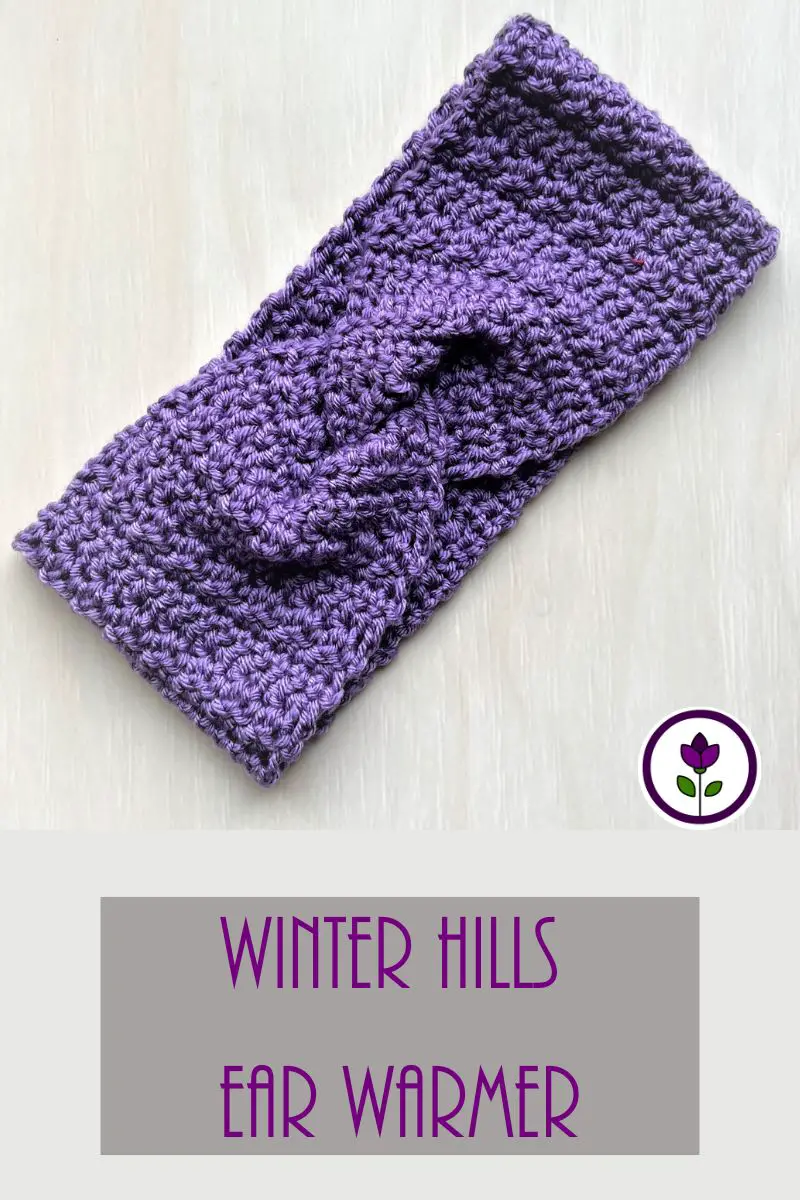
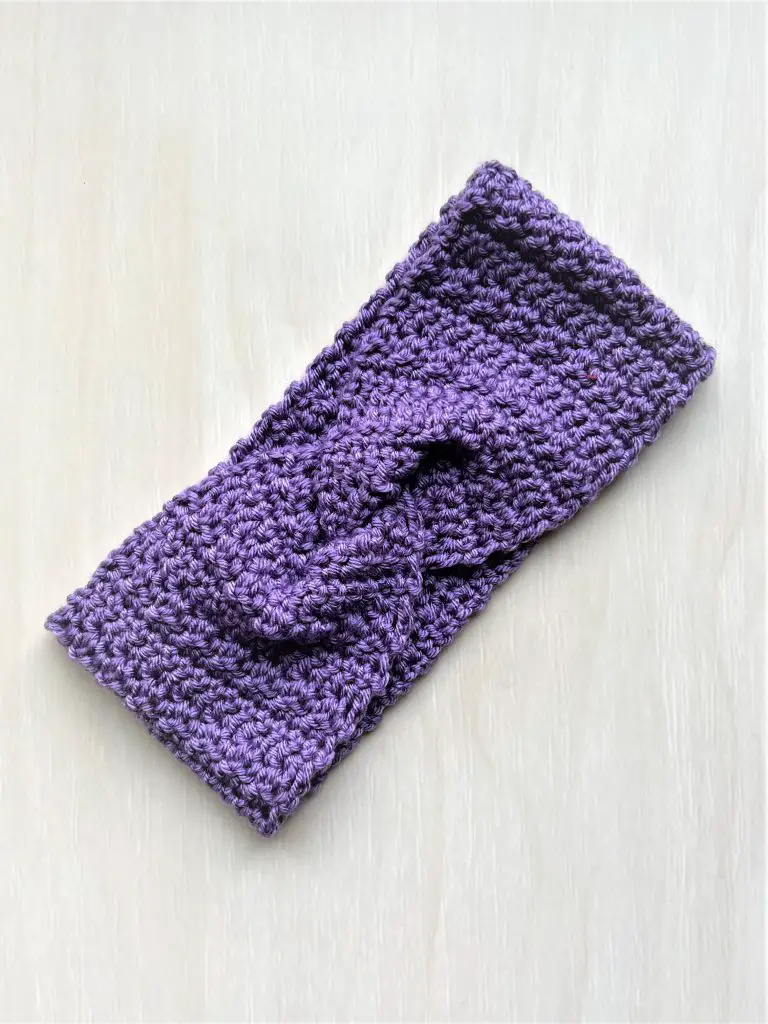
The Winter Hills Ear Warmer combines basic stitches to create a beautifully textured yet simple cool weather accessory.
****Post contains affiliate links – which means if you make a purchase from the links below, I will get a small percentage of the sales at no additional cost to you****
Table of Contents
The Yarn
I used up a partially used skeins to make my Winter Hills Ear Warmer. It’s the same yarn I used for the Granny Square Tote Bag.
You can use any type or style of worsted weight yarn that works for you.
I really enjoyed using the Uptown Worsted from Universal Yarns. It is anti-pilling too!
Supplies Needed
- 100 yards Lion Brand Pound of Love, or equivalent worsted weight yarn
- Yarn needle
- Scissors
- Measuring tape

Stitches Used
Ch – Chain
Dc – Double Crochet
RS – Right Side
Sc – Single Crochet
Sl St – Slip Stitch
WS – Wrong Side

Gauge & Finished Size(s)
Gauge: 16 Sts x 16 Rows = 4” square of stitch pattern
Finished Size: Approx. 4” tall by 9” wide
Pattern Notes
Written in US crochet terms.
Stitch count listed at the end of each row.

Instructions for the twisted closure are provided.
An alternative closure has also been provided.
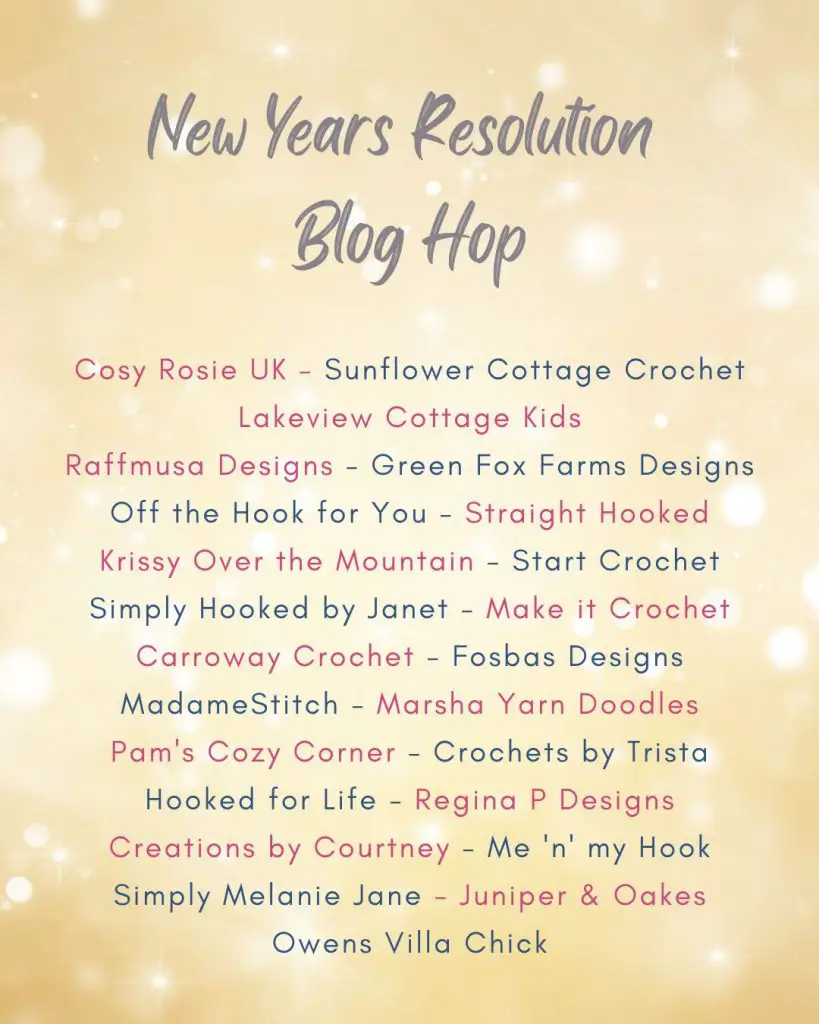
New Years Resolution Blog Hop

Fiona of Cosy Rosie UK is hosting her New Years Resolution Blog Hop. Each day you can download a pattern that is the perfect project to learn a new skill or technique.
All the info and details can be found HERE. You can also check out all the participating designers below.
The Pattern
Ch 17
1.) Sc in 2nd Ch from the hook and each Ch across. (16) RS
2.) Turn, Ch 1, Sc in 1st St, Dc in next St, *Sc in next St, Dc in next St, repeat from * across. (16) WS

3.) Turn, Ch 1, Sc in 1st St, Dc in next St, *Sc in next St, Dc in next St, repeat from * across. (16)
4.) Turn, Ch 1, Sc in 1st St and each St across. (16)

5.) Turn, Ch 1, Sc in 1st St and each St across. (16)

6.) Turn, Ch 1, Sc in 1st St, Dc in next St, *Sc in next St, Dc in next St, repeat from * across. (16)

7.) Turn, Ch 1, Sc in 1st St, Dc in next St, *Sc in next St, Dc in next St, repeat from * across. (16)
8.) Turn, Ch 1, Sc in 1st St and each St across. (16)

Repeat rows 5 – 8 until approximately 18” tall (or desired length for a tighter/looser fit).
Finish off and move on to closure.
Closure
With WS facing, fold in half to form a V. Interlock the V’s within each other and with a 10” tail sew ends together as shown below.
Weave in all ends.


Alternative Closure
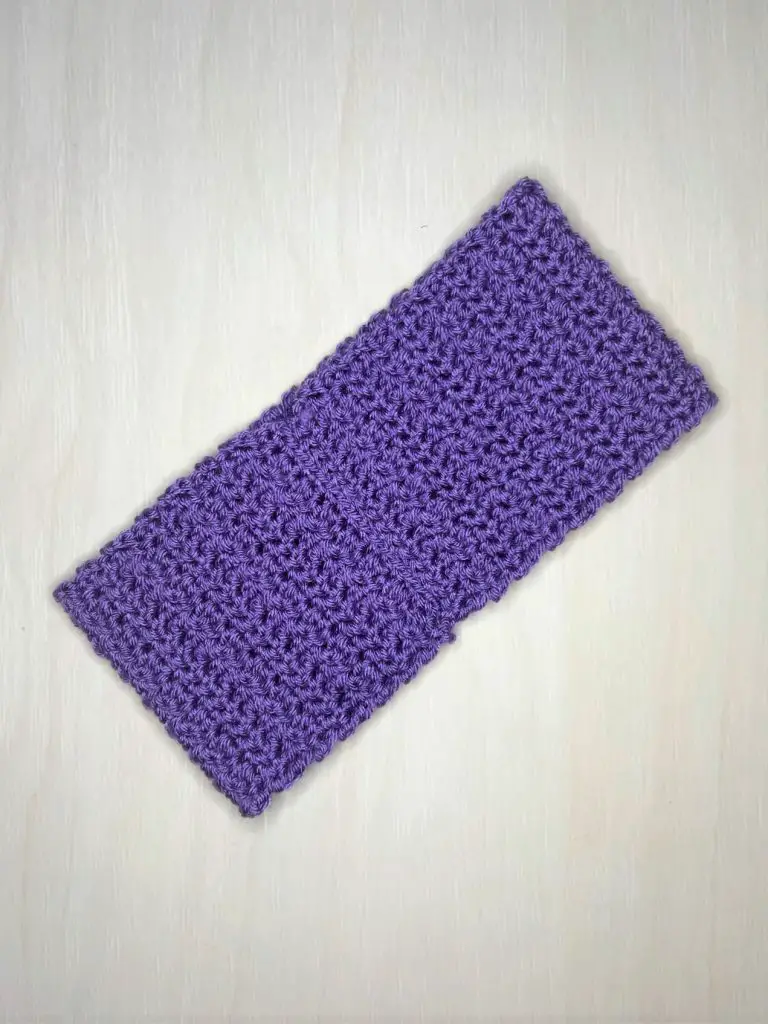
With WS facing, connect last row to first row using a Sl St (or favorite seaming method) in each St across.
Weave in all ends.
Availability
You can purchase the ad-free pdf download on Ravelry and Etsy.
Follow Crochets By Trista on:
Facebook
Instagram
Pinterest
Ravelry
Etsy
Ribblr
Love Crafts
Join the
“Crochets By Trista Crochet Community”
on Facebook.
I’d love to hear from you! Don’t hesitate to contact me. Let me know what you’re working on or designs you’d like to see in the future. Use the links above or email me at crochetsbytrista@gmail.com
If you’ve purchased my designs in the past, leave a review. I want to know what you think.