****Post contains affiliate links – which means if you make a purchase from the links below, I will get a small percentage of the sales at no additional cost to you****
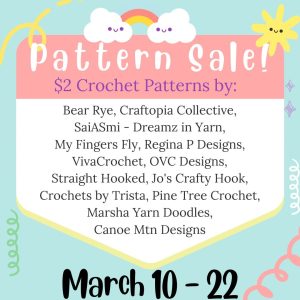
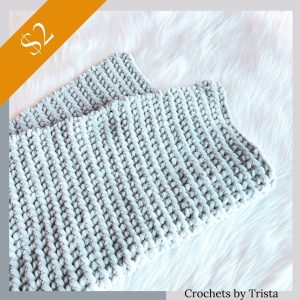
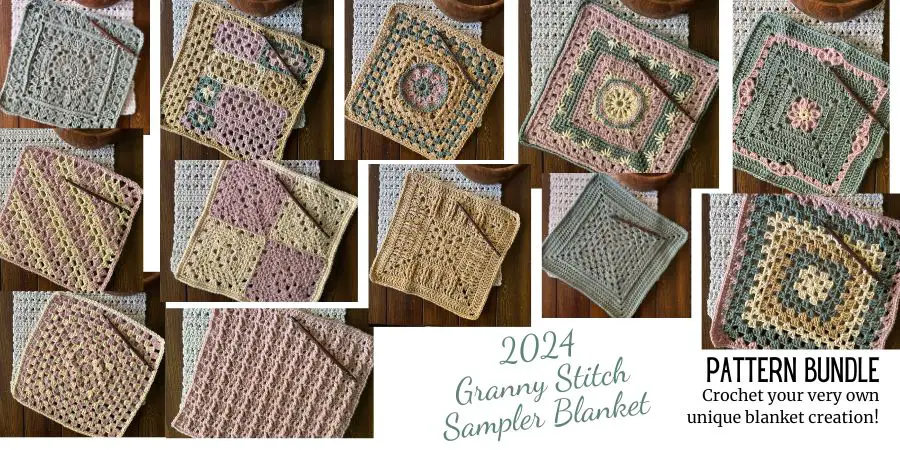
2024 Granny Stitch Sampler Blanket CAL
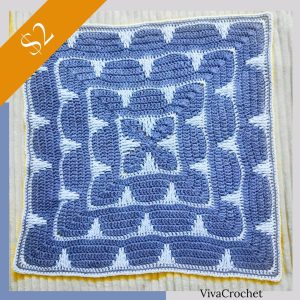
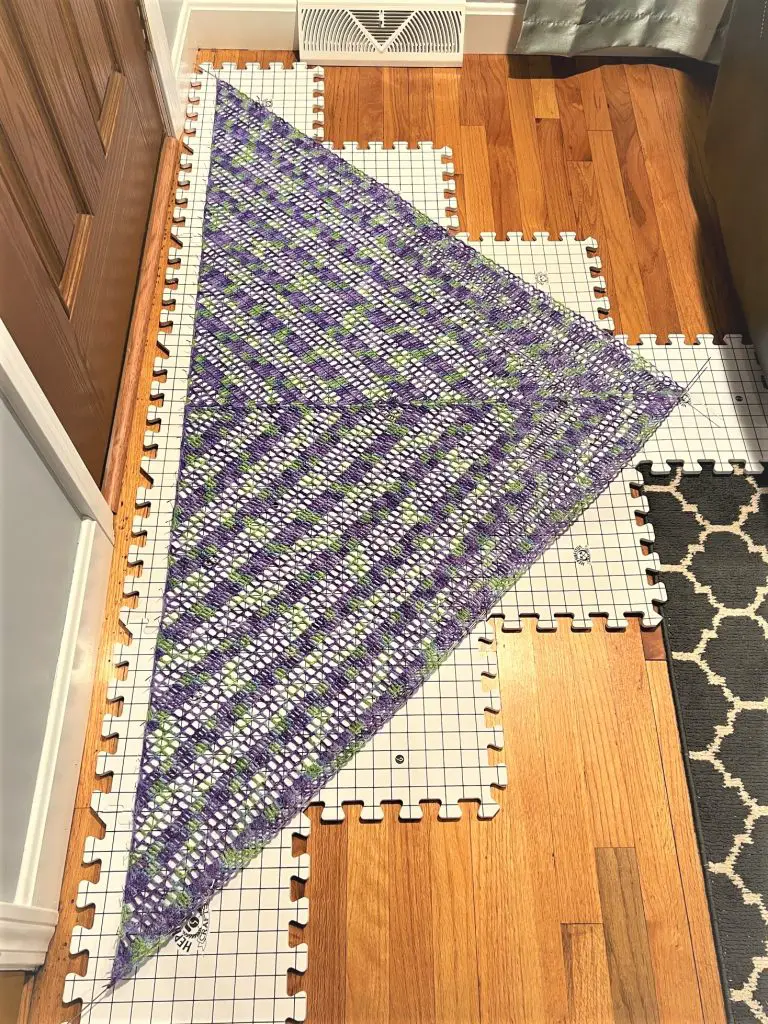
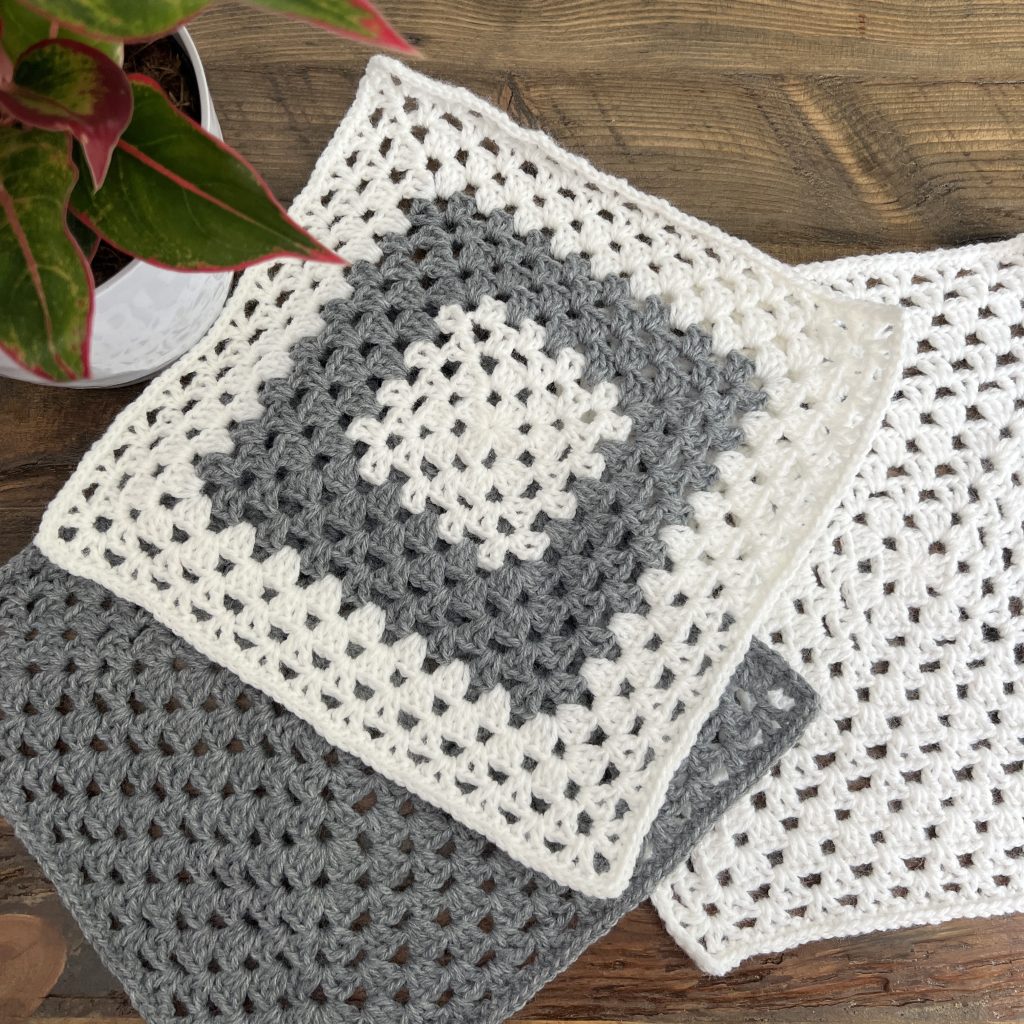
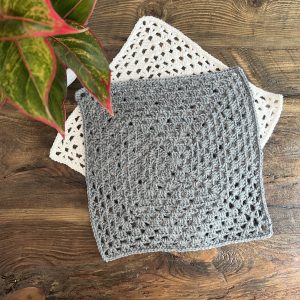
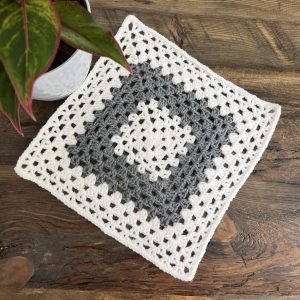
The Lockwood Square is one of the 12 squares featured in the 2024 Granny Stitch Stitch Sampler Blanket CAL hosted by MadamStitch.
I’m so excited to be collaborating with this amazing group of designers. Look at all the contributors below!

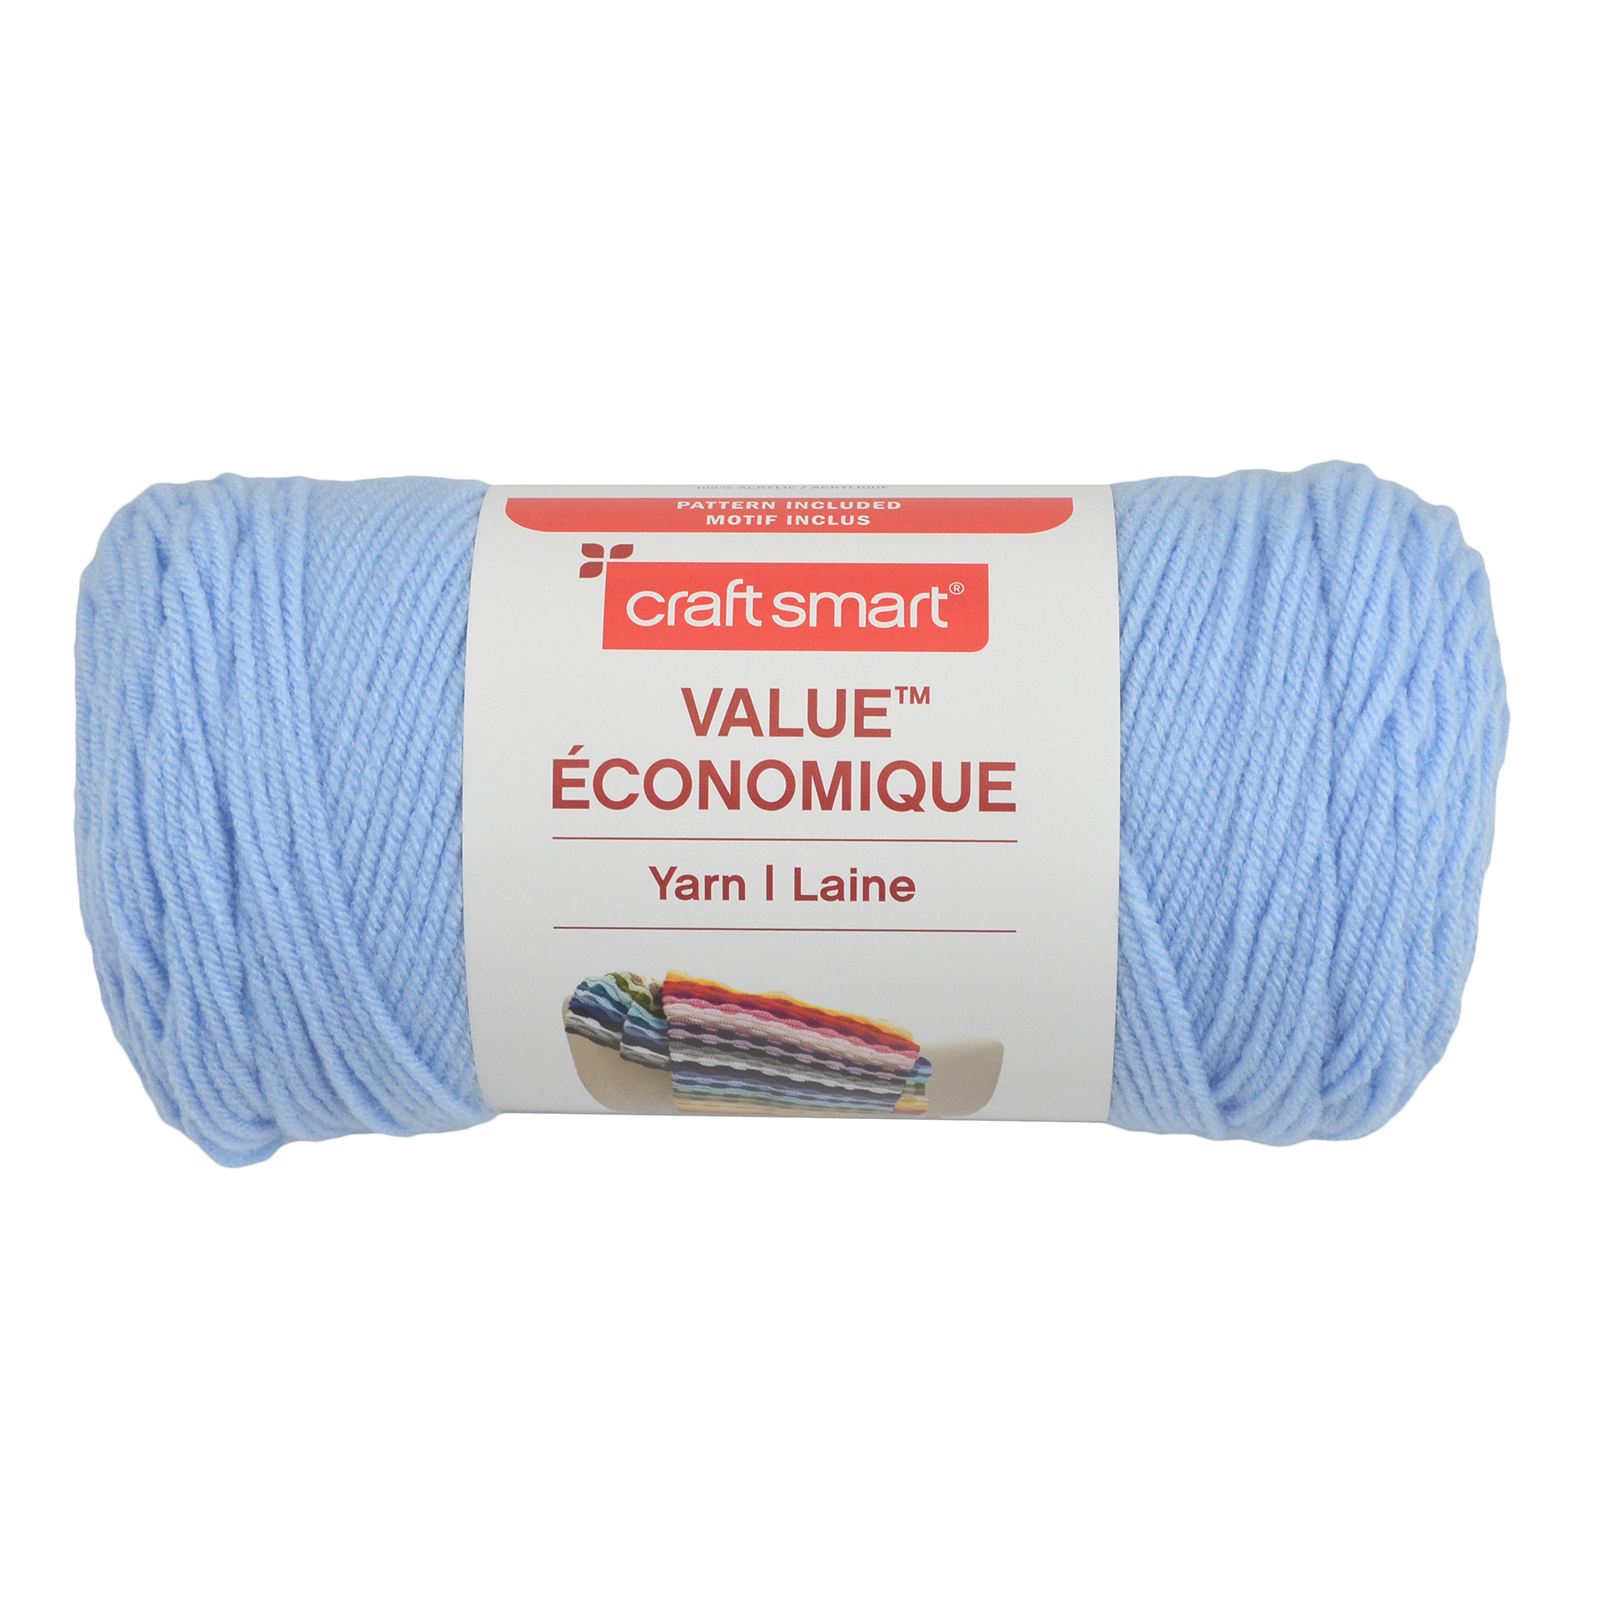
The Yarn
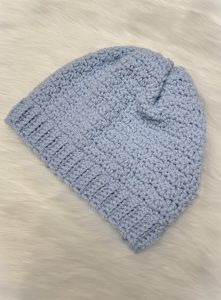
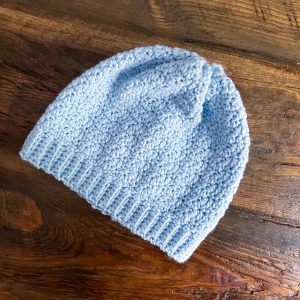
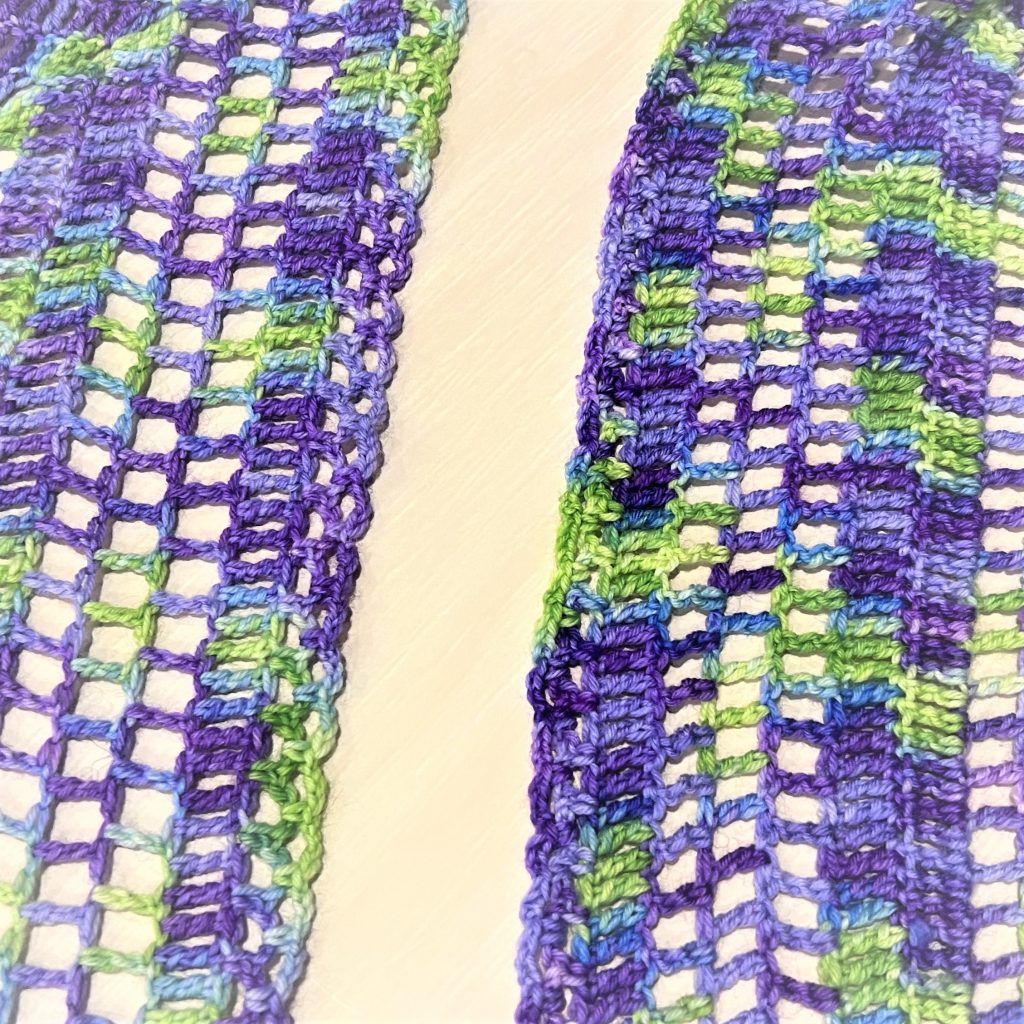
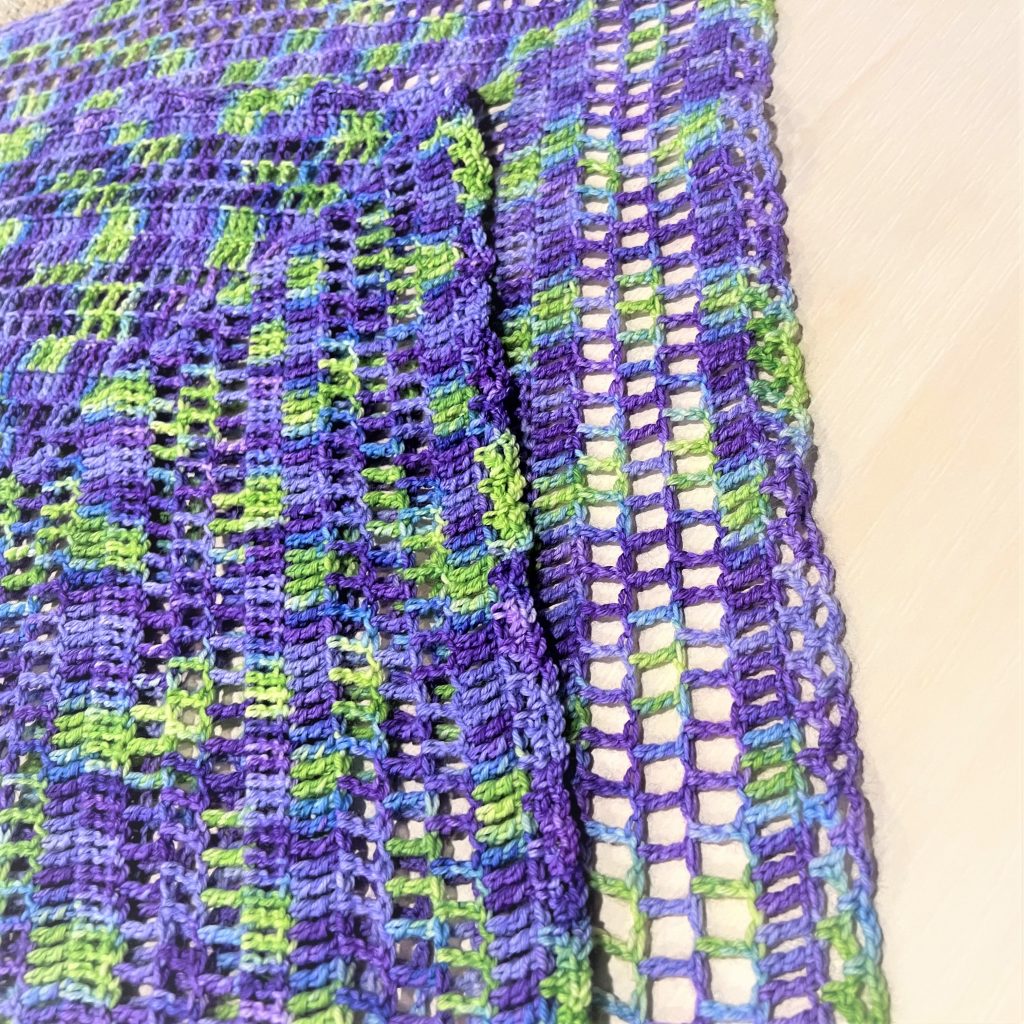
For the Lockwood Square I used Lion Brand’s Pound of Love. I used the same yarn from 2023 Granny Square Sampler CAL.
Supplies Needed
95-100 yards worsted weight yarn
H/5.00mm crochet hook
Scissors
Measuring tape
Yarn needle
Blocking materials (optional)
Stitches Used
Ch – Chain
Dc – Double Crochet
MC – Magic Circle
Sc – Single Crochet
Sdc – Starting Double Crochet
Sk – Skip
Sl St – Slip Stitch
Sp(s) – Space(es)
Stitch Definition:
Starting Double Crochet – (also known as Long Chain Double Crochet or Chainless Starting Double Crochet.) Pull up your loop to the height of your usual Double Crochet. Yarn over, insert into the 1st St, yarn over, pull through the Stitch, yarn over, pull through two loops on the hook, yarn over, pull through the remaining two loops on your hook.
You could also use this method:
Gauge & Finished Size(s)
Gauge: 14 Sts x 7 rows = 4” of Dc
Finished Size: 12” x 12” square
Pattern Notes
Written in US crochet terms.
Sdc can be substituted with a Ch 3.
Worked in the round.
A stitch count is provided at the end of each round.
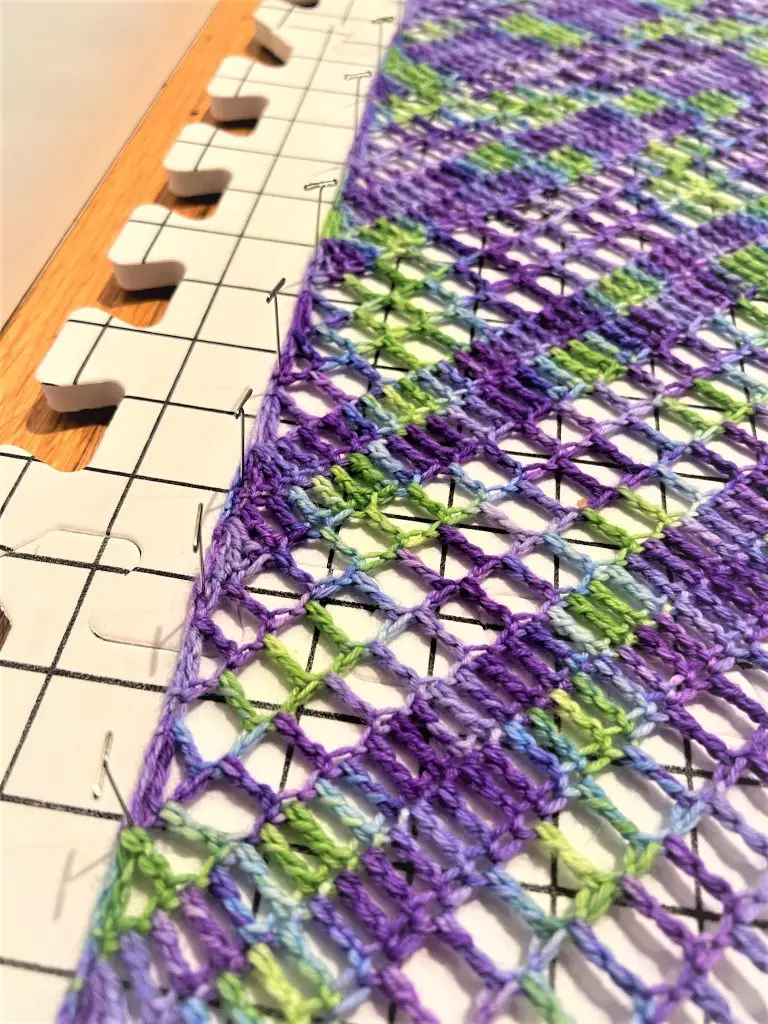
Blocking isn’t necessary but advised.
Color changes are optional.
(Dc, Ch1, Dc) = 3 Sts
You may need to adjust the last round depending on your gauge.
Availability
As part of the 2024 Granny Stitch Sampler Blanket CAL you can get the Lockwood Square for 50% using the coupon code Granny.
You can purchase an ad-free pdf download on Ravelry.

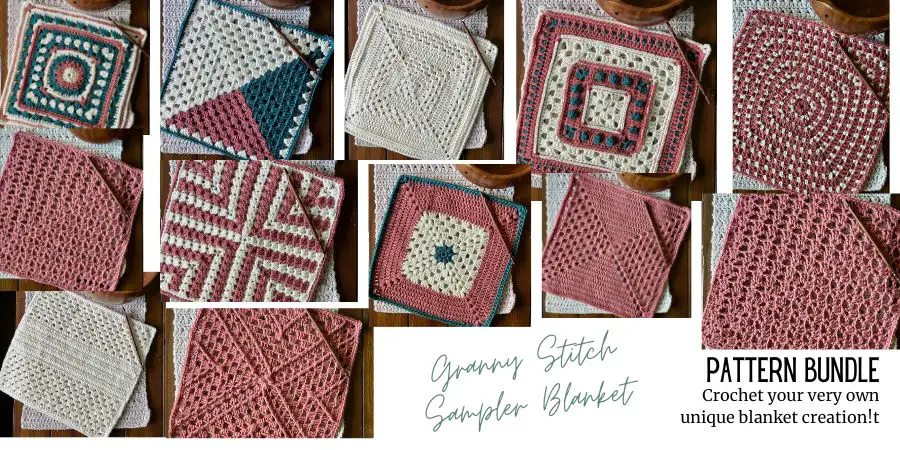
2024 Granny Stitch Sampler Blanket Pattern Bundle
Purchase all 12 squares, the border, and assembly instructions all in one place by purchasing the 2024 Granny Stitch Sampler Blanket Pattern Bundle.

The Pattern
Color A:
1.) In MC, Sdc, 2Dc, Ch 3, *3Dc, Ch 3, repeat from * 2 more times. Join with Sl St to Sdc. (12 Dc, 4 Ch 3 Sps)
2.) (Sdc, 2Dc) in Ch 3 Sp, Ch 1, Sk 3, (3Dc, Ch 3, 3Dc) in Ch 3 Sp, Ch 1, Sk 3, (3Dc, Ch 3, 3Dc) in Ch 3 Sp, Ch 1, Sk 3, (3Dc, Ch 3, 3Dc) in Ch 3 Sp, Ch 1, Sk 3, (3Dc, Ch 3) in Ch 3 Sp. Join with Sl St to Sdc. (24 Dc, 4 Ch 1 Sps, 4 Ch 3 Sps)
3.) (Sdc, Ch 1, Dc) in Ch 3 Sp, *Ch 1, Sk 3, (Dc, Ch 1, Dc) in Ch 1 Sp, Ch 1, Sk 3, (Dc, Ch 1, Dc, Ch 3, Dc, Ch 1, Dc) in Ch 3 Sp, repeat from * two more times, Ch 1, Sk 3, (Dc, Ch 1, Dc) in Ch 1 Sp, Ch 1, Sk 3,
(Dc, Ch 1, Dc, Ch 3). Join with Sl St to Sdc. (24 Dc, 20 Ch 1 Sps, 4 Ch 3 Sps)
4.) (Sdc, Ch 1, Dc) in Ch 3 Sp, *Ch 1, Sk 3, (Dc, Ch 1, Dc) in Ch 1 Sp, Ch 1, Sk 3, (Dc, Ch 1, Dc) in Ch 1 Sp, Ch 1, Sk 3, (Dc, Ch 1, Dc, Ch 3, Dc, Ch 1, Dc) in Ch 3 Sp, repeat from * two more times, Ch 1, Sk 3, (Dc, Ch 1, Dc) in Ch 1 Sp, Ch 1, Sk 3, (Dc, Ch 1, Dc) in Ch 1 Sp, Ch 1, Sk 3, (Dc, Ch 1, Dc, Ch 3) Join with Sl St to Sdc. (32 Dc, 28 Ch 1 Sps, 4 Ch 3 Sps)

Color B
5.) (Sdc, 2Dc) in Ch 3 Sp, *Ch 1, Sk 3, 3Dc in Ch 1 Sp, Ch 1, Sk 3, 3Dc in Ch 1 Sp, Ch 1, Sk 3, 3Dc in Ch 1 Sp, Ch 1, Sk 3, (3Dc, Ch 3, 3Dc) in Ch 3 Sp, repeat from * two more times, Ch 1, Sk 3, 3Dc in Ch 1 Sp, Ch 1, Sk 3, 3Dc in Ch 1 Sp, Ch 1, Sk 3, 3Dc in Ch 1 Sp, Ch 1, Sk 3, (3Dc, Ch 3). Join with Sl St to Sdc. (60 Dc, 16 Ch 1 Sps, 4 Ch 3 Sps)
6.) (Sdc, 2Dc) in Ch 3 Sp, *Ch 1, Sk 3, 3Dc in Ch 1 Sp, Ch 1, Sk 3, 3Dc in Ch 1 Sp, Ch 1, Sk 3, 3Dc in Ch 1 Sp, Ch 1, Sk 3, 3Dc in Ch 1 Sp, Ch 1, Sk 3, (3Dc, Ch 3, 3Dc) in Ch 3 Sp, repeat from * two more times, Ch 1, Sk 3, 3Dc in Ch 1 Sp, Ch 1, Sk 3, 3Dc in Ch 1 Sp, Ch 1, Sk 3, 3Dc in Ch 1 Sp, Ch 1, Sk 3, 3Dc in Ch 1 Sp, Ch 1, Sk 3, (3Dc, Ch 3) Join with Sl St to Sdc. (72 Dc, 20 Ch 1 Sps, 4 Ch 3 Sps)
7.) (Sdc, Ch 1, Dc) in Ch 3 Sp, * Ch 1, Sk 3, (Dc, Ch 1, Dc) in Ch 1 Sp, Ch 1, Sk 3, (Dc, Ch 1, Dc) in Ch 1 Sp, Ch 1, Sk 3, (Dc, Ch 1, Dc) in Ch 1 Sp, Ch 1, Sk 3, (Dc, Ch 1, Dc) in Ch 1 Sp, Ch 1, Sk 3, (Dc, Ch 1, Dc) in Ch 1 Sp, Ch 1, Sk 3, (Dc, Ch 1, Dc, Ch 3, Dc, Ch 1, Dc) in Ch 3 Sp, repeat from * two more times, Ch 1, Sk 3, (Dc, Ch 1, Dc) in Ch 1 Sp, Ch 1, Sk 3, (Dc, Ch 1, Dc) in Ch 1 Sp, Ch 1, Sk 3, (Dc, Ch 1, Dc) in Ch 1 Sp, Ch 1, Sk 3, (Dc, Ch 1, Dc) in Ch 1 Sp, Ch 1, Sk 3, (Dc, Ch 1, Dc) in Ch 1 Sp, Ch 1, Sk 3, (Dc, Ch 1, Dc, Ch 3) Join with Sl St to Sdc. (56 Dc, 52 Ch 1 Sps, 4 Ch 3 Sps)
8.) (Sdc, Ch 1, Dc) in Ch 3 Sp, *Ch 1, Sk 3, (Dc, Ch 1, Dc) in Ch 1 Sp, Ch 1, Sk 3, (Dc, Ch 1, Dc) in Ch 1 Sp, Ch 1, Sk 3, (Dc, Ch 1, Dc) in Ch 1 Sp, Ch 1, Sk 3, (Dc, Ch 1, Dc) in Ch 1 Sp, Ch 1, Sk 3, (Dc, Ch 1, Dc) in Ch 1 Sp, Ch 1, Sk 3, (Dc, Ch 1, Dc) in Ch 1 Sp, Ch 1, Sk 3, (Dc, Ch 1, Dc, Ch 3, Dc, Ch 1, Dc) in Ch 3 Sp, repeat from * two more times, Ch 1, Sk 3, (Dc, Ch 1, Dc) in Ch 1 Sp, Ch 1, Sk 3, (Dc, Ch 1, Dc) in Ch 1 Sp, Ch 1, Sk 3, (Dc, Ch 1, Dc) in Ch 1 Sp, Ch 1, Sk 3, (Dc, Ch 1, Dc) in Ch 1 Sp, Ch 1, Sk 3, (Dc, Ch 1, Dc) in Ch 1 Sp, Ch 1, Sk 3, (Dc, Ch 1, Dc) in Ch 1 Sp, Ch 1, Sk 3, (Dc, Ch 1, Dc, Ch 3) Join with Sl St to Sdc. (64 Dc, 60 Ch 1 Sps, 4 Ch 3 Sps)
Color A
9.) (Sdc, 2Dc) in Ch 3 Sp, *Ch 1, Sk 3, 3Dc in Ch 1 Sp, Ch 1, Sk 3, 3Dc in Ch 1 Sp, Ch 1, Sk 3, 3Dc in Ch 1 Sp, Ch 1, Sk 3, 3Dc in Ch 1 Sp, Ch 1, Sk 3, 3Dc in Ch 1 Sp, Ch 1, Sk 3, 3Dc in Ch 1 Sp, Ch 1, Sk 3, 3Dc in Ch 1 Sp, Ch 1, Sk 3, (3Dc, Ch 3, 3Dc) in Ch 3 Sp, repeat from * two more times, Ch 1, Sk 3, 3Dc in Ch 1 Sp, Ch 1, Sk 3, 3Dc in Ch 1 Sp, Ch 1, Sk 3, 3Dc in Ch 1 Sp, Ch 1, Sk 3, 3Dc in Ch 1 Sp, Ch 1, Sk 3, 3Dc in Ch 1 Sp, Ch 1, Sk 3, 3Dc in Ch 1, Sp, Ch 1, Sk 3, 3Dc in Ch 1 Sp, Ch 1, Sk 3, (3Dc, Ch 3) Join with Sl St to Sdc. (108 Dc, 32 Ch 1 Sps, 4 Ch 3 Sps)
10.) (Sdc, 2Dc) in Ch 3 Sp, *Ch 1, Sk 3, 3Dc in Ch 1 Sp, Ch 1, Sk 3, 3Dc in Ch 1 Sp, Ch 1, Sk 3, 3Dc in Ch 1 Sp, Ch 1, Sk 3, 3Dc in Ch 1 Sp, Ch 1, Sk 3, 3Dc in Ch 1 Sp, Ch 1, Sk 3, 3Dc in Ch 1 Sp, Ch 1, Sk 3, 3Dc in Ch 1 Sp, Ch 1, Sk 3, 3Dc in Ch 1 Sp, Ch 1, Sk 3, (3Dc, Ch 3, 3Dc) in Ch 3 Sp, repeat from * two more times, Ch 1, Sk 3, 3Dc in Ch 1 Sp, Ch 1, Sk 3, 3Dc in Ch 1 Sp, Ch 1, Sk 3, 3Dc in Ch 1 Sp, Ch 1, Sk 3, 3Dc in Ch 1 Sp, Ch 1, Sk 3, 3Dc in Ch 1 Sp, Ch 1, Sk 3, 3Dc in Ch 1 Sp, Ch 1, Sk 3, 3Dc in Ch 1, Sp, Ch 1, Sk 3, 3Dc in Ch 1 Sp, Ch 1, Sk 3, (3Dc, Ch 3) Join with Sl St to Sdc. (120 Dc, 36 Ch 1 Sps, 4 Ch 3 Sps)
11.) (Sdc, Ch 1, Dc) in Ch 3 Sp, * Ch 1, Sk 3, (Dc, Ch 1, Dc) in Ch 1 Sp, Ch 1, Sk 3, (Dc, Ch 1, Dc) in Ch 1 Sp, Ch 1, Sk 3, (Dc, Ch 1, Dc) in Ch 1 Sp, Ch 1, Sk 3, (Dc, Ch 1, Dc) in Ch 1 Sp, Ch 1, Sk 3, (Dc, Ch 1, Dc) in Ch 1 Sp, Ch 1, Sk 3, (Dc, Ch 1, Dc) in Ch 1 Sp, Ch 1, Sk 3, (Dc, Ch 1, Dc) in Ch 1 Sp, Ch 1, Sk 3, (Dc, Ch 1, Dc) in Ch 1 Sp, Ch 1, Sk 3, (Dc, Ch 1, Dc) in Ch 1, Sp, Ch 1, Sk 3, (Dc Ch 1, Dc, Ch 3, Dc, Ch 1, Dc) in Ch 3 Sp, repeat from * two more times, Ch 1, Sk 3, (Dc, Ch 1, Dc) in Ch 1 Sp, Ch 1, Sk 3, (Dc, Ch 1, Dc) in Ch 1 Sp, Ch 1, Sk 3, (Dc, Ch 1, Dc) in Ch 1 Sp, Ch 1, Sk 3, (Dc, Ch 1, Dc) in Ch 1 Sp, Ch 1, Sk 3, (Dc, Ch 1, Dc) in Ch 1 Sp, Ch 1, Sk 3, (Dc, Ch 1, Dc) in Ch 1 Sp, Ch 1, Sk 3, (Dc, Ch 1, Dc) in Ch 1 Sp, Ch 1, Sk 3, (Dc, Ch 1, Dc) in Ch 1 Sp, Ch 1, Sk 3, (Dc, Ch 1, Dc) in Ch 1 Sp, Ch 1, Sk 3, (Dc, Ch 1, Dc, Ch 3) Join with Sl St to Sdc. (88 Dc, 84 Ch 1 Sps, 4 Ch 3 Sps)
12.) (Sdc, Ch 1, Dc) in Ch 3 Sp, *Ch 1, Sk 3, (Dc, Ch 1, Dc) in Ch 1 Sp, Ch 1, Sk 3, (Dc, Ch 1, Dc) in Ch 1 Sp, Ch 1, Sk 3, (Dc, Ch 1, Dc) in Ch 1 Sp, Ch 1, Sk 3, (Dc, Ch 1, Dc) in Ch 1 Sp, Ch 1, Sk 3, (Dc, Ch 1, Dc) in Ch 1 Sp, Ch 1, Sk 3, (Dc, Ch 1, Dc) in Ch 1 Sp, Ch 1, Sk 3, (Dc, Ch 1, Dc) in Ch 1 Sp, Ch 1, Sk 3, (Dc, Ch 1, Dc) in Ch 1 Sp, Ch 1, Sk 3, (Dc, Ch 1, Dc) in Ch 1 Sp, Ch 1, Sk 3, (Dc, Ch 1, Dc) in Ch 1, Sp, Ch 1, Sk 3, (Dc Ch 1, Dc, Ch 3, Dc, Ch 1, Dc) in Ch 3 Sp, repeat from * two more times, Ch 1, Sk 3, (Dc, Ch 1, Dc) in Ch 1 Sp, Ch 1, Sk 3, (Dc, Ch 1, Dc) in Ch 1 Sp, Ch 1, Sk 3, (Dc, Ch 1, Dc) in Ch 1 Sp, Ch 1, Sk 3, (Dc, Ch 1, Dc) in Ch 1 Sp, Ch 1, Sk 3, (Dc, Ch 1, Dc) in Ch 1 Sp, Ch 1, Sk 3, (Dc, Ch 1, Dc) in Ch 1 Sp, Ch 1, Sk 3, (Dc, Ch 1, Dc) in Ch 1 Sp, Ch 1, Sk 3, (Dc, Ch 1, Dc) in Ch 1 Sp, Ch 1, Sk 3, (Dc, Ch 1, Dc) in Ch 1 Sp, Ch 1, Sk 3, (Dc, Ch 1, Dc) in Ch 1 Sp, Ch 1, Sk 3, (Dc, Ch 1, Dc, Ch 3) Join with Sl St to Sdc. (96 Dc, 92 Ch 1 Sps, 4 Ch 3 Sps)
13.) Ch 1, Sc in each St and Ch around with 3Sc in middle Ch of Ch 3. (208 Sc)
Finish off and weave in all ends. Block squares to make joining to the other squares easier.
Follow Crochets By Trista on:
Facebook
Instagram
Pinterest
Ravelry
Etsy
Ribblr
Love Crafts
Join the
“Crochets By Trista Crochet Community”
on Facebook.
I’d love to hear from you! Don’t hesitate to contact me. Let me know what you’re working on or designs you’d like to see in the future. Use the links above or email me at crochetsbytrista@gmail.com
If you’ve purchased my designs in the past, leave a review. I want to know what you think.
You may sell finished items made with my pattern, I just ask that you credit the design to Crochets By Trista.
I can not offer any refunds on patterns due to it being a pdf download.