In part 2 of the Lupine Shawl we will start making the actual Lupine Shawl.
If you’ve missed out on all the the details (like supplies, stitches used, and the gauge) you can get them all HERE (or the image below).

You ready to get in to it? Ok, here we go!
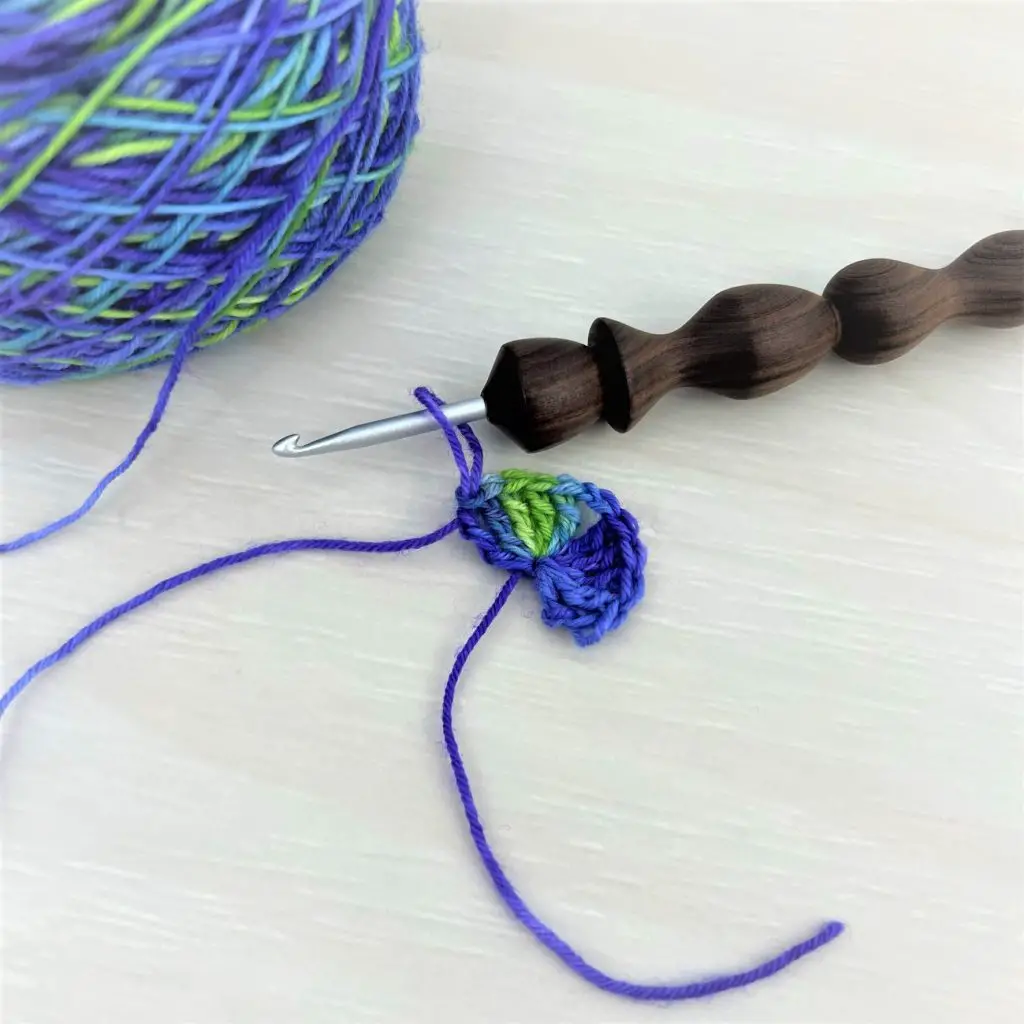
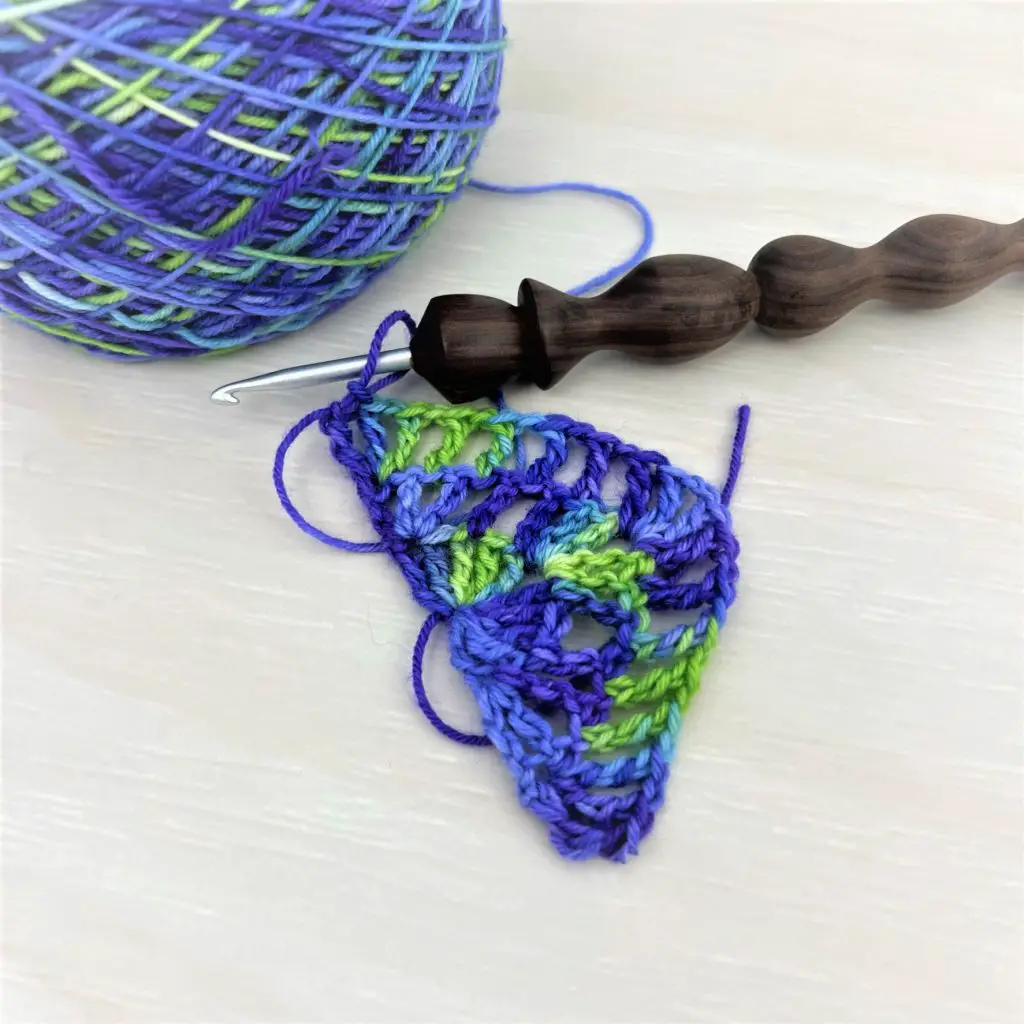
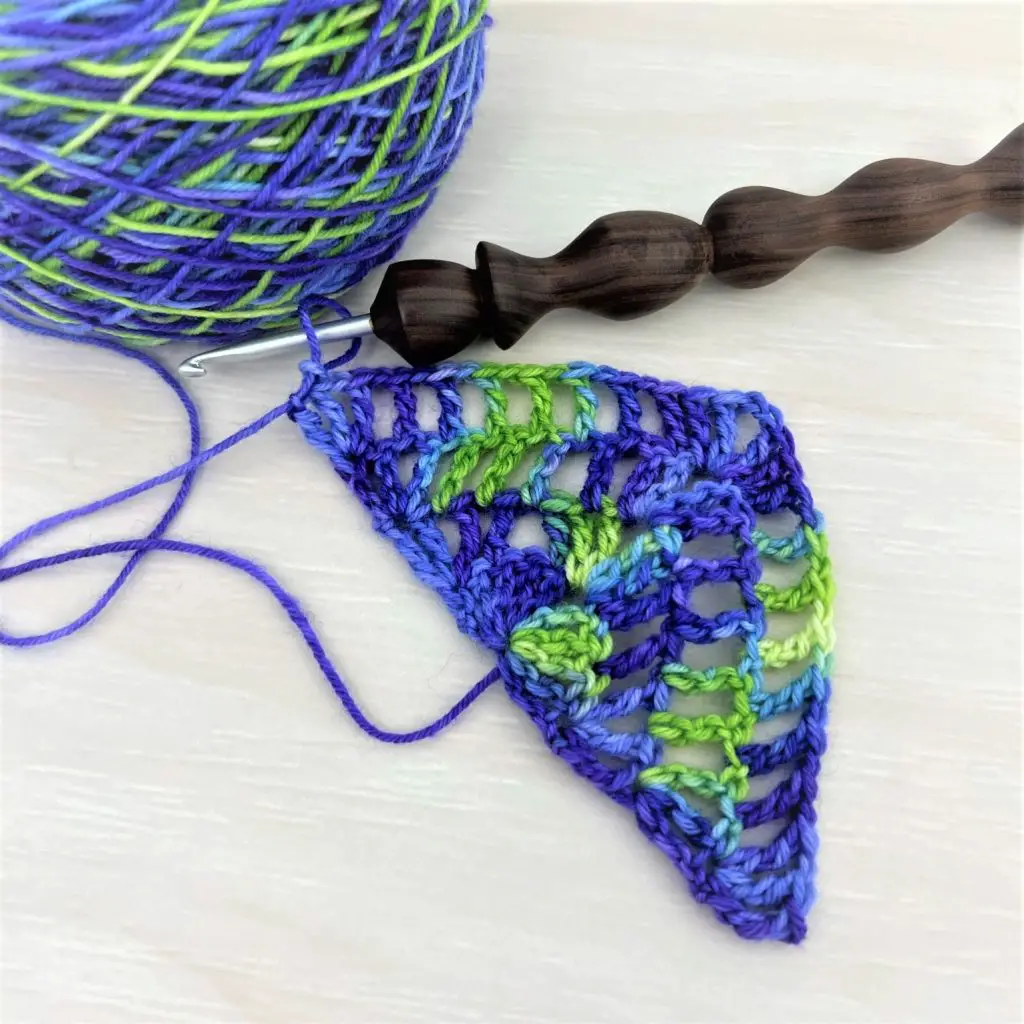
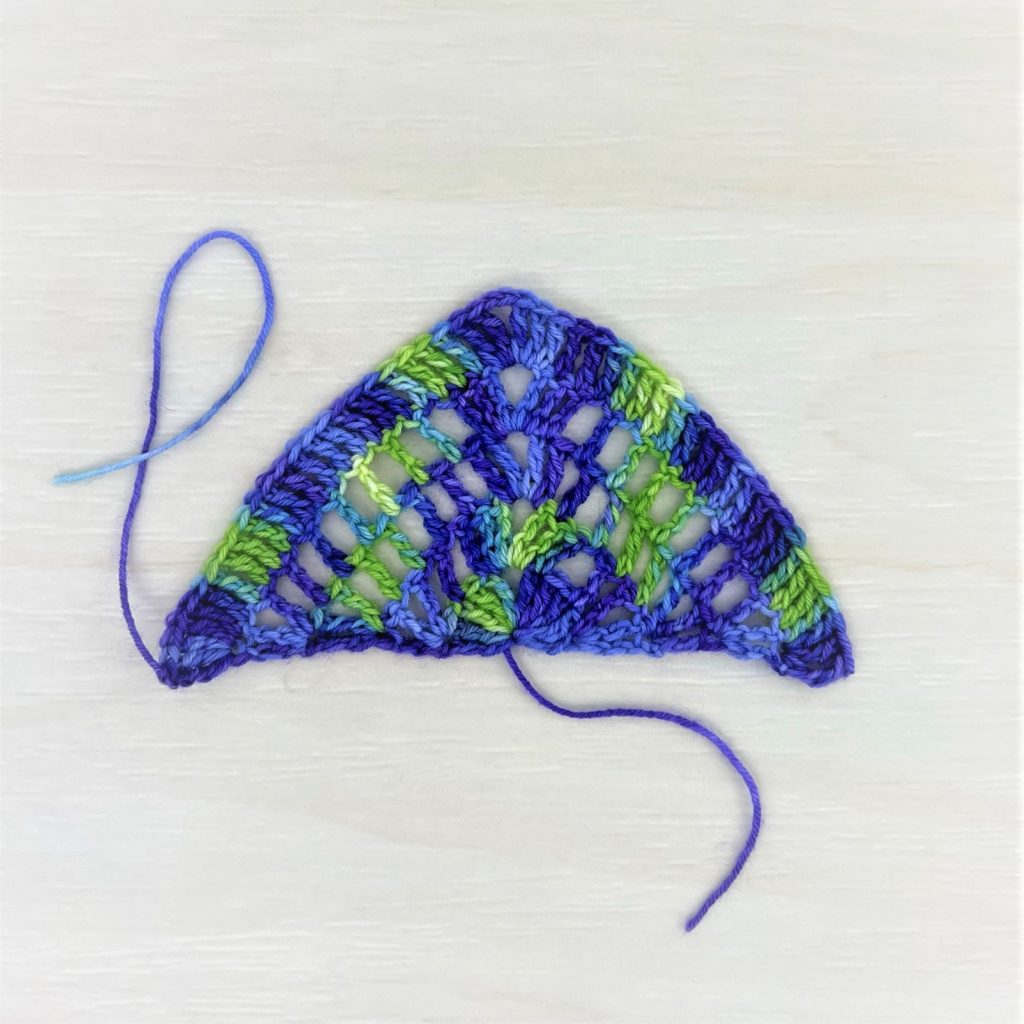
I’ve included photos of what your Lupine Shawl should look like after each of the first 5 rows.
I’m not going to lie to you, these first few rows will be the hardest rows for you. Getting into the rhythm of how to start and finish each row along with where to place the stitches takes some getting use to. You will do fine because once you’ve done it the few times it will be second nature.
Pattern
You’re going to want to start with a Magic Circle. I know that there are some of us who have difficulty with this technique. I’ve been doing it for so long that I can’t start my Lupine Shawl without doing it. I’ve tried.
Row 1.) In MC, 5Tr, Ch 2, 5Tr. (10)
Row 2.) Turn, (Str, Tr, Ch 1, Tr) in 1st St, *Ch 1, Sk 1, Tr, repeat from * until Ch 2 Sp, (2Tr, Ch 2, 2Tr) in Ch 2 Sp, *Tr, Ch 1, Sk 1, repeat from *until last St, (Tr Ch 1, 2Tr) in last St. (20)
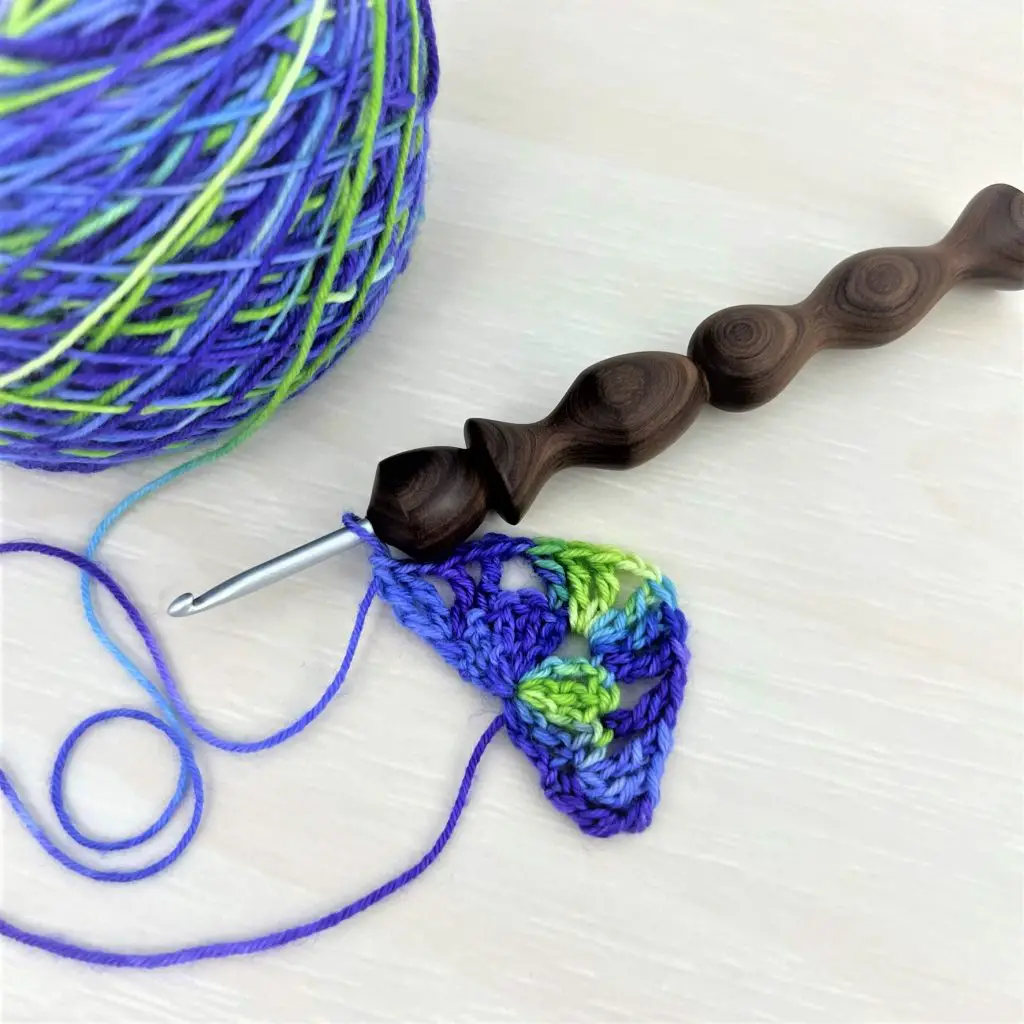
Row 3.) Turn, (Str, Tr, Ch 1, Tr) in 1st St, Ch 1, Sk 1, *Tr, Ch 1, Sk 1, repeat from * until Ch 2 Sp, (2Tr, Ch 2, 2Tr) in Ch 2 Sp, Ch 1, Sk 1, *Tr, Ch 1, Sk 1, repeat from * until last St, (Tr, Ch 1, 2Tr) in last St. (30)
Tip – The Tr goes into the Ch 1 of the previous row.
Row 4.) Turn, (Str, Tr, Ch 1, Tr) in 1st St, *Ch 1, Sk 1, Tr, repeat from * until Ch 2 Sp, (2Tr, Ch 2, 2Tr) in Ch 2 Sp, *Tr, Ch 1, Sk 1, repeat from * until last St, (Tr, Ch 1, 2Tr) in last St. (40)
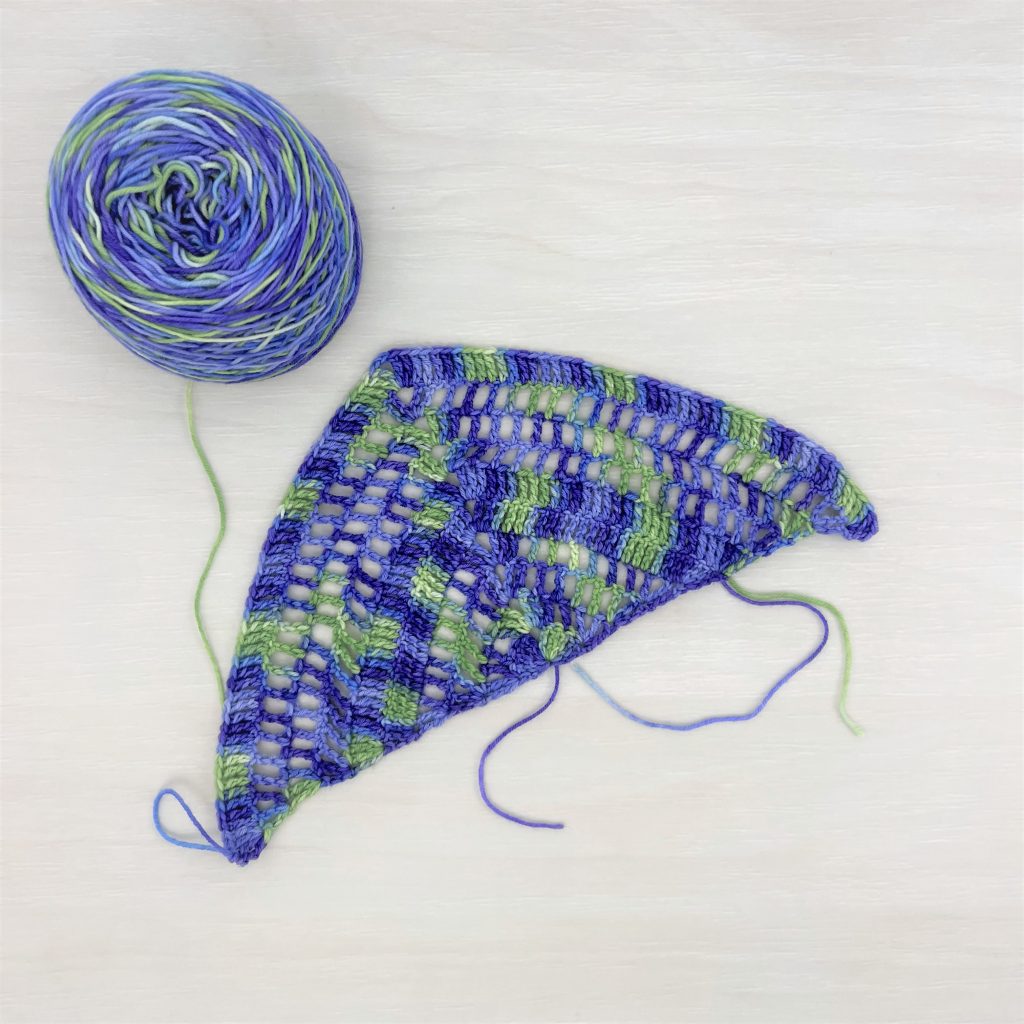
Row 5.) Turn, (Str, 3Tr) in 1st St, Tr in next St and across until Ch 2 Sp, (2Tr, Ch 2, 2Tr) in Ch 2 Sp, Tr in next St and across until last St, (4Tr) in last St. (50)
Your Lupine Shawl should look similar to the picture below after Row 5. If you’re using hand-dyed yarn or a different color, you’ll want to switch skeins at the end of this row.
Row 6.) Turn, (Str, 3Tr) in 1st St, Tr in next St and across until Ch 2 Sp, (2Tr, Ch 2, 2Tr) in Ch 2 Sp, Tr in next St and across until last St, (4Tr) in last St. (60)
Row 7.) Turn, (Str, Tr, Ch 1, Tr) in 1st St, Ch 1, Sk 1, *Tr, Ch 1, Sk 1, repeat from * until Ch 2 Sp, (2Tr, Ch 2, 2Tr) in Ch 2 Sp, Ch 1, Sk 1, *Tr, Ch 1, Sk 1, repeat from * until last St, (Tr, Ch 1, 2Tr) in last St. (70)
Row 8.) Turn, (Str, Tr, Ch 1, Tr) in 1st St, *Ch 1, Sk 1, Tr, repeat from * until Ch 2 Sp, (2Tr, Ch 2, 2Tr) in Ch 2 Sp, *Tr, Ch 1, Sk 1, repeat from * until last St, (Tr, Ch 1, 2Tr) in last St. (80)
Row 9.) Turn, (Str, Tr, Ch 1, Tr) in 1st St, Ch 1, Sk 1, *Tr, Ch 1, Sk 1, repeat from * until Ch 2 Sp, (2Tr, Ch 2, 2Tr) in Ch 2 Sp, Ch 1, Sk 1, *Tr, Ch 1, Sk 1, repeat from * until last St, (Tr, Ch 1, 2Tr) in last St. (90)
Row 10.) Turn, (Str, 3Tr) in 1st St, Tr in next St and across until Ch 2 Sp, (2Tr, Ch 2, 2Tr) in Ch 2 Sp, Tr in next St and across until last St, (4Tr) in last St. (100)
Like at the end of Row 5, if you changed yarn, you’ll want to change skeins again. I would also advice to weave in the ends as you go. It is much easier to do it as you go but if you’re anything like me you’ll wait until the end and bitch about it.
Part 3 can be found HERE.

Availability
You can purchase the PDF download on Ravelry and Etsy.
Follow Crochets By Trista on:
Facebook
Instagram
Pinterest
Ravelry
Etsy
Ribblr
Love Crafts
Join the
“Crochets By Trista Crochet Community”
on Facebook.
I’d love to hear from you! Don’t hesitate to contact me. Let me know what you’re working on or designs you’d like to see in the future. Use the links above or email me at crochetsbytrista@gmail.com
If you’ve purchased my designs in the past, leave a review. I want to know what you think.