Autumn Love Cowl

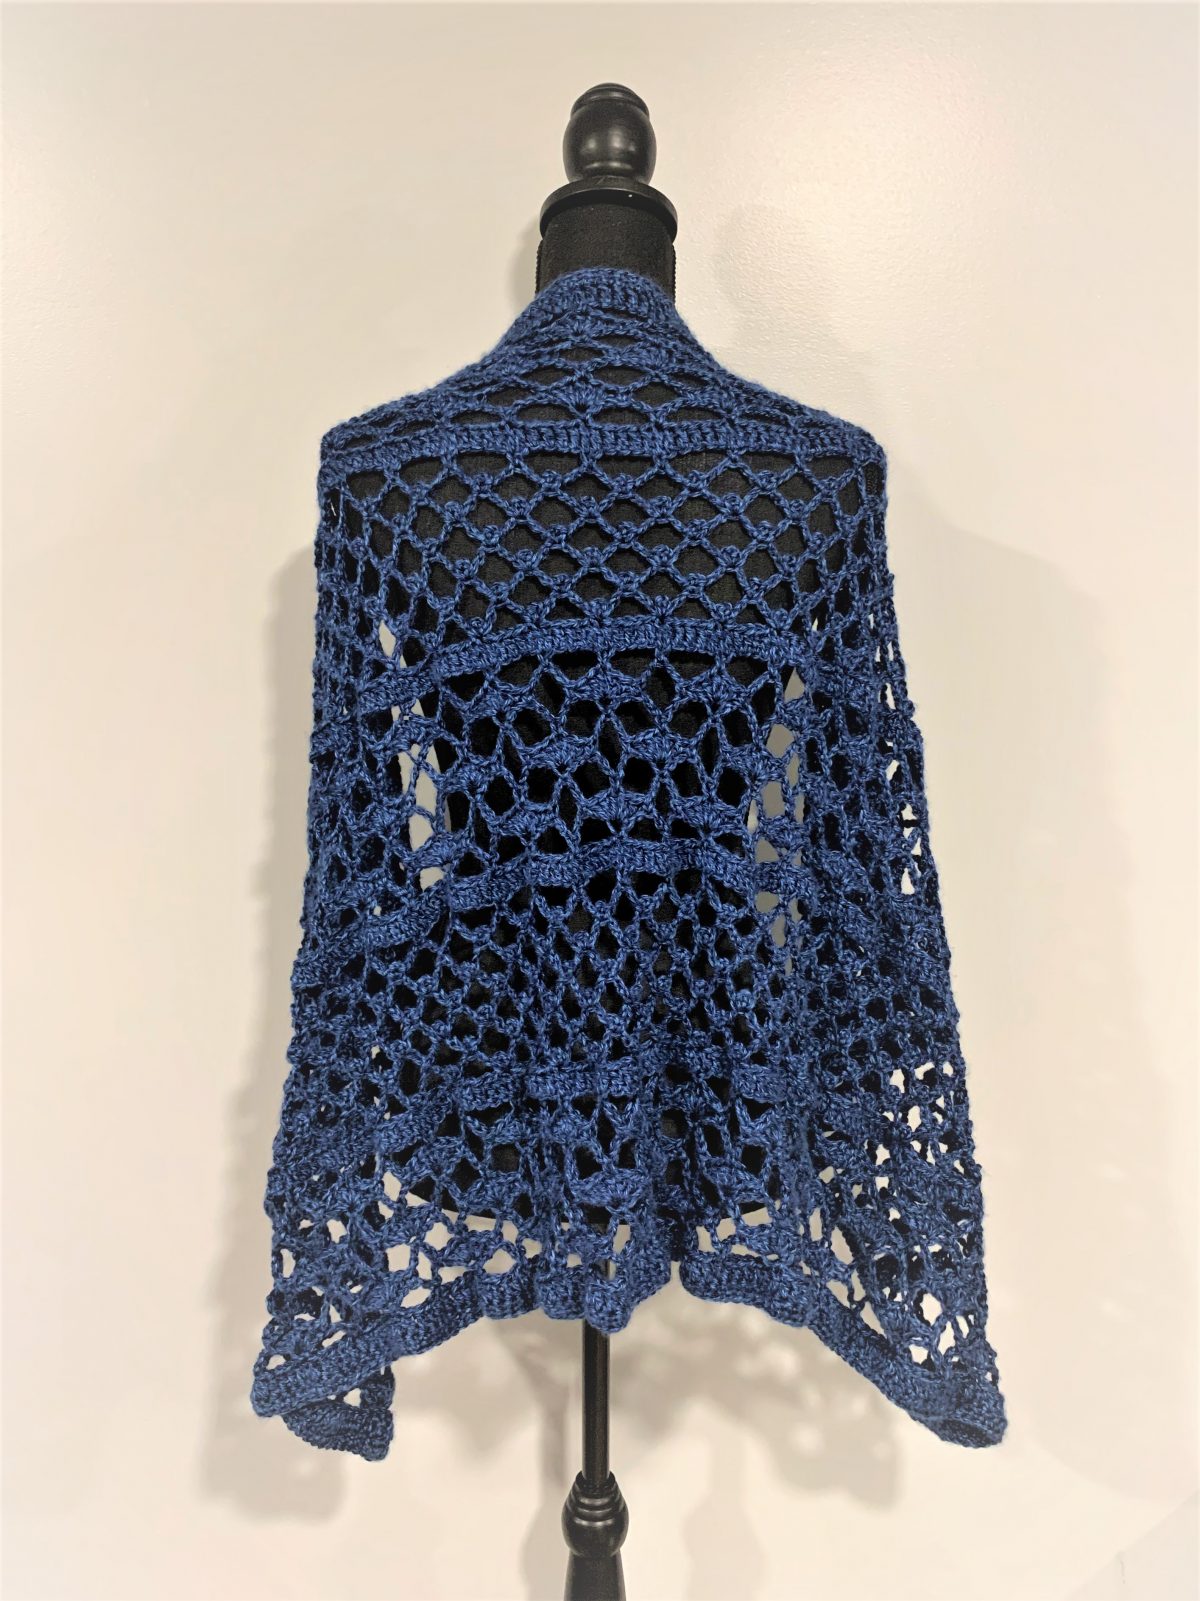
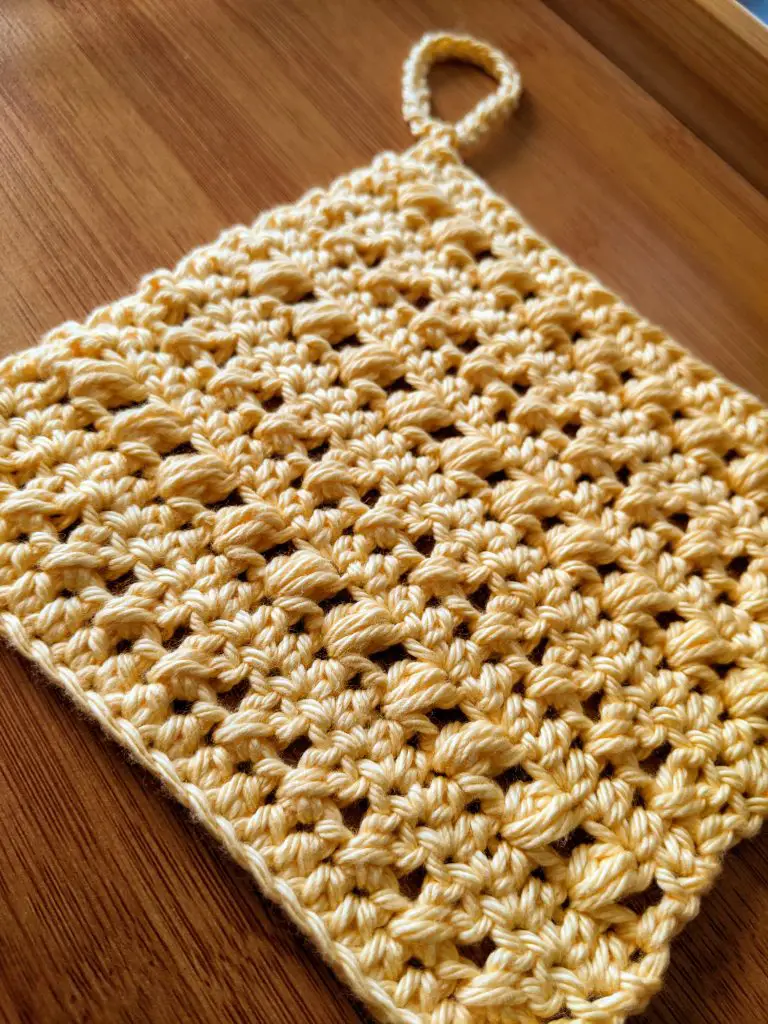
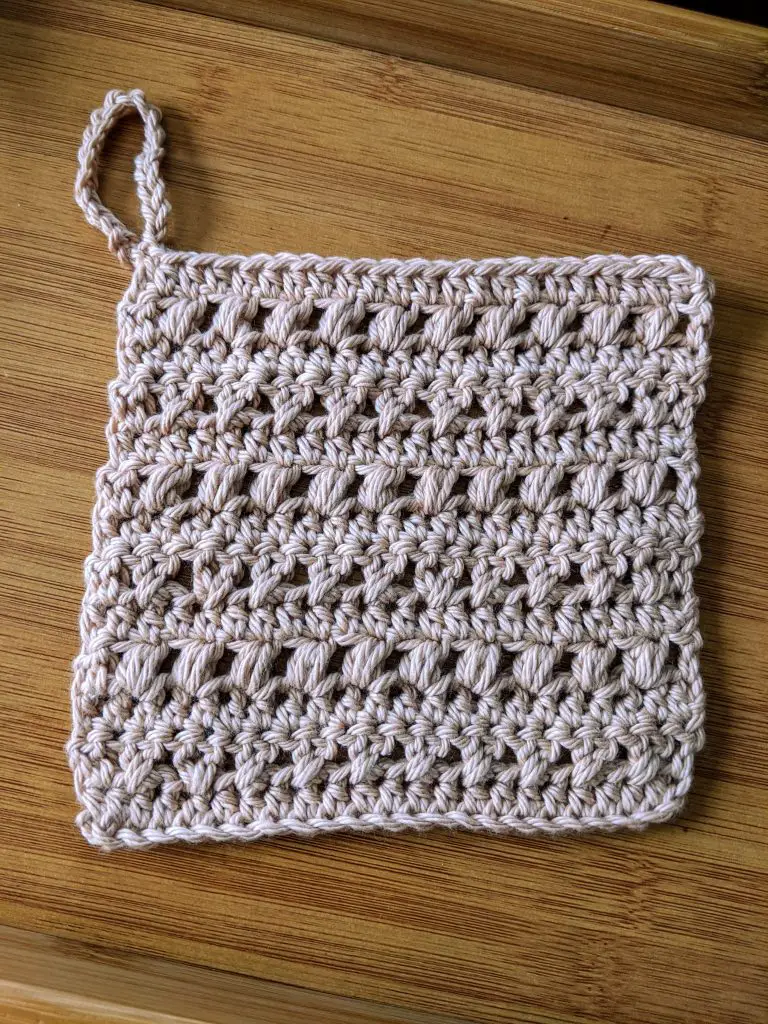
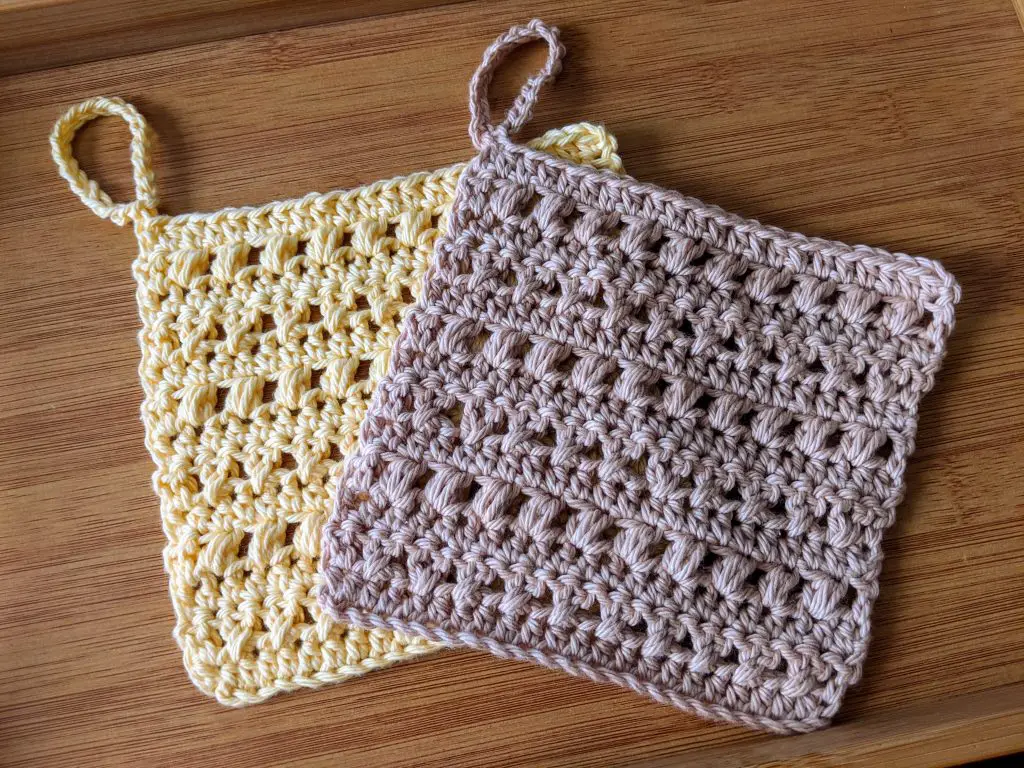
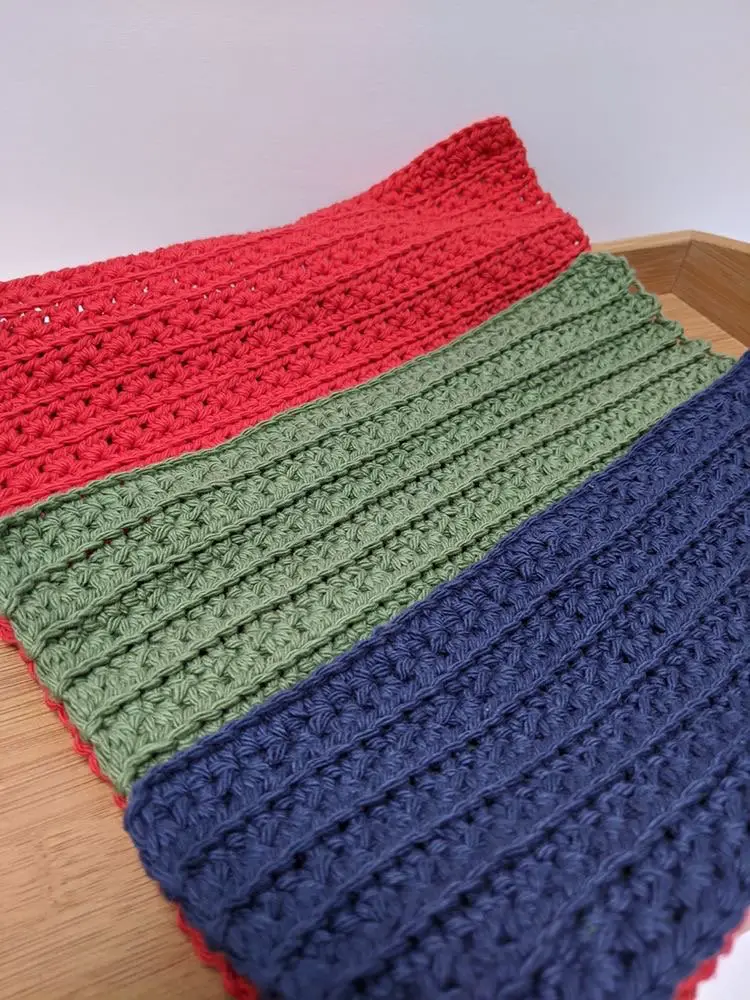
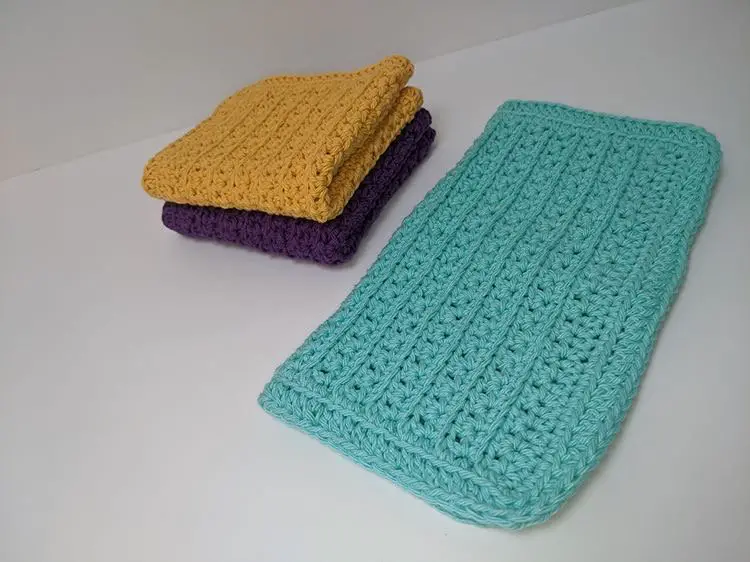
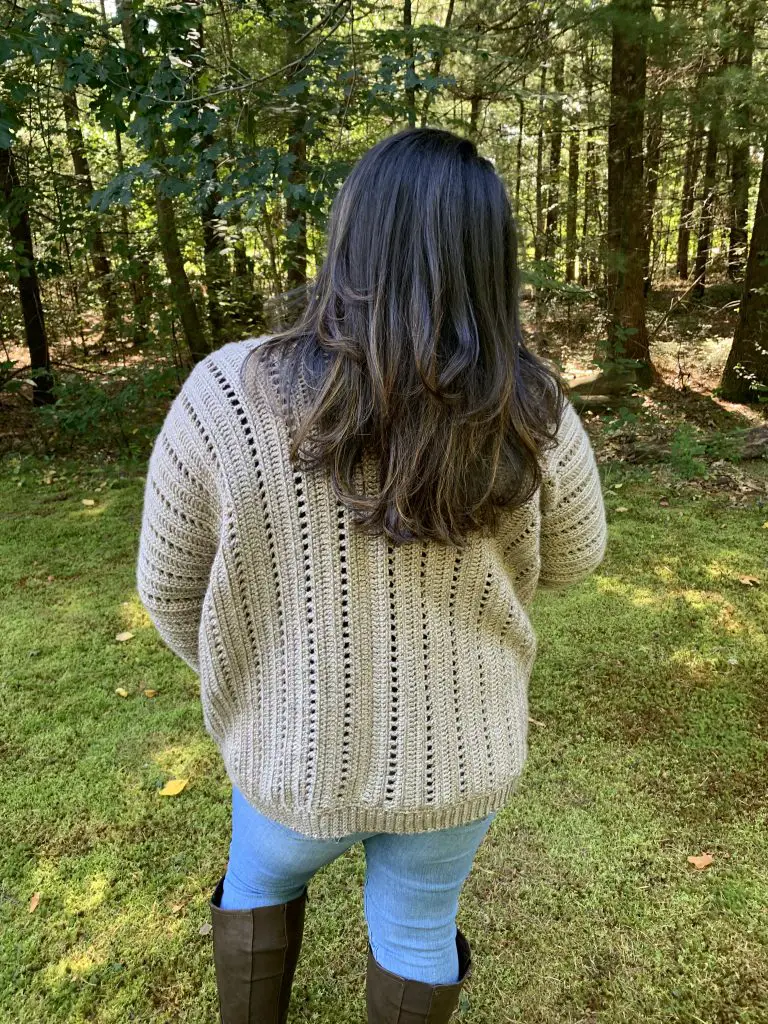
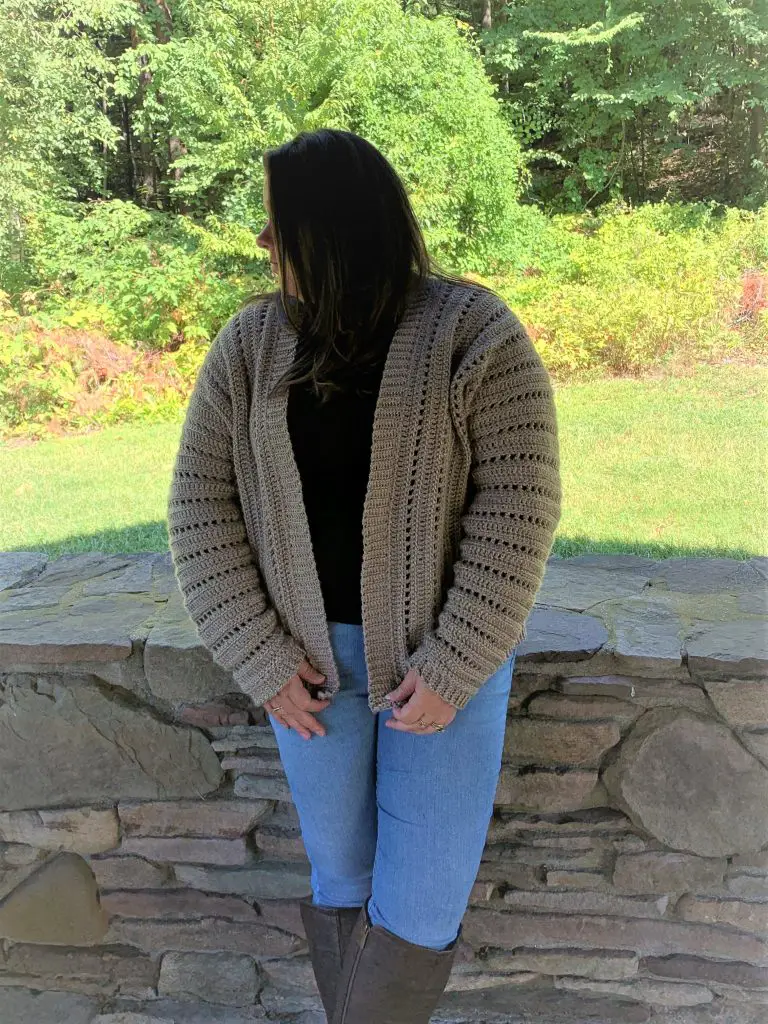
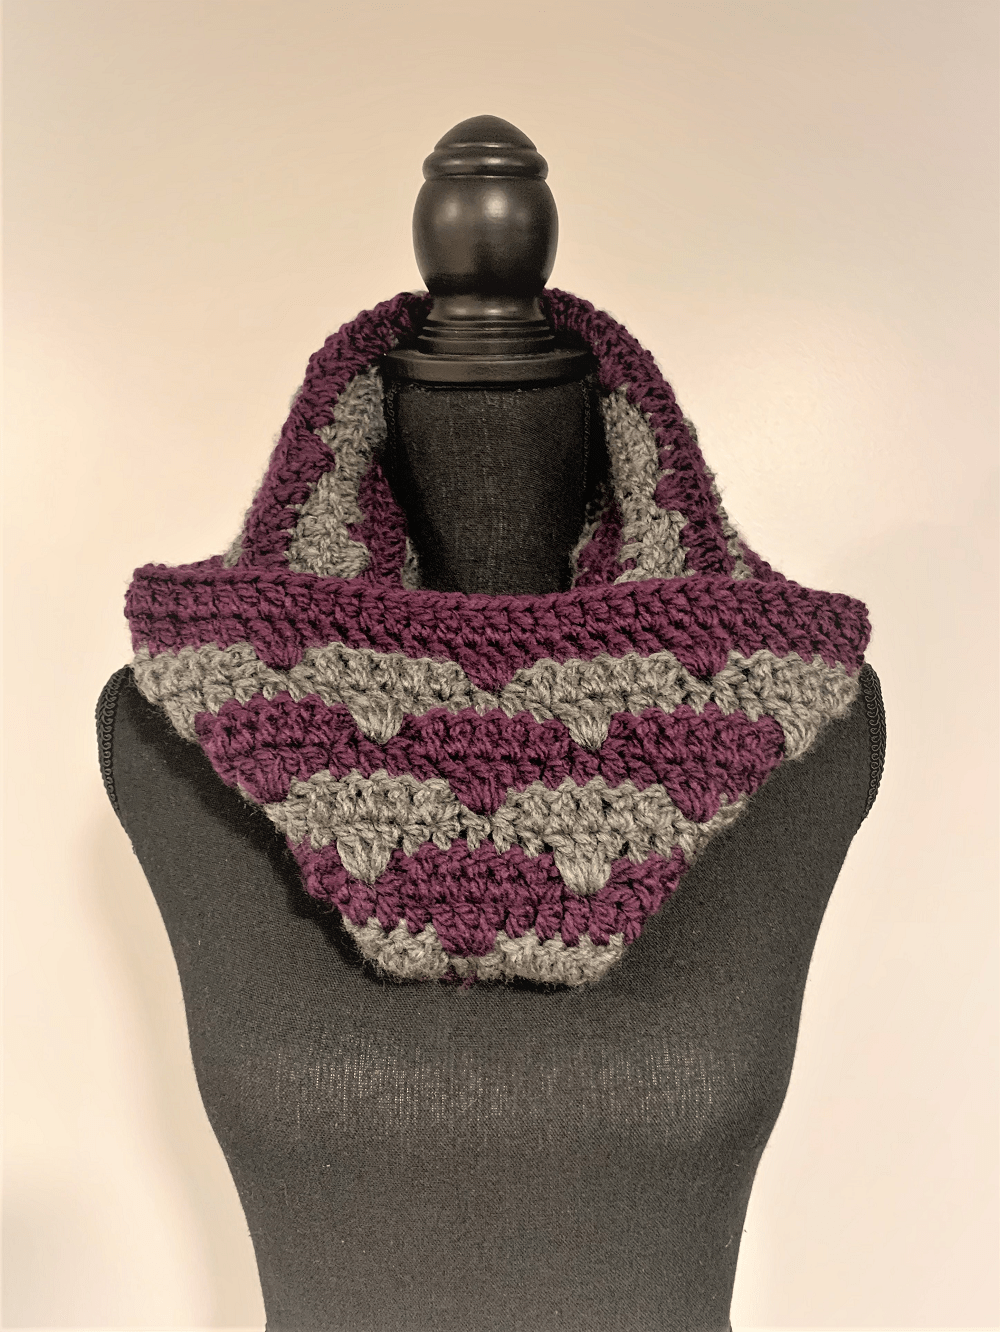
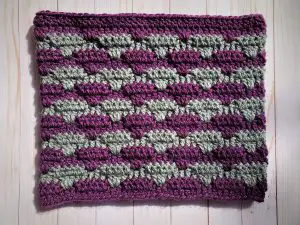
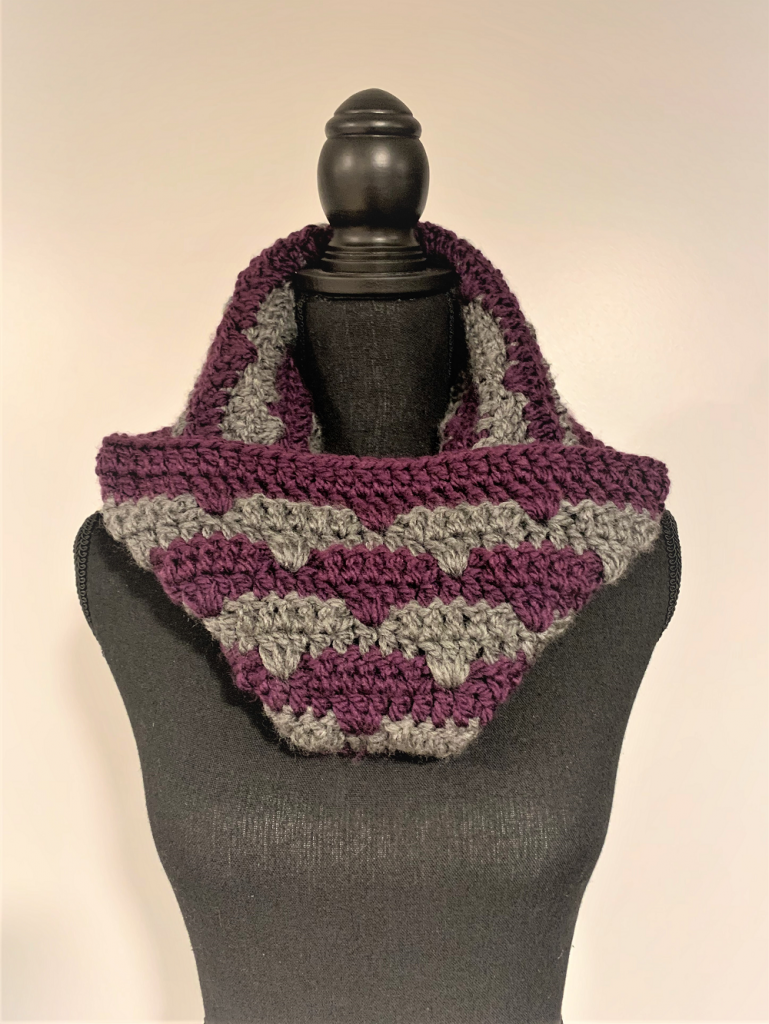
The Autumn Love Cowl will be your new favorite cool weather accessory. This FREE crochet pattern features at least 2 colors of bulky weight yarn.

I used two colors, but the results would be amazing with each section a separate color. The Autumn Love Cowl would be a great project to use up any of your partially used skeins from previous projects.

***Post contains affiliate links – which means if you make a purchase from the links below, I will get a small percentage of the sales at no additional cost to you ***

Supplies Needed

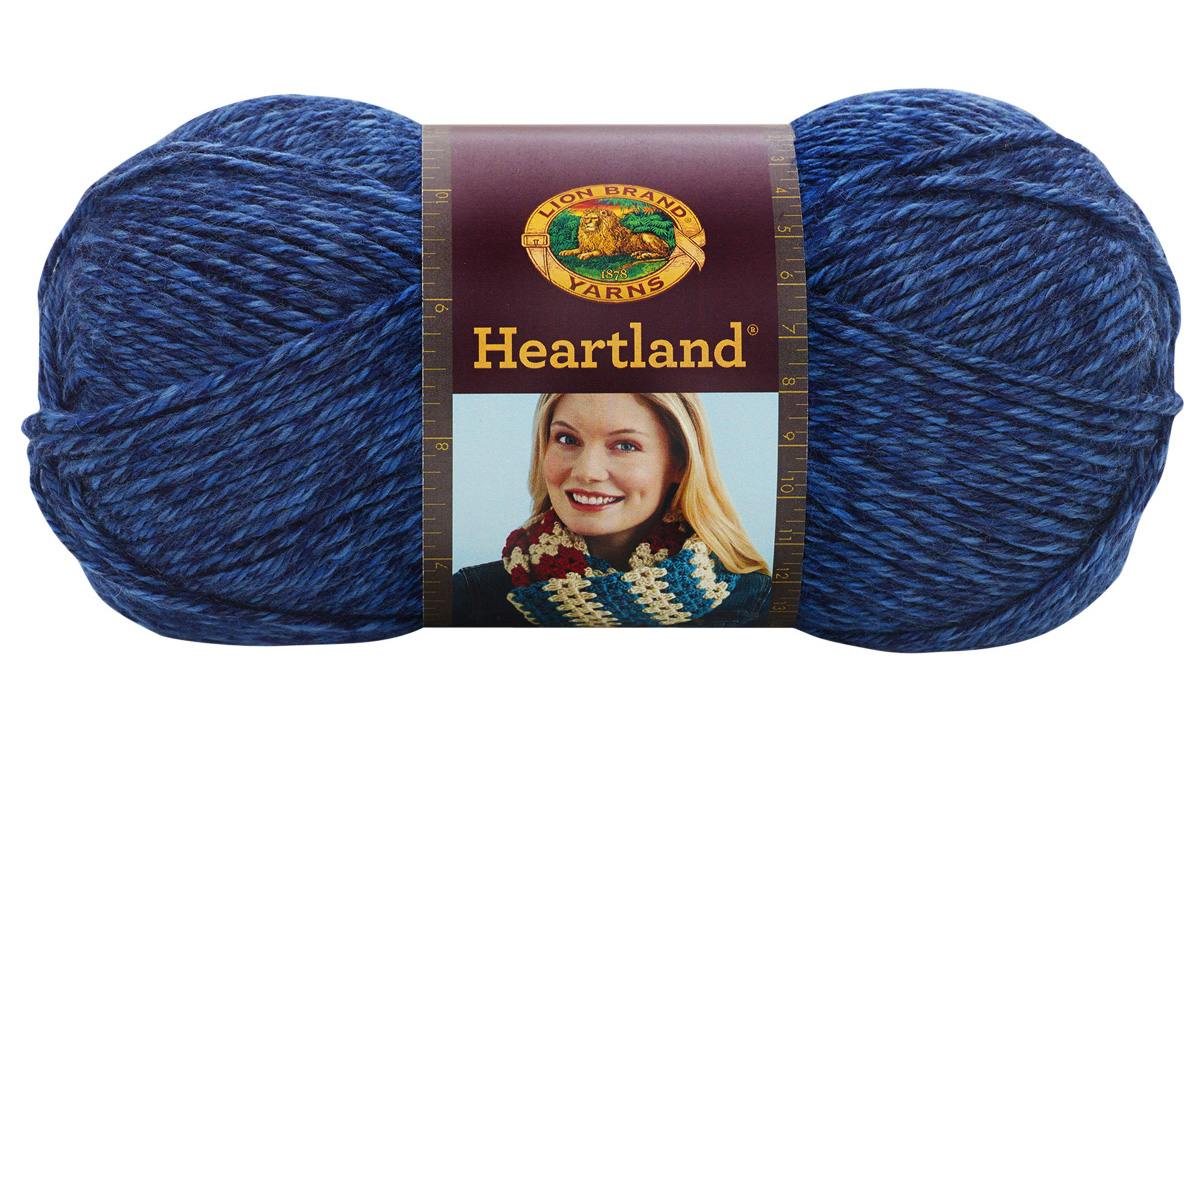
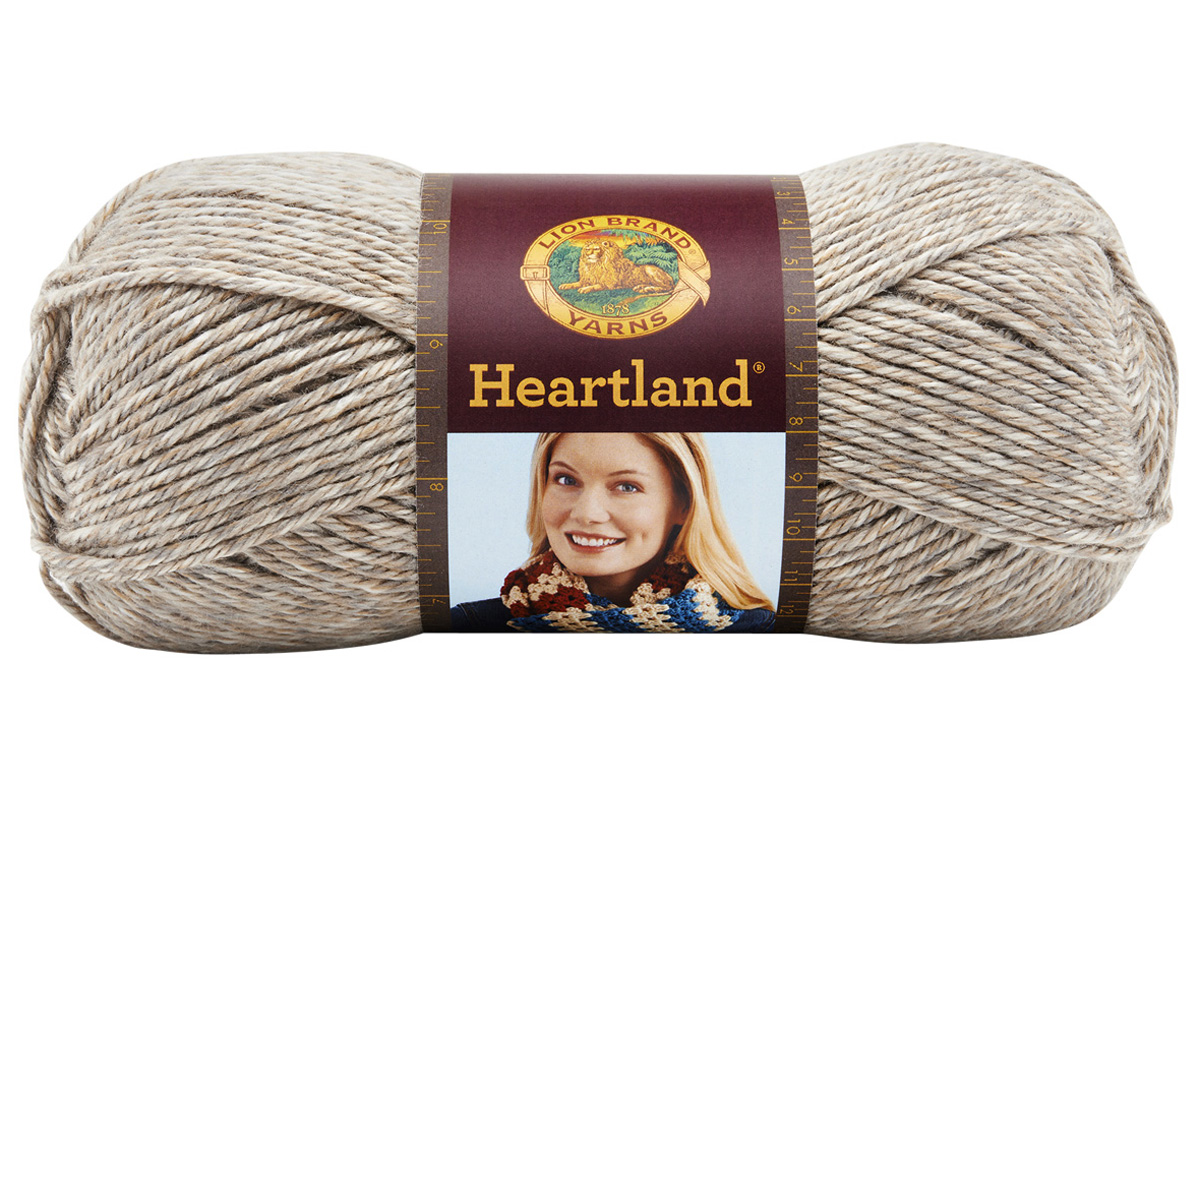
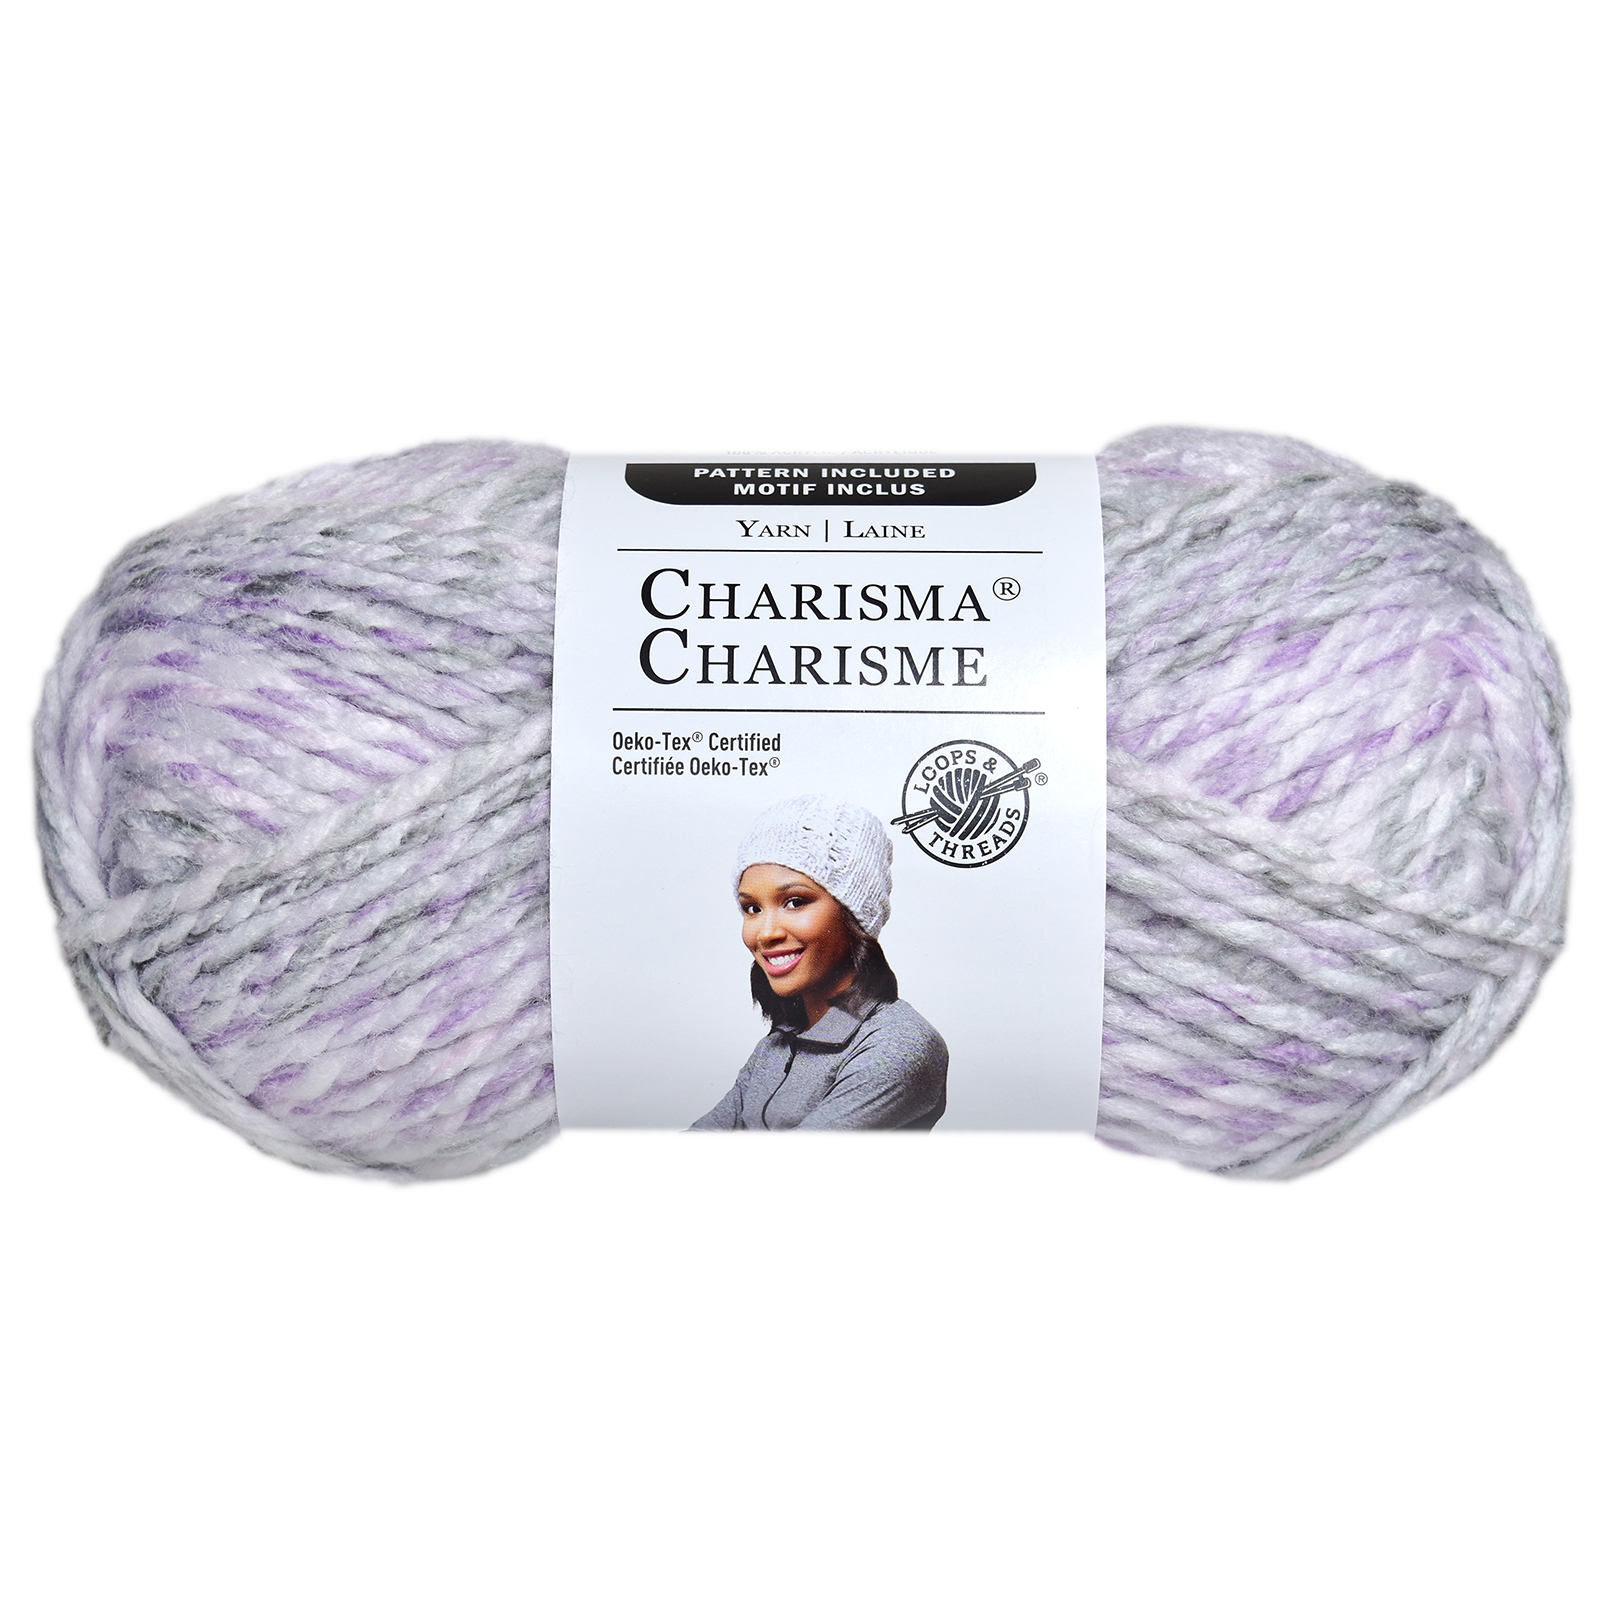
– 270 yards of Loops And Threads Charisma yarn or equivalent #5 weight yarn (details in notes below)
– K/6.5mm crochet hook
– Measuring tape
– Scissors
– Yarn needle

Charisma? Yarn By Loops & Threads� | Michaels�

Stitches Used

Ch – Chain
Dc – Double Crochet
LDc – Long Double Crochet
RS – Right Side
Sk – Skip
Sl St – Slip Stitch
WS – Wrong Side
YO– Yarn Over

Stitch Definition

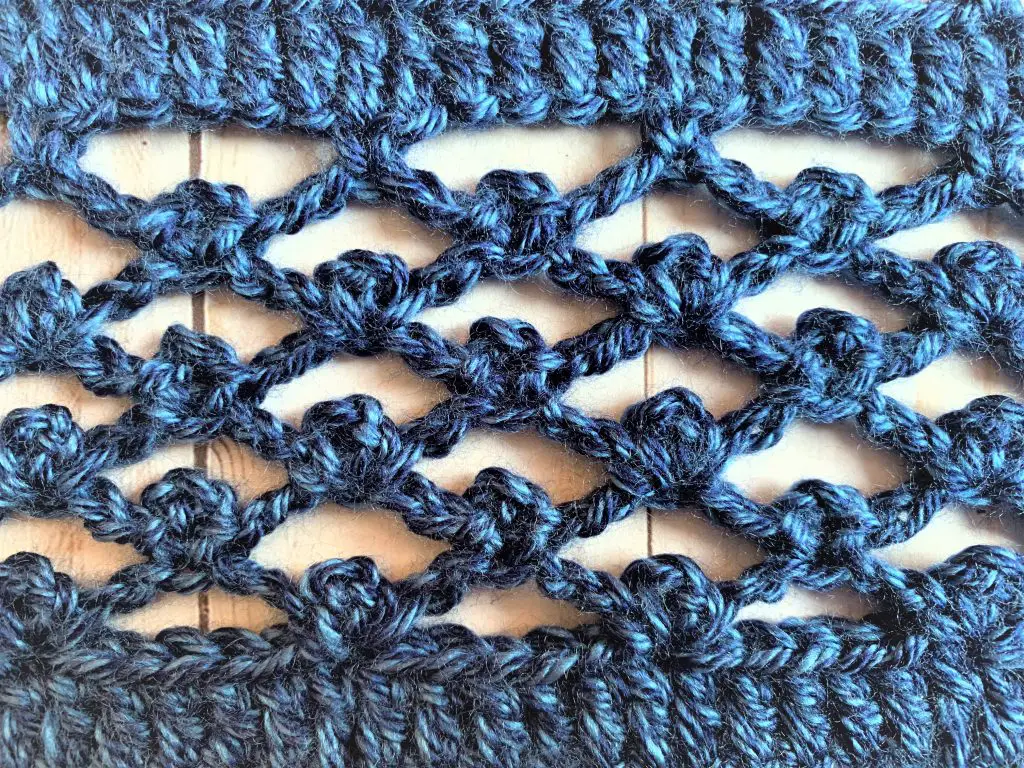
Ldc – Long Double Crochet – YO, insert hook into St, YO pull though the St and pull up loop to the height of a DC, YO pull through 2 loops, YO pull through remaining loops.

Tips & Tricks

Changing Colors – When changing colors, complete the last Dc with the next color. 

For example; with Color 1, YO, insert hook into St, YO pull up a loop, YO pull through 2 loops; YO with Color 2 and pull through remaining loops.

Gauge and Sizes

Gauge: 10 Sts x 6 Rows = 4” square of Dc
Size: 15” Wide x 12” Tall

Pattern Notes

Yardage needed:
160 yards of Color A (2 skeins)
109 yards of Color B (1 skein)

Carry the yarn up at the seam on the WS.

A stitch count is given at the end of each row.

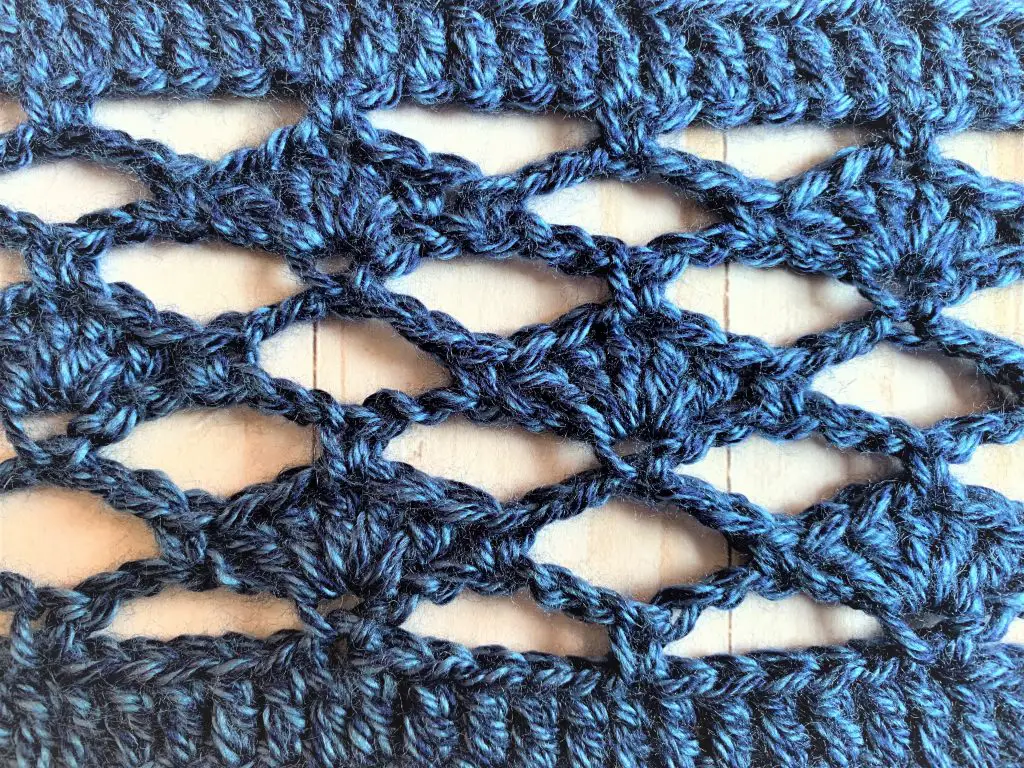
There is a 4 row repeat, changing after each 2 rows.

This Week's Coupon at Michaels.com

The Pattern

With Color A:

Ch 82

1) Dc in 4th Ch (Ch 3 counts as a St) from the hook and each Ch across.  Join with a Sl St to the top of the Ch 3. (80) RS (Use tail to connect bottom when weaving in ends.)

2) Turn, Ch 1, Dc in 1st St, Dc in next St, *Ch 3, Sk 3, dc in next 5 Sts, * repeat 8 MORE times, Ch 3, Sk 3, dc in next 3 Sts. Connect to 1st St with a Sl St. (10 Ch3 spaces, 50 Dc)

Color B

3) Turn, Ch 1, Dc in 1St St and next 2 Sts, 3LDc into center of previous rows skipped Sts, *Dc in next 5 Sts, 3Ldc into center of previous rows skipped Sts, * repeat 8 more times, Dc in last 2 Sts. Connect to 1st Dc with Sl St. (10 3LDc’s, 50 Dc’s)

4) Turn, Ch 1, Dc in 1st St and next 5 Sts, *Ch 3, Sk 3, Dc in next 5 Sts, * repeat 8 more times, Dc in last 2 Sts. Connect to 1st St with a Sl St. (9 Ch3 spaces, 53 Dc’s)

Shop Michaels Online

Color A

5) Turn, Ch 1, Dc in 1st St and next 6 Sts, *3Ldc into center of previous rows skipped Sts, Dc in next 5 Sts, * repeat 8 more times, Dc in the last St. Connect to 1st St with a Sl St.
(9 3Ldc’s, 53 Dc)

6) Turn, Ch 1, Dc in 1st St, Dc in next St, *Ch 3, Sk 3, Dc in next 5 Sts, * repeat 8 MORE times, Ch 3, Sk 3, Dc in next 3 Sts. Connect to 1st St with a Sl St. (10 ch3 spaces, 50 dc)

Color B

7) Repeat row 3.

8) Repeat row 4.

Color A

9) Repeat row 5.

10) Repeat row 6.

Color B

11) Repeat row 3.

12) Repeat row 4.

Michaels Knitting & Crochet

Color A

13) Repeat row 5.

14) Repeat row 6.

Color B

15) Repeat row 3.

16) Repeat row 4.

Color A

17) Repeat row 5.

18) Repeat row 6.

Color B

19) Repeat row 3.

20) Repeat row 4.

CLICK.BUY. CREATE. Shop Michaels.com today!

Color A

21) Repeat row 5.

22) Do NOT Turn, Ch 1, Dc in 1st St and each St around. (80)

Fasten off and weave in ends.

Availability

This pattern can be purchased on Ravelry and Etsy.

Use #Autumnlovecowl on social media so I can see your wonderful cowls and color combos.

Join the
Crochets By Trista Crochet Group” on Facebook

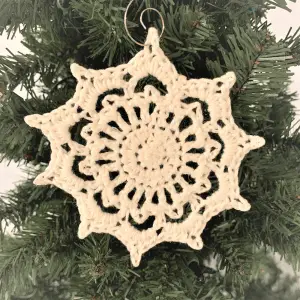
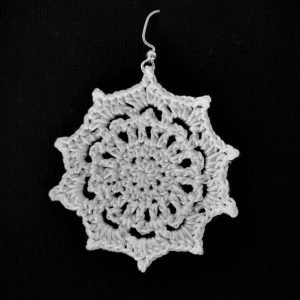
Want to see another new FREE pattern? Go see the Zeta Snowflake HERE.

Follow Crochets By Trista on:
Facebook
 Instagram
Pinterest
 Etsy
 Ravelry

I’d love to hear from you! Don’t hesitate to contact me. Let me know what you’re working on or designs that you’d like to see in the future. Use the links above or email me at crochetsbytrista@gmail.com.

If you’ve purchased my designs in the past, leave a review. I want to know what you think.

Zeta Snowflake – Free Pattern

Do you need a quick and easy holiday/winter gift idea? You’ve come to the right place.

My Zeta Snowflake is at least 4 different projects within the one design. Depending on the size yarn that you pick you can have a coaster, a holiday tree ornament, a keychain, or a set of earrings.

I hope you enjoy this snowflake as much as I do. Below you can find all the details and supplies you’ll need to make some for yourself, or friends and family.

***Post contains affiliate links – which means if you make a purchase from the links below, I will get a small percentage of the sales at no additional cost to you ***

30 Days of Cozy

I’m so excited that I participated in The Best of 30 Days of Cozy 2021 hosted by Made With A Twist.

Back to School Keychain Blog Hop

Christina of Creative Snugglies hosted her first blog hop August 2021. Get all the details about the hop HERE or the image below.

If you’ve missed out on any of the free pattern downloads there is a pattern bundle featuring all the featured designs for only $14.99! Get all the details HERE.

Pattern Notes

A stitch count has been provided at the end of each round.

By switching the yarn and hook size, you can make earrings and/or ornaments. (Size 10 crochet thread and a 1.5mm hook; #3 light weight yarn and a H hook; #2 sport weight yarn and E hook)

Blocking isn’t necessary for the coasters but advised. To get an ornament or earrings to look their best, you will need to block the finished items using Aleene’s Stiffen Quik or a similar product.

The Yarn

To make the coasters, you will need 100% cotton worsted weight yarn and a 5.50mm crochet hook. For the yarn, I used Lily’s Sugar ‘N Cream, but you could your own favorites from your local craft store.

The Zeta Snowflake as a coaster using Lily’s Sugar ‘N Cream.

To make the ornament, you will need a sport weight yarn and 2.75mm crochet hook. I used Premier’s Cotton Fair available at Michael’s Arts & Crafts.

The Zeta Snowflake as an ornament using Premier’s Cotton Fair.

To make the earrings, you will need size 10 crochet thread and a 1.5mm hook. I used Aunt Lydia’s Classic Crochet Thread, available at Michael’s Arts & Crafts.

The Zeta Snowflake as an earring using Aunt Lydia’s Classic Crochet Thread.

Supplies Needed

– 25 yards of 100% worsted weight cotton yarn
– I/5.50mm crochet hook
– Scissors
– Measuring tape
– Yarn needle
– Blocking materials
– For ornament; ornament hook
– For earrings; earring findings
– For keychain; swivel clip findings

Stitches Used

Ch – Chain
Hdc – Half Double Crochet
Mc – Magic Circle
Sc – Single Crochet
Sk – Skip
Sl St – Slips Stitch
Sp(s) – Space(s)

Special Stitches

Picot – Ch 3, Sl St into 1st Ch.

The Pattern

Coaster: make 4
Ornament(s): as many you’d like
Earrings: make
2
Keychain: make 1

Round 1: 10 Hdc in MC, connect to 1st Hdc with Sl St. (10)

Round 2: Ch1, 2Hdc in next St and each St around.  Join with Sl St to 1st Hdc. (20)

Round 3: Ch 1, *Hdc in next St, Ch 2, * repeat around. Join with Sl St to 1st Hdc. (20 Hdc)

Round 4: Ch1, *Sc in next Ch 2 space, (Sl St, Ch 3, Sl St) in next Ch 2 Sp, * repeat around. Join with a Sl St to 1st Sc. (10 Ch 3 bumps)

Round 5: Ch1, Sc in same Sc as join, Ch 5, Sk Ch 3 bump from previous row, *sc in next sc, Ch 5, Sk Ch 3 bump from previous row, * repeat around. Join with a Sl St to 1st Sc. (10 Ch 5 Sps)

Round 6: Ch 1, *(3Hdc, Picot, 3Hdc) in Ch 5 Sp, * repeat around. Join with Sl St to 1st Hdc.  (10 Picots)

Finish off and weave in ends.  Block if necessary.

For the keychain – cut a long tail and use it to sew on the finding.

Availability

A PDF download is available to purchase on both Ravelry and Etsy.

Use hashtag #zetasnowflake on IG so I can see your snowflakes.

Omega Snowflake

Do you love the Zeta Snowflake? Then you’ll really love the Omega Snowflake!

Take a look here!


Join the
Crochets By Trista Crochet Group
on Facebook

Follow Crochets By Trista on:
Facebook
 Instagram
Pinterest
 Etsy
 Ravelry

I’d love to hear from you! Don’t hesitate to contact me. Let me know what you’re working on or designs that you’d like to see in the future. Use the links above or email me at crochetsbytrista@gmail.com.

If you’ve purchased my designs in the past, leave a review. I want to know what you think.

Sapphire Shawl

The theme for 2020, where each month I have a cowl, scarf, or shawl pattern in the color of that month’s birthstone. Sapphire is the birthstone for September.

Previous designs include:
Garnet Cowl – January
Amethyst Scarf – February
Zoe’s Aquamarine Infinity Scarf – March
Diamond Shawl – April
Emerald Asymmetrical Shawl – May
Pearl Infinity Cowl – June
Ruby Shawl – July
Peridot Shawl– August

***Post contains affiliate links- which means if you make a purchase from the links below, I will get a small percentage of the sales at no additional cost to you ***

The Yarn

I’ve had my eye on this yarn for September’s design for a few months now. The yarn I decided on is Lion Brand’s Heartland in the colorway Olympic.

The heathered tones of blue really help gives you the illusion of the facets of a sapphire gemstone.

3 Pack of Lion Brand� Heartland� Yarn in Olympic | 5 oz | Michaels�

You can find the yarn I used at the affiliate link here: Michael’s Arts & Crafts – Heartland – Olympic.

The Inspiration

My mother was the inspiration for my Sapphire Shawl. Since her birthday is in September I wanted to incorporate some of the things that she likes.

One of my mom’s favorite things is the beach. Given the blues of the yarn, I immediately thought about the ocean.

A few things that come to mind when you think of the ocean are waves, shells, and rocks/pebbles (at least at some of our beaches in Connecticut and Rhode Island). After lots of trial and error, I finally figured out how I was going to express those things within a shawl.

When looking at the finished shawl, I see waves. Within those waves are shells and pebbles. This reminds me of the surf and how the waves move the shells and pebbles along the shore.

Supplies

– Approximately 625 yards of Lion Brand Heartland or equivalent worsted weight yarn
– K/6.5mm crochet hook
– Scissors
– Measuring tape
– Yarn needle
– Blocking materials

You will NEED to block the finished shawl. I know its not ideal, but for the pebbles and shells to look the best, blocking is a MUST.

Stitches

The stitches used are all simple basic stitches.

Ch – Chain
Dc – Double Crochet
RS – Right Side
Sc – Single Crochet
SDc – Starting Double Crochet
Sk – Skip
St(s) – Stitch(es)
WS – Wrong Side

SDc -Starting Double Crochet – (also known as Long Chain Double Crochet or Chainless Starting Double Crochet.)  Pull up your loop to the height of your usual Double Crochet. YO, insert into the 1st St, yarn over, pull through the Stitch, YO, pull through 2 loops, YO, pull through the remaining 2 loops.

Notes

SDc counts as a Dc.

Sk 5 – this includes both stitches and chain spaces. 

A stitch count has been provided at the end of each row. 

When working the border, I put a one stitch for sc and 3 sc for Dc.

Availability

This pattern can be purchased on Ravelry and Etsy.

Join the
Crochets By Trista Crochet Group” on Facebook

Follow Crochets By Trista on:
Facebook
 Instagram
Pinterest
 Etsy
 Ravelry

I’d love to hear from you! Don’t hesitate to contact me. Let me know what you’re working on or designs that you’d like to see in the future. Use the links above or email me at crochetsbytrista@gmail.com.

If you’ve purchased my designs in the past, leave a review. I want to know what you think.

XOXO Eco-Mini – Free Crochet Pattern – Guest Designer – Eco-Minded Stitches


***Post contains affiliate links- which means if you make a purchase from the links below, I will get a small percentage of the sales at no additional cost to you ***

I’ve been friends with Krystal of Eco-Minded Stitches for a while now. I like to think that my influence has helped her step out of her comfort zone and start her crochet designing journey.

We’re both members of the Crochetpreneur Business Academy and trying to learn all the things about being a crochet business owner. We’ve come to learn a lot about ourselves and the dreams we have as designers in the crochet world.

I’ve asked Krystal if she’d be interested in having a guest post on my blog to help each other. Life is always a little easier when a friend is by your side when starting something new. I haven’t had another designer featured on my site before and she doesn’t have a blog to send her followers to for a free pattern.

Be sure to follow Krystal on social media and to sign up for her newsletter, all links can be found at the bottom of the page. Now, for the heartfelt memory of Krystal’s inspiration behind the XOXO Eco-Mini.

The XOXO Eco-Mini

Krystal of Eco-Minded Stitches

Krystal is the maker and designer behind Eco-Minded Stitches. She and her family reside in Michigan. She is a stay-at-home mom to her two daughters.

She learned to crochet on a short weekend trip out of state in 2015. Since then, Krystal has been perfecting her crochet stitches and techniques. She enjoys making items for the home to support sustainable living.

Besides crocheting Krystal enjoys gardening, hand lettering and reading. The beach is her happy place. 

The Inspiration Behind The XOXO Eco-Mini

My parents divorced when I was young. My paternal grandmother, who we called GG, always made a point to send my brother and I mail quarterly. Over the years I have kept some of the letters and cards she has sent. 

For my 16th birthday she sent me a wonderful card and gift as well.

A few things have always stuck out to me. She always wrote in cursive. Her cursive and my own mother’s handwriting were completely different from one another. I remember spending hours analyzing their writing…and not to forge a signature either. I found it fascinating that it was the same…cursive…yet so different. 

I believe this is where my love for writing came into play as a teen. I was already journaling. I remember changing up my writing within my journal from printing to cursive. I also remember many pages being scribbled out due to the fact that I was practicing letters and they didn’t look like my own mother’s cursive or even my GG’s. I unfortunately do not have any of my journals from when I was a teen (insert sad face here). 

Sadly my GG passed away last year at the age of 94. We recently moved into a new home. While packing I found where I placed her gift she sent me for my 16th birthday. I was then reminded of her as I often am and had an idea. I have designed the XOXO Mini with her in mind. She always made me feel important and special by speaking to me as she would anyone else. As a child being spoken to by an adult as if you were one too was one of the best feelings ever.

The stitches used in this design resemble the XOXO she signed her letters with.

Availability

You can find this pattern for free here on Trista’s blog or an ad-free version in my Etsy and Ravelry shops.

I hope you enjoy this pattern as much as I enjoyed designing it.

Stitches Used

~ cdc – sk 1 st, dc in next st, crossing in front of the dc just made work 1 dc in last sk st.

~ pf – yo, insert hook into st, yo pull loop up to desired height (yo, insert hook into same st, yo pull up loop to height of previous loops) twice, yo, pull through all 7 loops, ch 1 to close pf.

Supplies

– Approximately 1 oz of  #4 worsted weight cotton yarn. I used I Love This Cotton 3.5 oz/ 100 gm 180 yds 165 m to make one cloth. Color Shown: Buttercup
– US size I crochet hook ( 5.5mm )
– Measuring Tape
– Scissors
– Stitch Markers
– Tapestry Needle

The Pattern

Ch 23

Row 1: hdc in 2nd ch from the hook and each st across. (22)

Row 2: Turn, ch 2, dc in 1st st, *cdc, * repeat across, dc in last st. (22)

Row 3: Turn, ch 1, hdc in 1st st and each st across. (22)

Row 4: Turn, ch 2, dc in 1st st, *pf, sk,* dc in last st. (22)

Row 5: Repeat row 3.

Row 6-13: Repeat rows 2-5.

Optional Loop: ch 20 and sl st to same st.

Fasten off. Weave in ends.

I hope you enjoy making this pattern as much I enjoyed designing it! Be sure and subscribe to my Newsletter for monthly Eco-Tips, what’s happening with Eco-Minded Stitches and a bit of real life. I’d love to see what you’ve made! Use #ecomindedstitches on Instagram and I’ll be sure and see what’ve you created.

Thank you,

Krystal

Other Designs From Eco-Minded Stitches

Website: https://ecomindedstitches.com/

Etsy: https://www.etsy.com/shop/EcoMindedStitches

Facebook: https://www.facebook.com/ecomindedstitches/

Instagram: https://www.instagram.com/eco.minded.stitches/

Pinterest: https://www.pinterest.com/ecomindedstitches/

Ravelry: https://www.ravelry.com/patterns/sources/krystal-amadors-ravelry-store

Join the
Crochets By Trista Crochet Group” on Facebook

Follow Crochets By Trista on:
Facebook
 Instagram
Pinterest
 Etsy
 Ravelry


I’d love to hear from you! Don’t hesitate to contact me. Let me know what you’re working on or designs that you’d like to see in the future. Use the links above or email me at crochetsbytrista@gmail.com.

Madi Cardi

***Post contains affiliate links- which means if you make a purchase from the links below, I will get a small percentage of the sales at no additional cost to you ***

Your new favorite cardigan for your favorite season(s). Available in 7 sizes ranging from woman’s XS to 3X. Adjustable to fit your personal preferences for both the length of the body and the sleeves.

The Inspiration

I was inspired by my cousin Madison who is in her early 20’s.  I’m always seeing her in comfy, neutral colored sweaters.  I then had the idea of designing a cardigan that would be perfect for the seasonal transitions of New England. 

When it came to the actual design, I wanted something that looked like it was made in all one piece and symmetrical.  A pet peeve of mine is being able to see the seams or transitions from the bodice to the sleeves. I also didn’t want it all one stitch through the whole item.  The results of my brainstorming sessions is what is now the Madi Cardi.

I started this project in October 2019 thinking that it would be perfect for spring, but look what happened in spring of 2020. I had to adjust my plan and I switched gears to have the Madi Cardi be a fall release instead.

The Yarn

I had actually known what yarn I was going to use before I came up with the stitch pattern.  While strolling the yarn aisles at my local craft store, I stumbled upon Lion Brand’s Heartland in the colorway Grand Canyon.  It’s the perfect shade of tan and beige in a heathered look. 

Lion Brand� Heartland� Yarn in Grand Canyon | 3 Pack | 5 oz | Michaels�

As you can see, the yarn is gorgeous. You can purchase the yarn in a variety of different colors using my affiliate link at Michael’s Arts and Crafts.

Supplies

For supplies you will need:
– Measuring tape
– Scissors
– Yarn needle
– 5.50 mm crochet hook – I used my Tulip Crochet Hook from Leither Co.
– #4 worsted weight yarn

Listed below you will find the approximate yardage of yarn need for each size. These are approximate amounts and your actual yardage total could be more or less. Sizing is based on bust size.

XS – Bust size of 30″ – 1200 yards
S – Bust size of 34″ – 1400 yards
M – Bust size of 38″ – 1600 yards
L – Bust size of 42″ – 1800 yards
XL – Bust size of 46″ – 2000 yards
2X – Bust size of 50″ – 2200 yards
3X – Bust size of 54″ – 2400 yards

Stitches Used

This list looks really intimidating but it is NOT. Below you will find ALL the stitches used in the Madi Cardi.

Blo – Back Loop Only
Ch(s)
– Chain(s)
Dc – Double Crochet
Dc2Tog – Double Crochet 2 Together
Hdc – Half Double Crochet
Lhdc – Linked Half Double Crochet
Sc – Single Crochet
Sdc – Starting Double Crochet
Sk – Skip
Sl St – Slip Stitch
Sp(s) – Space(s)
St(s) – Stitch(es)

Stitch Definitions

Stitch definitions have been provided in the written pattern for Dc2Tog, Lhdc, and Sdc.

I’ve used the Linked Half Double Crochet and the Starting Double Crochet in previous designs. The Linked Half Double Crochet stitch was used in the White Chocolate Ganache Dishcloth Pattern which includes a photo tutorial of how to do the stitch. The Starting Double Crochet stitch was used in the Cream Cheese Dishcloth Pattern. Both patterns are part of the Frosting Collection.

Pattern Notes

Worked in easy steps:
1. Panels (2)
2. Sewing of panels
3. Sleeves
4. Trim

A diagram has been provided in the pattern for assembling the panels.

Instructions for a gauge swatch have been provided.

Availability

The pattern is available on both Etsy and Ravelry.

Be sure to tag #crochetsbytrista on Instagram, I’d love to see your progress.

Follow Crochets By Trista on:
Facebook
Instagram
Pinterest
Ravelry
Etsy
Ribblr
Love Crafts

Join the
Crochets By Trista Crochet Group
on Facebook


I’d love to hear from you! Don’t hesitate to contact me. Let me know what you’re working on or designs that you’d like to see in the future. Use the links above or email me at crochetsbytrista@gmail.com.

error: Content is protected !!