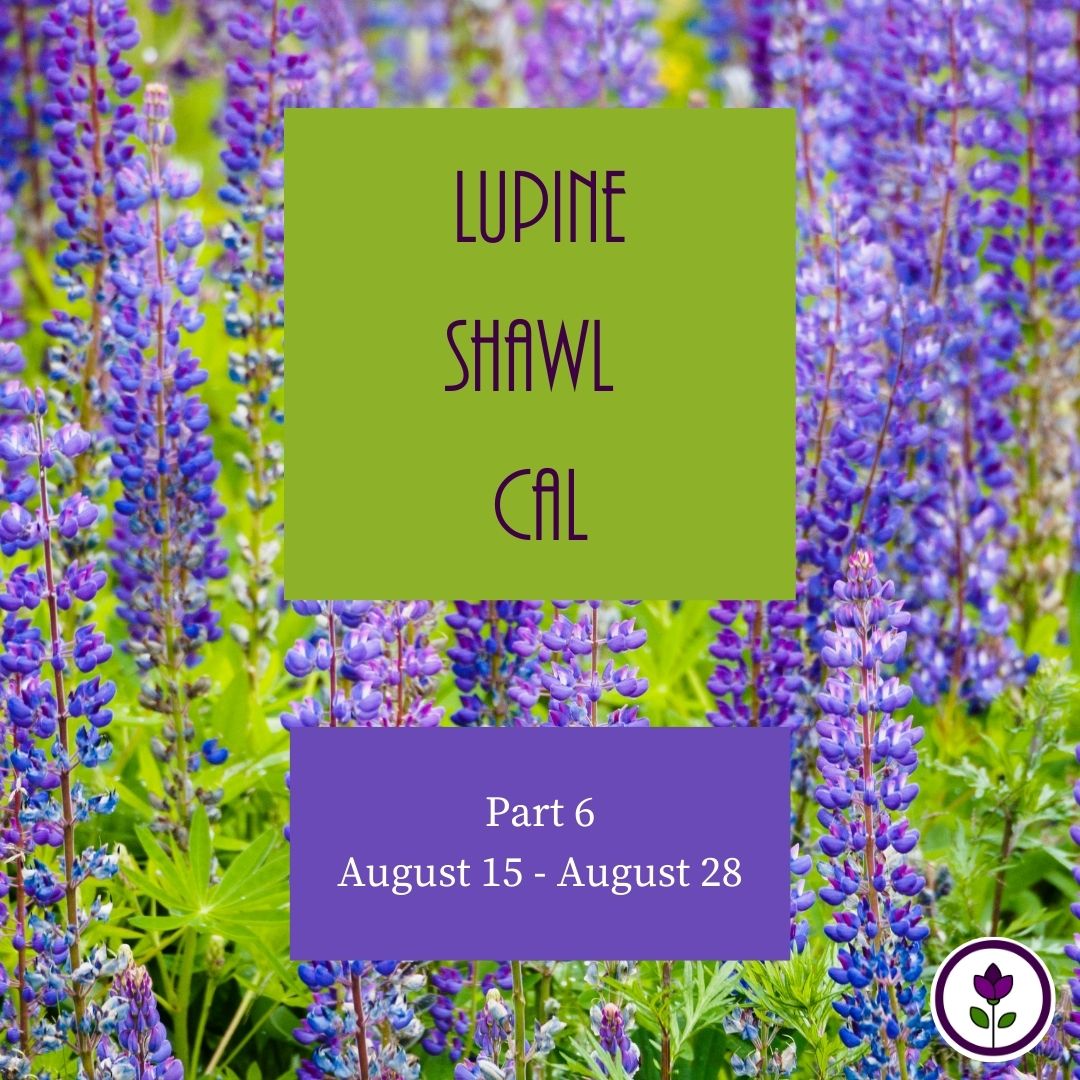
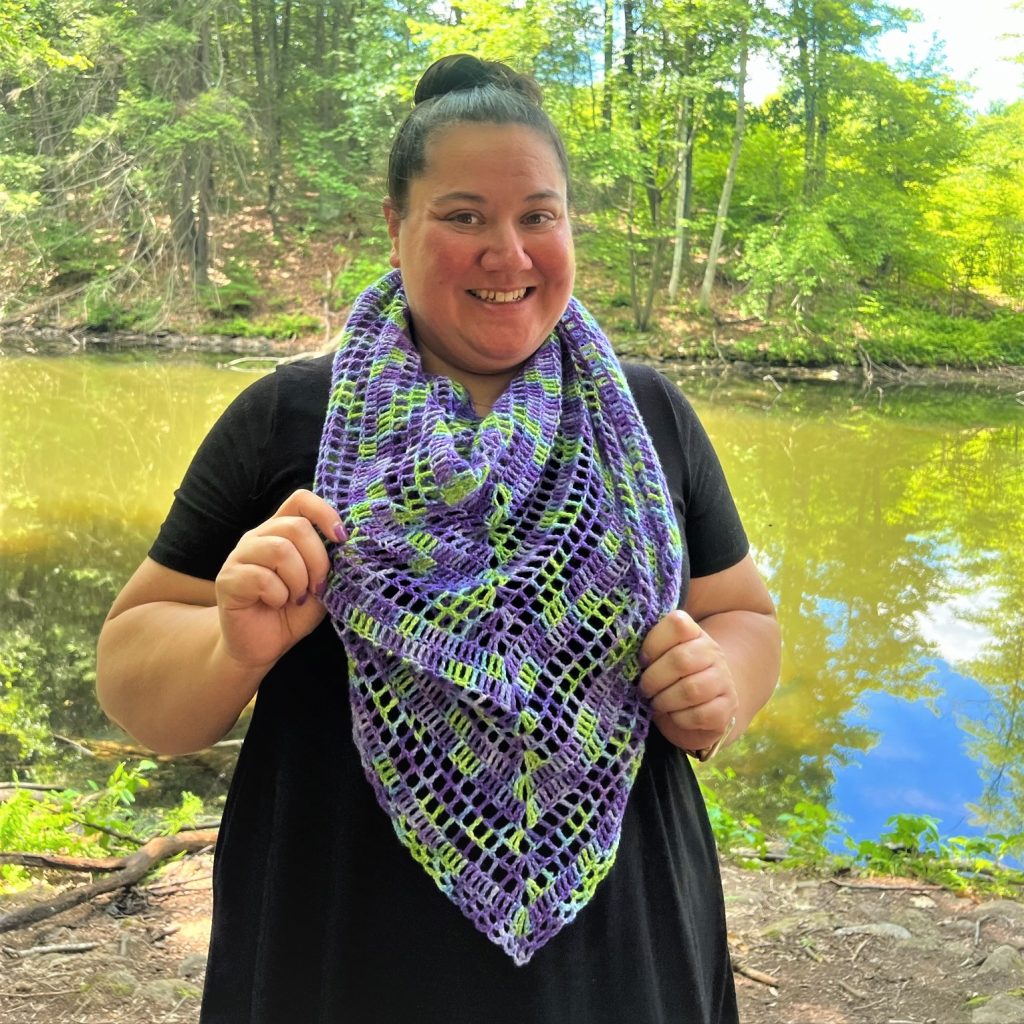
Welcome to Part 6 of the Lupine Shawl CAL. This week is the last week of the CAL and we will go over all the steps to put finishing touches on your Lupine Shawl.
****Post contains affiliate links – which means if you make a purchase from the links below, I will get a small percentage of the sales at no additional cost to you****
If you’ve missed any of the previous sections you can find them here:
Part 1 – Supplies and Pattern Notes
Part 2 – Rows 1-10
Part 3 – Rows 11-20
Part 4 – Rows 21-30
Part 5 – Rows 31-40
Part 6 – Border and Blocking Instructions
So the body of your Lupine Shawl should be complete now. This following section is completely optional.
It should look similar to this:
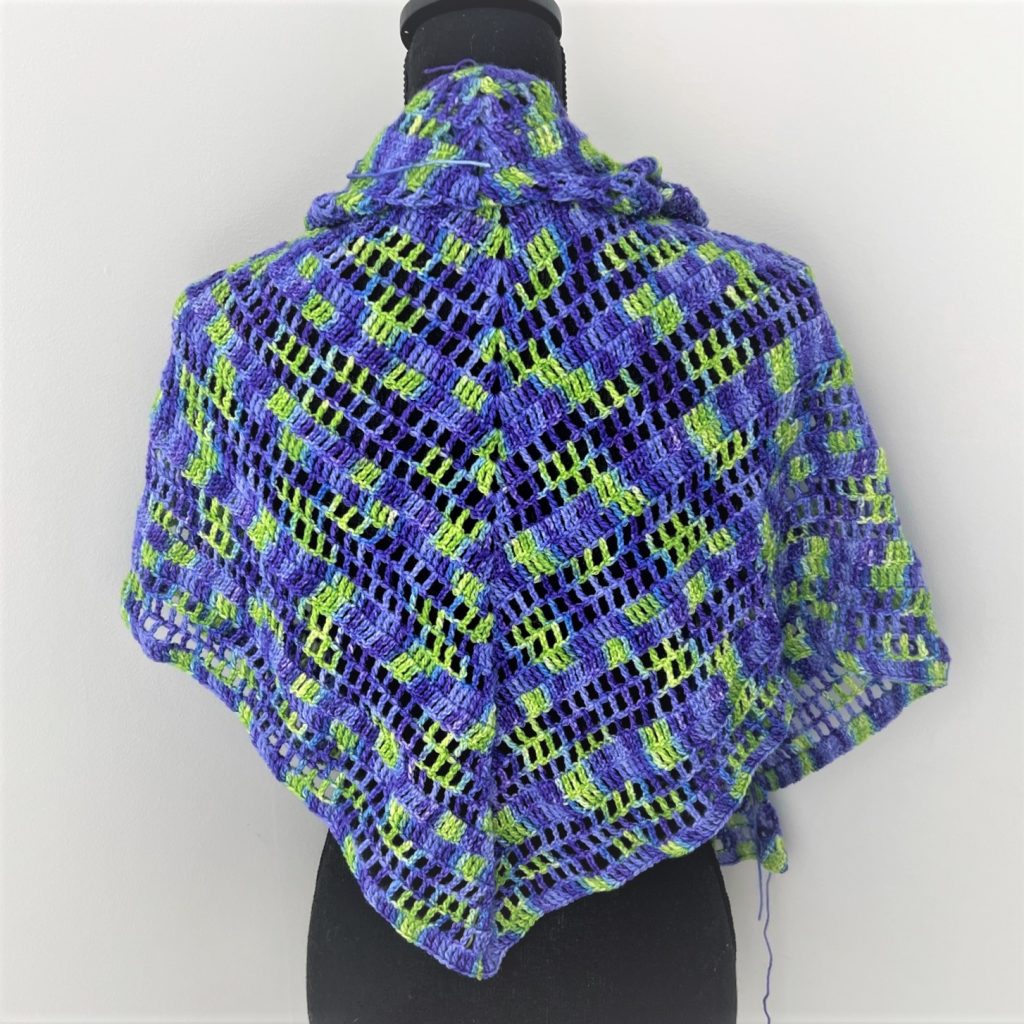
When you ended on Row 40 you should have a stitch count of 400. Good thing I check my stitch counts often; I ended up missing two stitches on this last row.
Table of Contents
Border
You’ll want to change skeins again, that is unless you still have enough for 2 rows in the current skein. I had already played enough yarn chicken, I wasn’t going to tempt fate again.
Row 1.) Ch 1, turn, Sc in 1st St, Ch 3, *Sk 1, Sc, Ch 3, repeat from * until Ch 2 Sp, (Sc, Ch 3, Sc) in Ch 2 Sp, *Ch 3, Sk 1, Sc, repeat from * until end. (201 Ch 3 Sps)

Row 2.) Ch 1, Turn, Sc in 1st St, *Ch 3, Sc in Ch 3 Sp, repeat from * until end, Ch 3, Sc in last St. (202 Ch 3 Sps)
Finish off and weave in all ends (which we probably should have done as we went along 😉).
Blocking Your Lupine Shawl
Blocking your finished shawl is completely optional. I know that not all of us have the resources or room to block such a large item.
Materials you’ll need to block your Lupine Shawl include:
- Stainless steel t-pins
- Blocking wires (makes life easier)
I used 16 block.

Step 1
Hand wash your shawl with a wool wash/gentle soap. Rinse well. Remove as much water as possible.
Step 2
Wrap in a towel to help bring out any residual water. Let it sit for a few minutes while you set up your mats and get your supplies ready.
Set up your mats in a place out of the way of normal traffic. I put my mats in the living room so the kids wouldn’t get to it. They were blocking the front door, which we don’t use. If we needed to use the door for an emergency the least of my worries would be the shawl.
Step 3
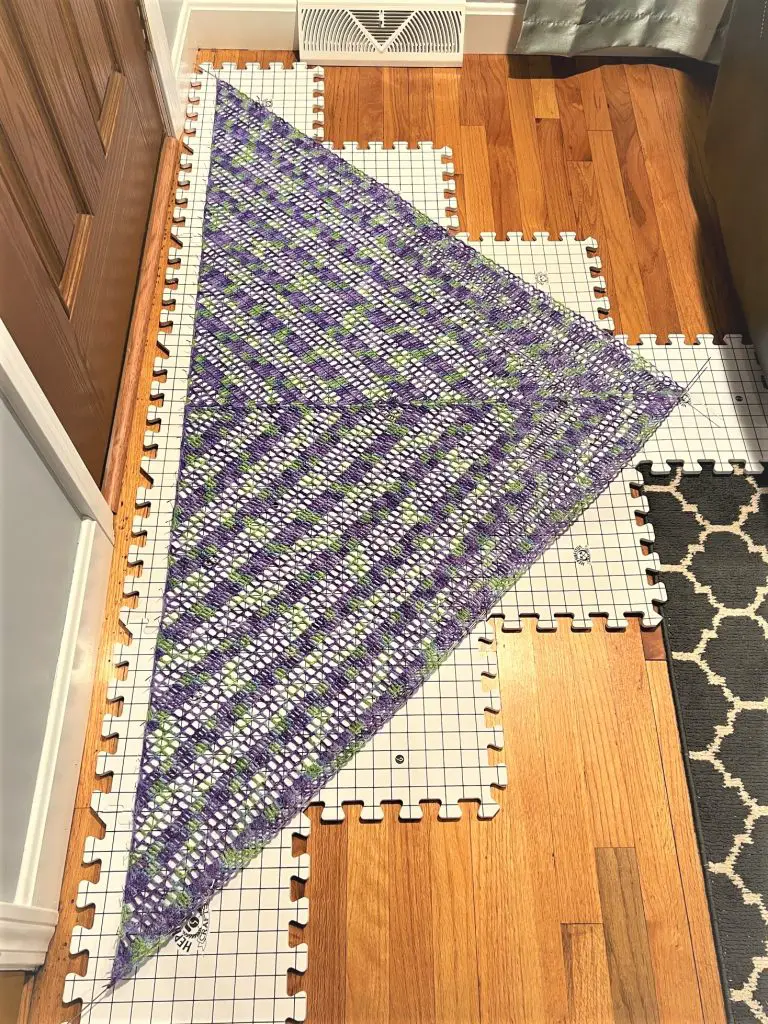
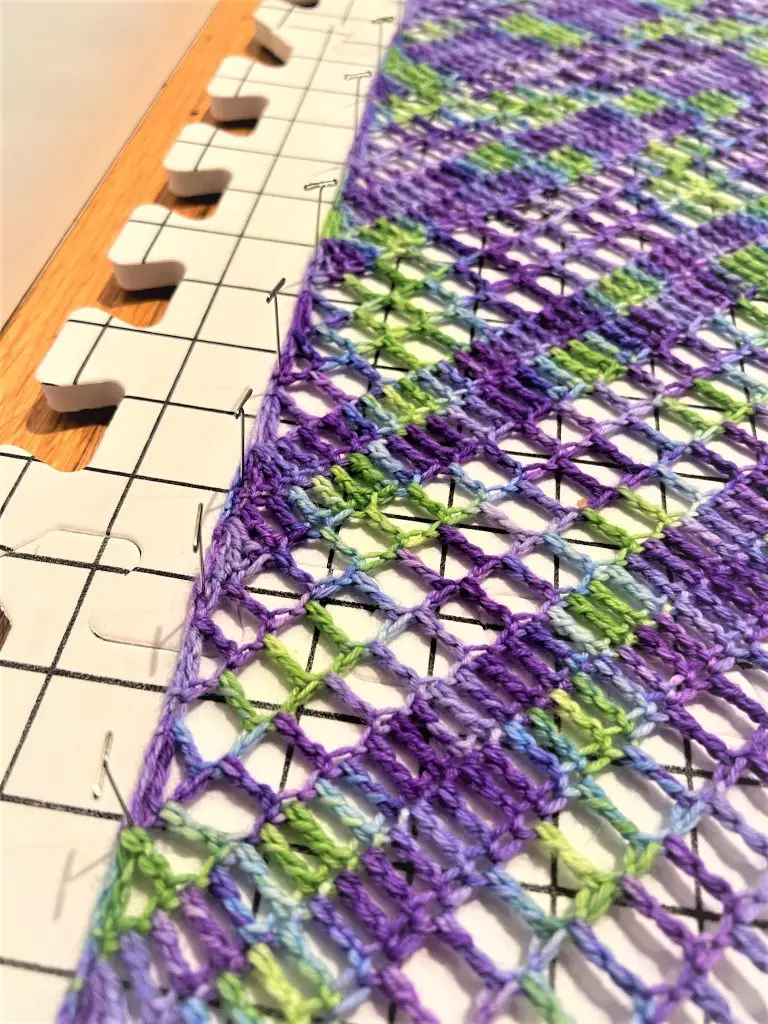
Center your shawl on the blocking mats. Start pinning the edge from the middle out. You’ll want to pull slightly, just enough to open the stitch work to your liking.
I placed a pin every 2-3 inches.
Once the top edge is pinned you can move on to the outer edge.
I used blocking wires that knitters usually use for their lacework. Since the Lupine Shawl is lacy I figured I would give them a try.
They worked out really well. I weaved the wires through the spaces in the border going over and under the Sc. Once in place I pinned the wire to the blocking mat.
The wires helped open up the stitching of the border without having to pin each one.
You can adjust any of your pins as you go. I personally like symmetry so what I did to one side I did to the other.
Step 4
Once your Lupine Shawl is pinned in place let it dry for a few days until its fully dry. The time will vary based on the material of the yarn used and how much water was still left in the shawl after washing.
You WILL need to repeat these steps each time you wash your finished shawl. A reason why I like to design pieces that blocking is optional.
Blocking Vs. Not Blocking
So… did you know that I’ve made the Lupine Shawl TWICE?!?! When I made the first one I didn’t photograph any steps. I just kept hooking along.
For the CAL I wanted to photograph most of the steps for you so I needed to make it again.
Here are a few noticeable differences between blocking vs. not blocking. I blocked the first one but not the second because I wanted to show how they differ.
You will probably be the only one to notice on your own shawl.
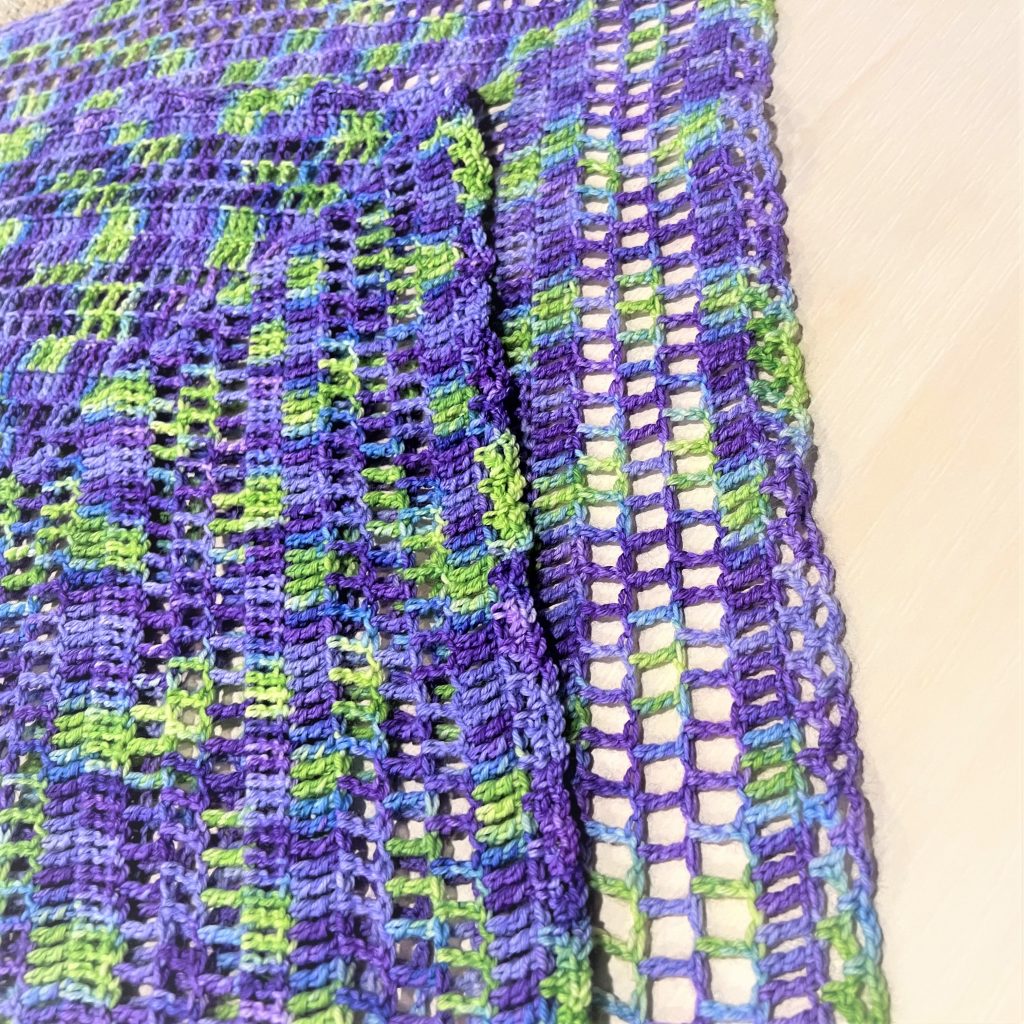
In the first photo below, on the left is the original shawl and on the right the new one. You can see how by blocking helps open up the stitch work, especially on the border.
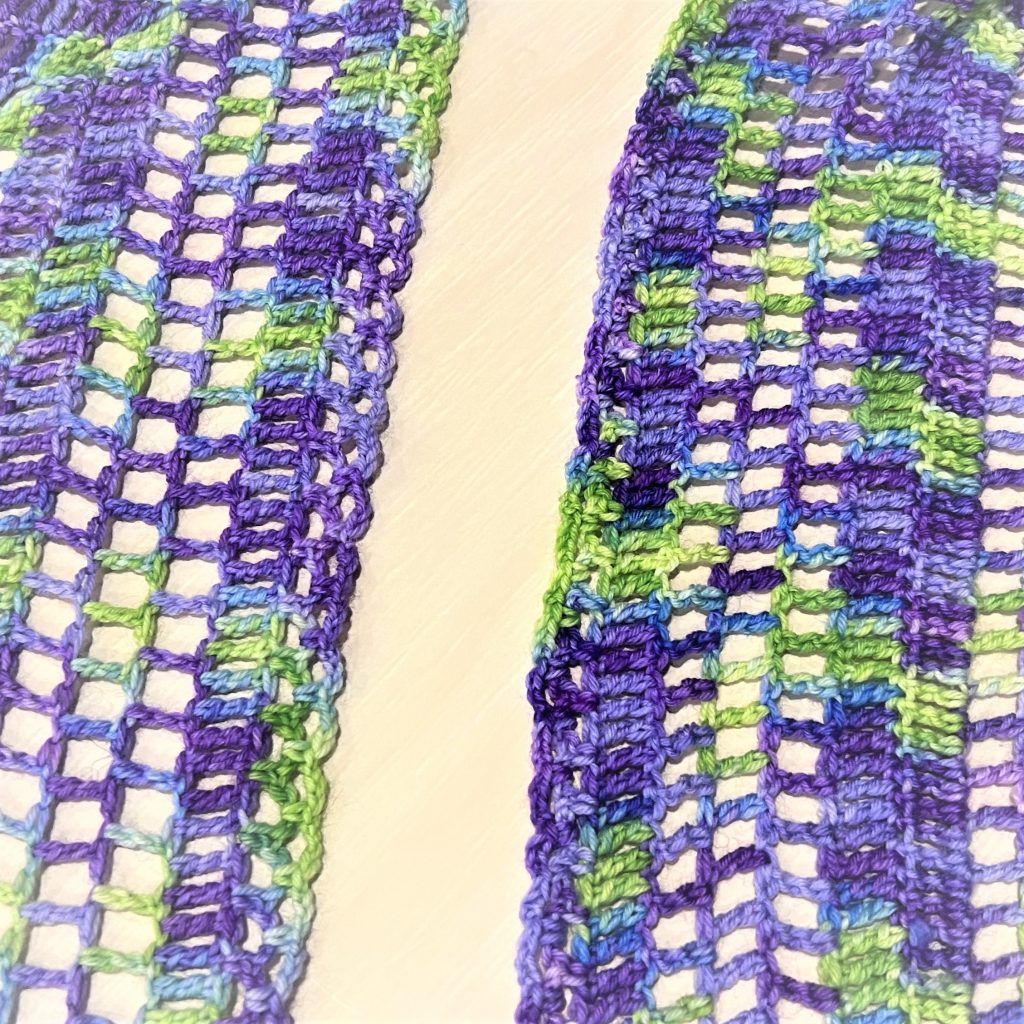
I took the following photo with the unblocked shawl over the blocked one. When blocking merino wool like the hand-dyed yarn from High Desert Yarn, there is a lot of stretch in the wet fibers. You can gain a few inches in your shawl after blocking.
So have you decided if you’ll block your shawl? I’m not going to lie, its a pain in the ass, but the results are worth it!!
Share Your Finished Shawl
Use the next week or two to catch up on your shawl and let it dry (if you decided to block it).
Share your finished shawl with the world. You can…
- Upload your project to Ravelry HERE.
- Share your photos in the Facebook group
- Use #LupineShawlCAL on Instagram and tag me @crochetsbytrista
- Email me at crochetsbytrista@gmail.com
It has been so much fun hosting the Lupine Shawl CAL! I’m glad you’ve decided to join too!
Availability
You can purchase the PDF download on Ravelry and Etsy.
Follow Crochets By Trista on:
Facebook
Instagram
Pinterest
Ravelry
Etsy
Ribblr
Love Crafts
Join the
“Crochets By Trista Crochet Community”
on Facebook.
I’d love to hear from you! Don’t hesitate to contact me. Let me know what you’re working on or designs you’d like to see in the future. Use the links above or email me at crochetsbytrista@gmail.com
If you’ve purchased my designs in the past, leave a review. I want to know what you think.