***Post contains affiliate links – which means if you make a purchase from the links below, I will get a small percentage of the sales at no additional cost to you ***
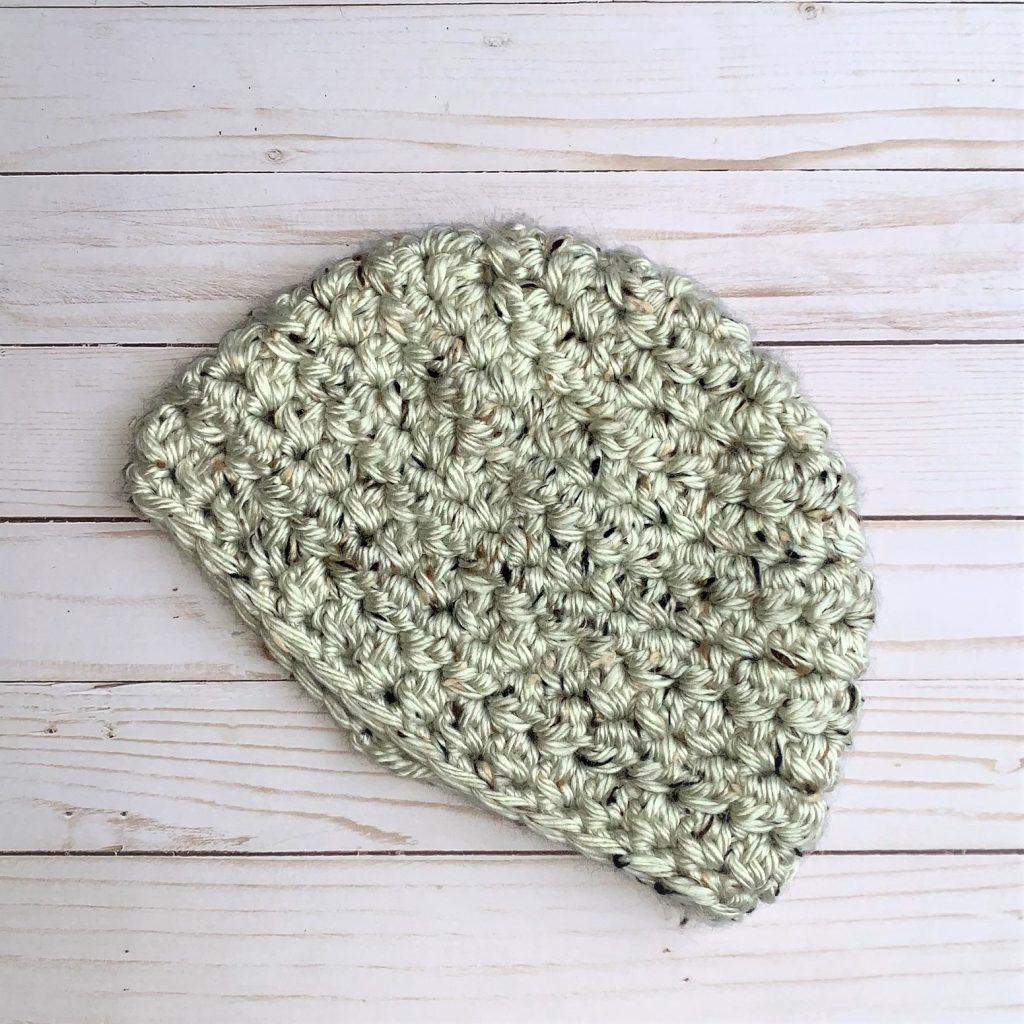
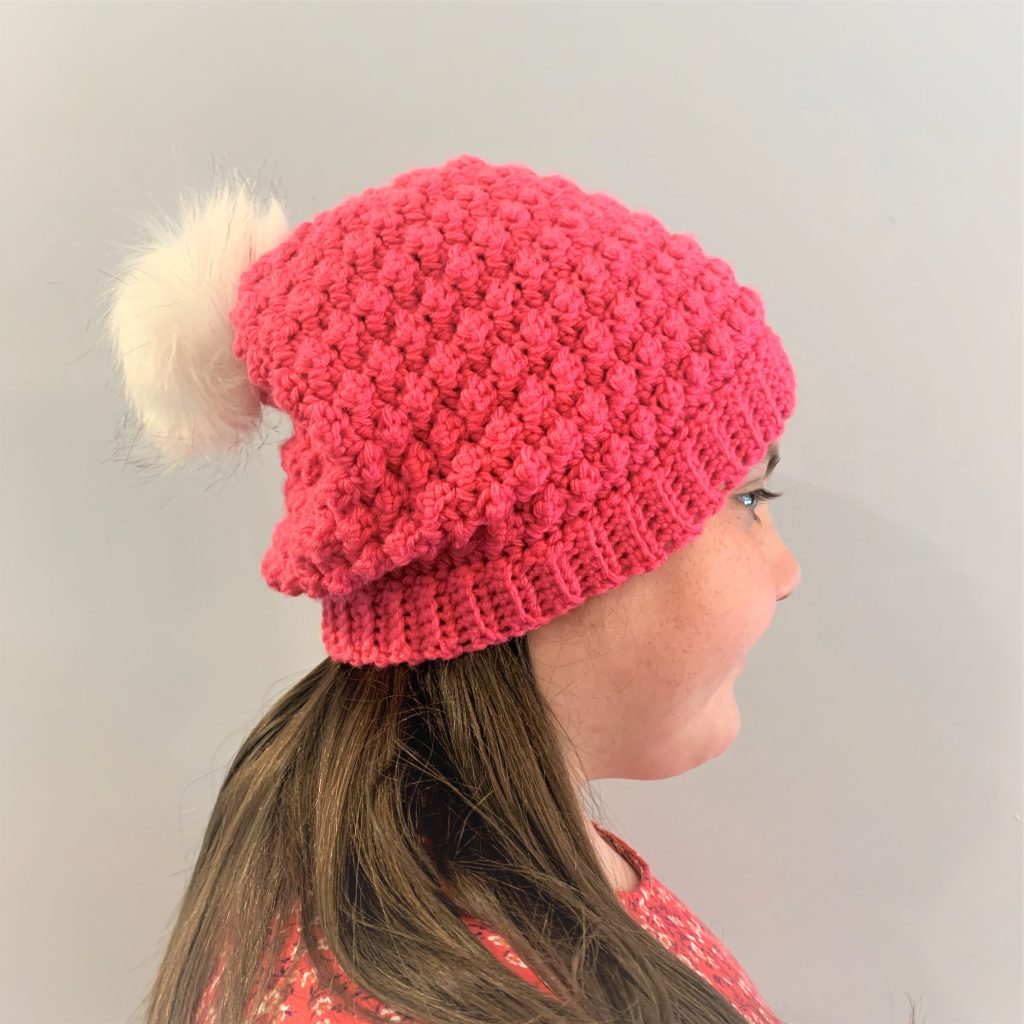
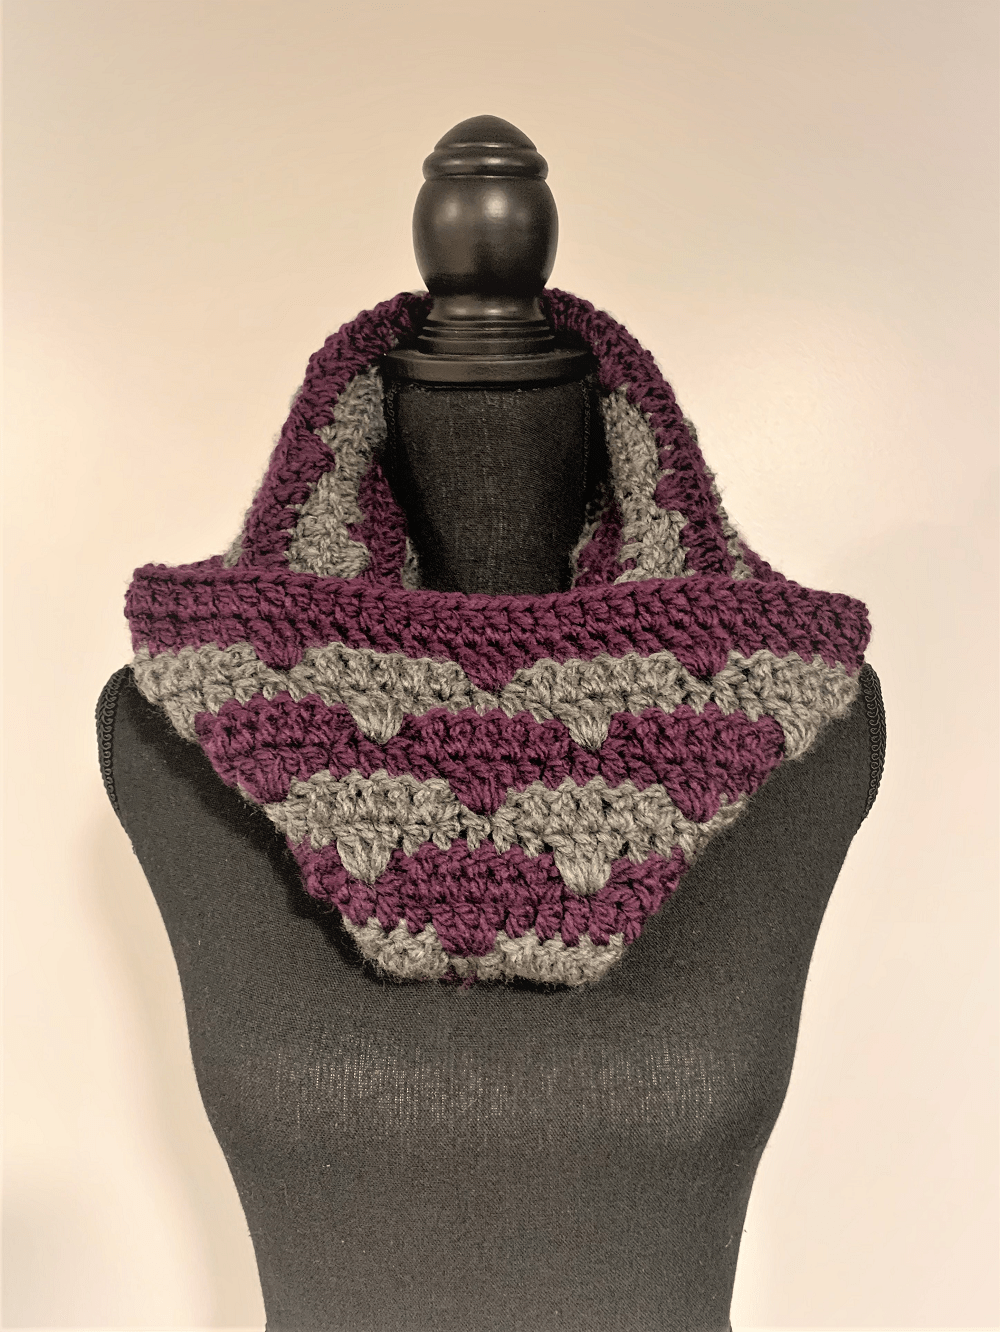
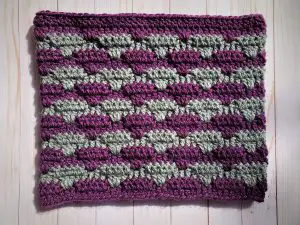
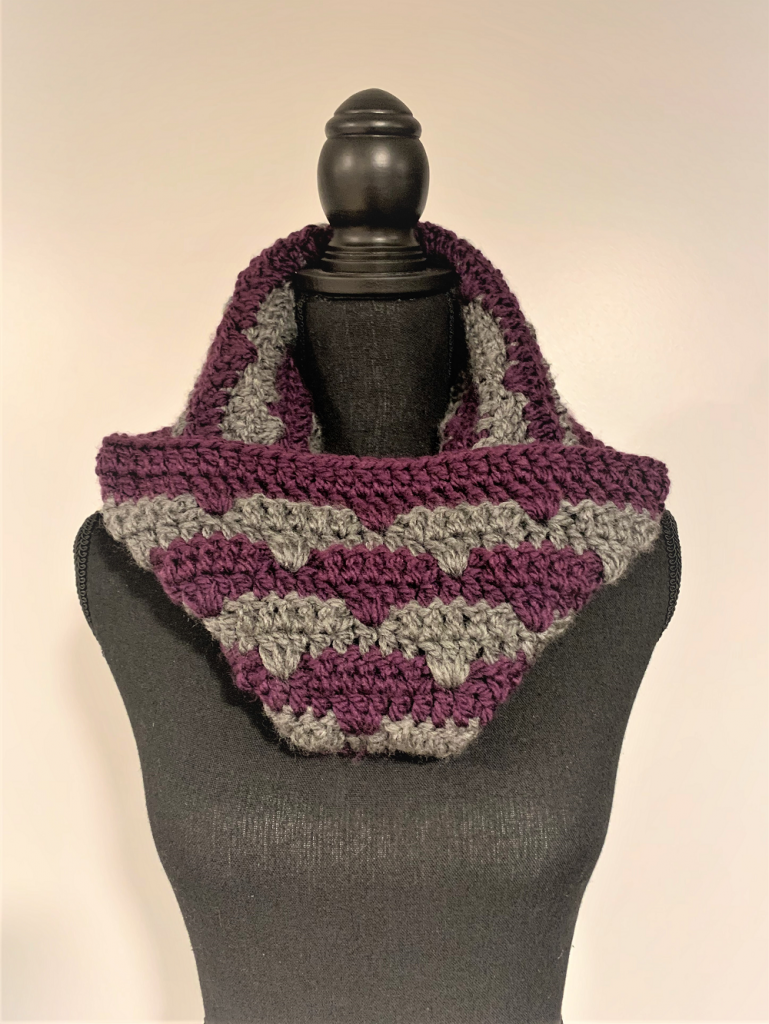
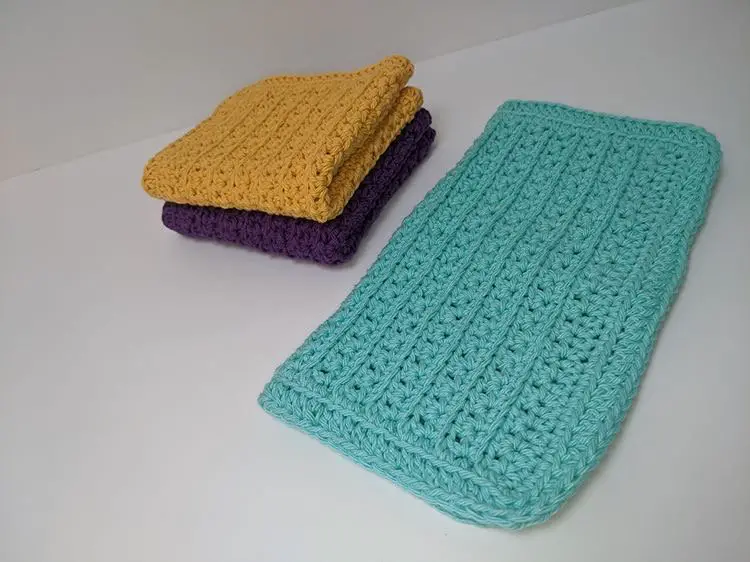
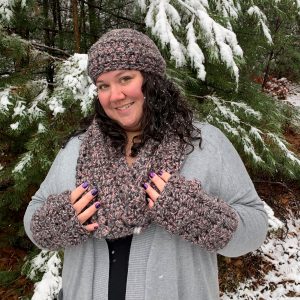
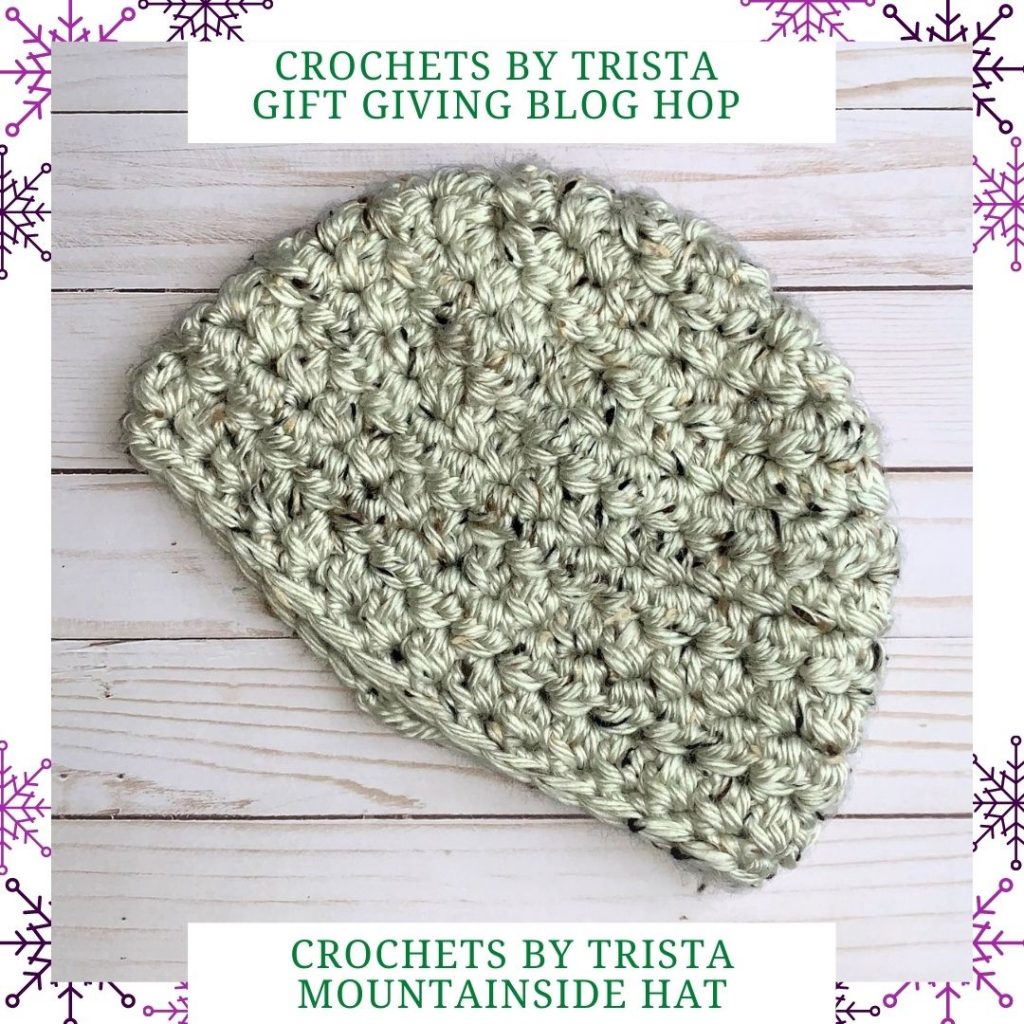
The Mountainside Hat is the first pattern from the Mountainside Collection. Designs in the collection include a hat, cowl, wrist warmers (fingerless gloves), and a cup cozy.
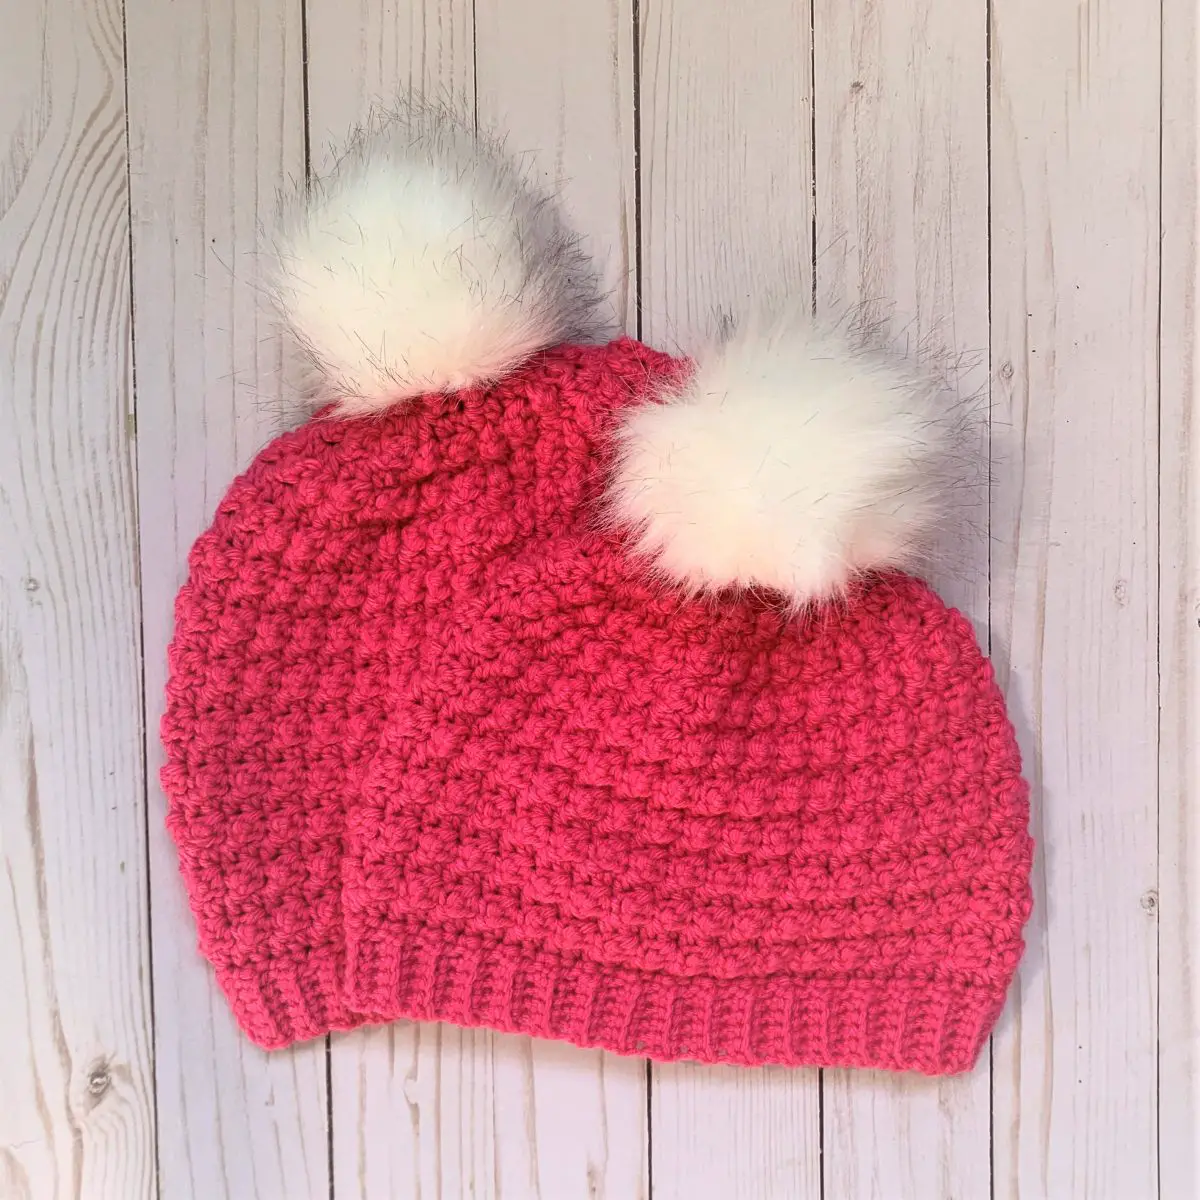
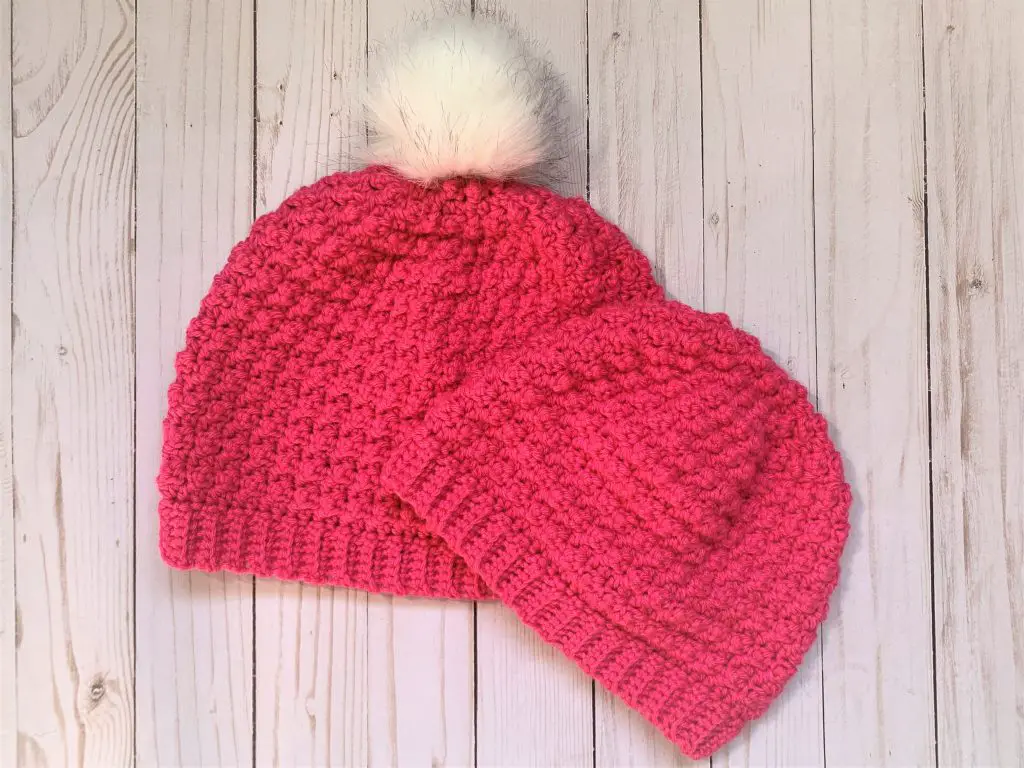
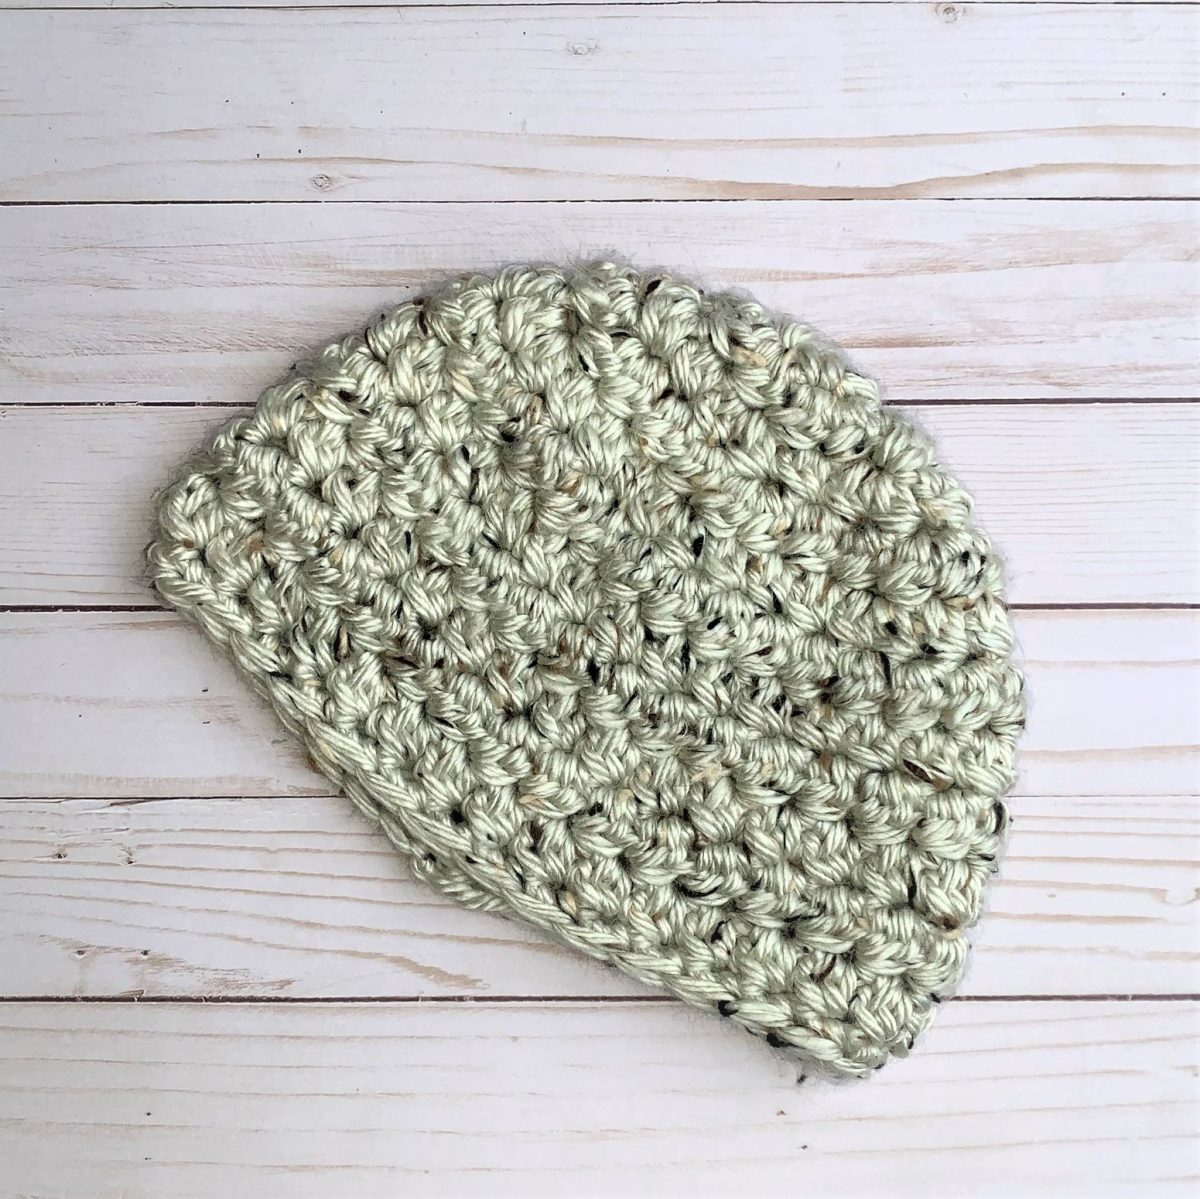
The Mountainside Hat can be made as a traditional hat or a messy bun style.
The Yarn
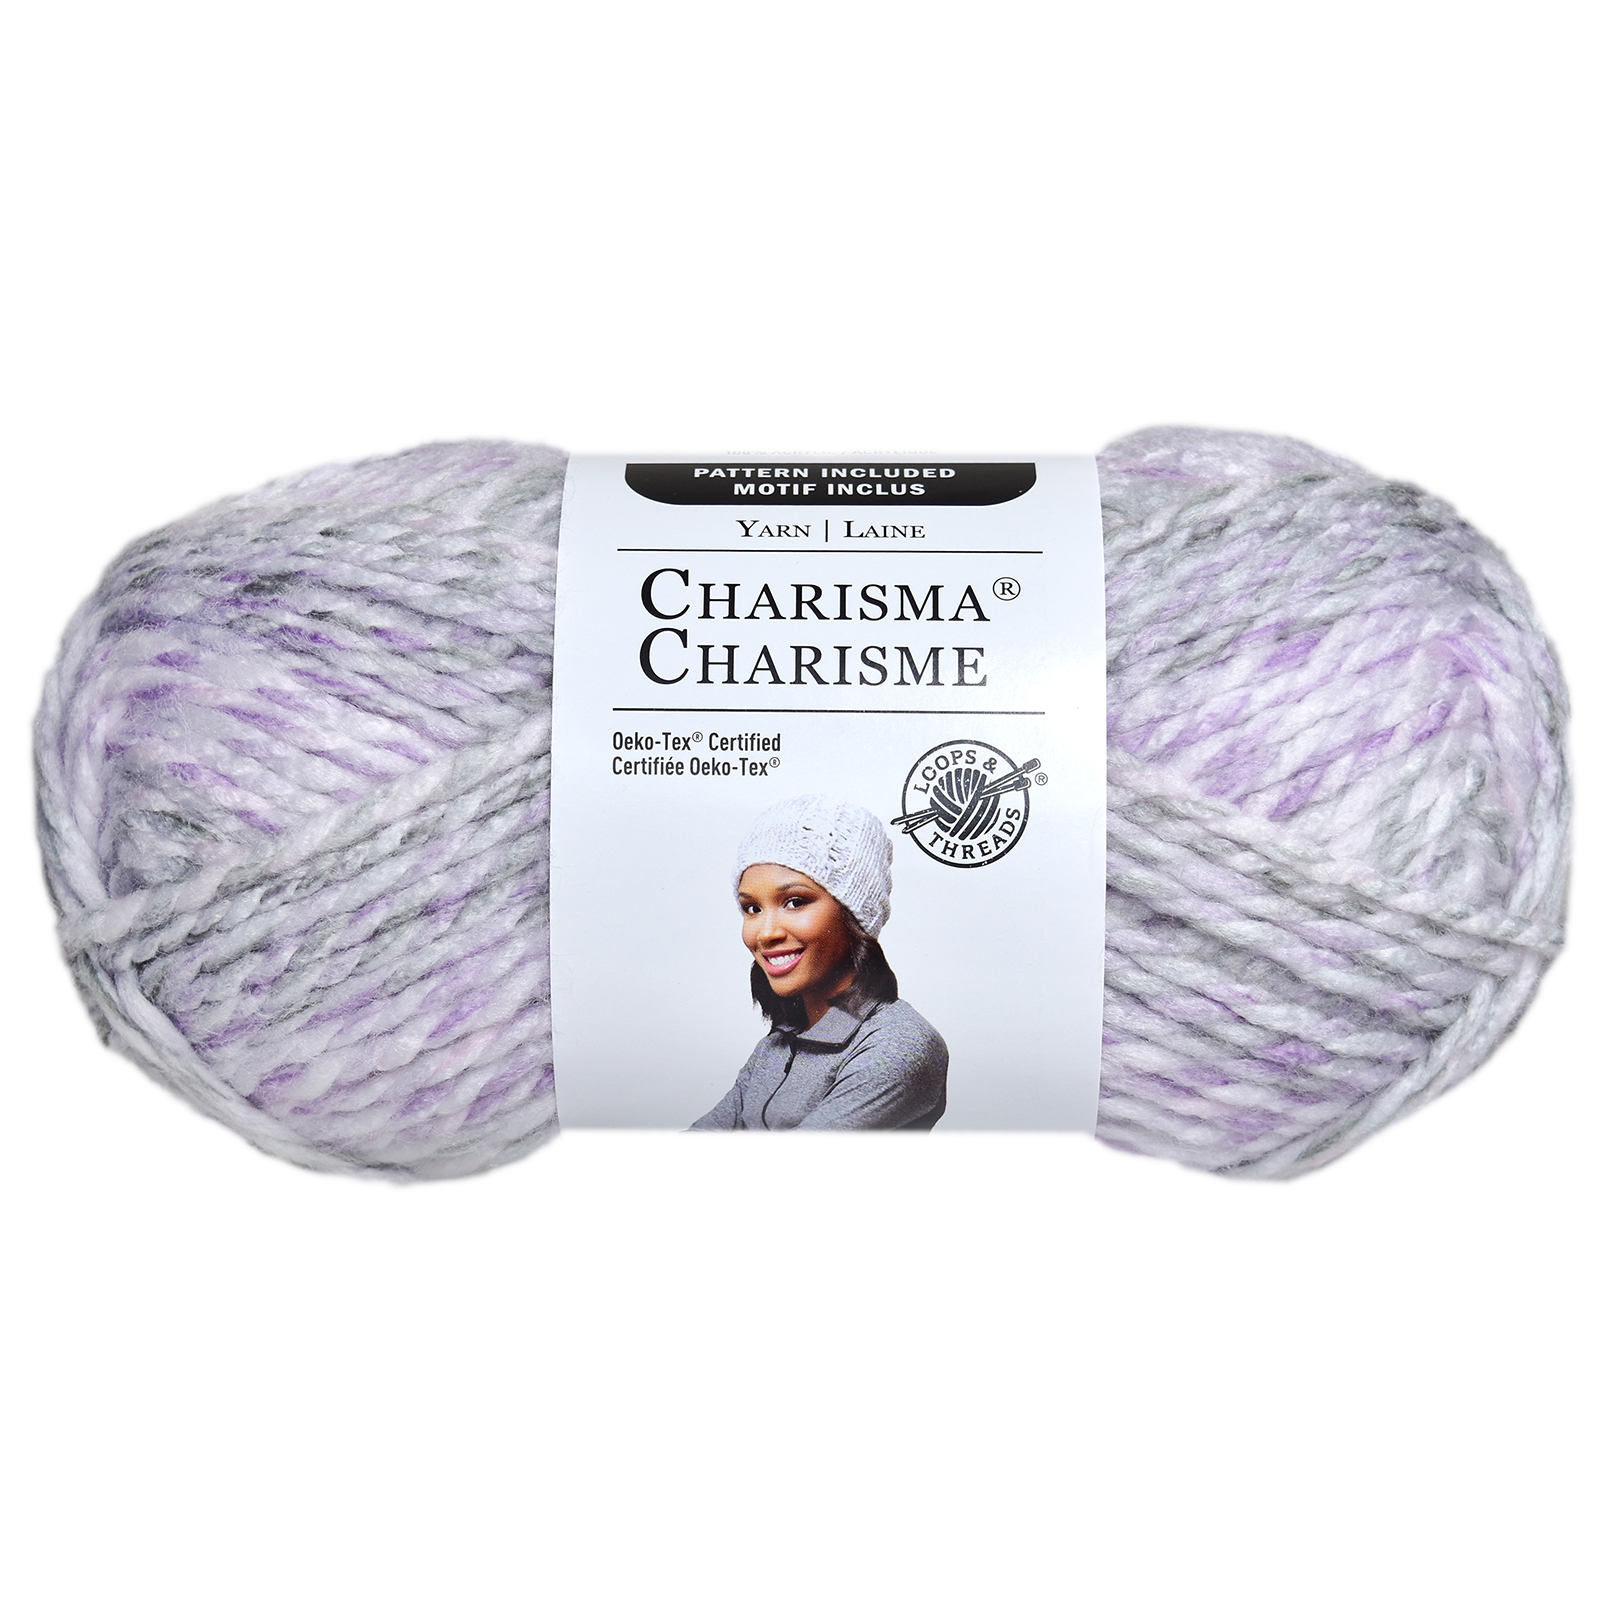
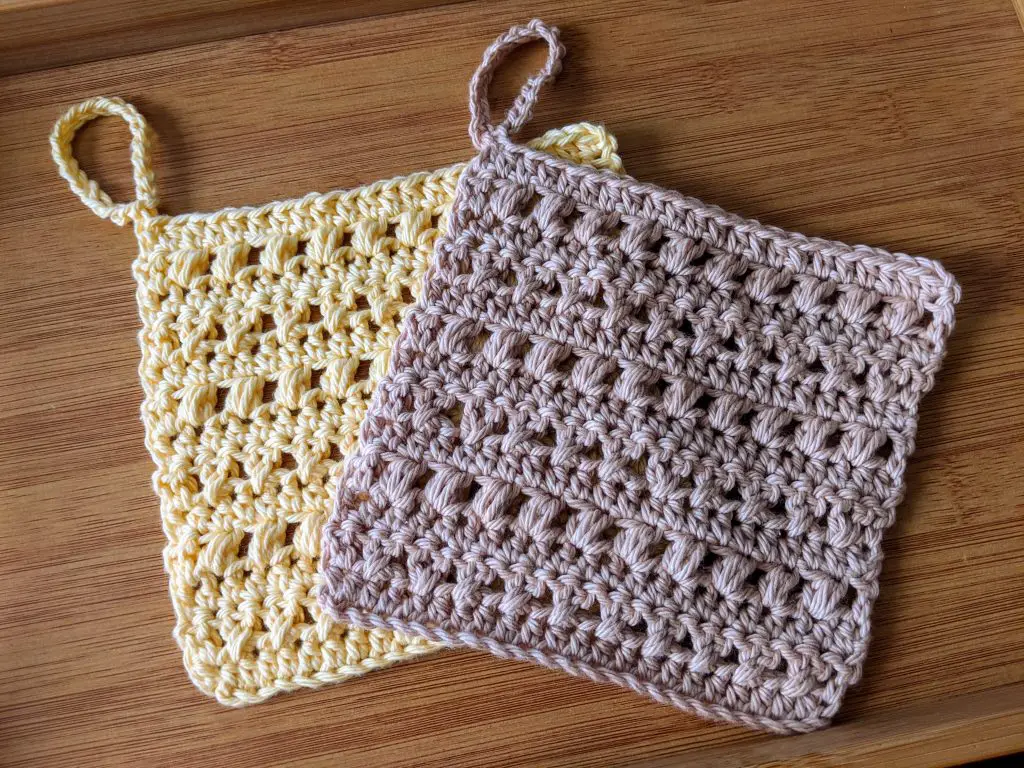
The yarn I used is Lion Brand’s Hometown Bonus Bundle in the colorways Aspen Tweed (white tweed) and Salem Creek (pink and charcoal). Any super bulky weight yarn will work; Lion Brand’s Wool-Ease Thick and Quick, Loops & Threads Cozy Wool, and Loops & Threads Lush Alpaca are great options.

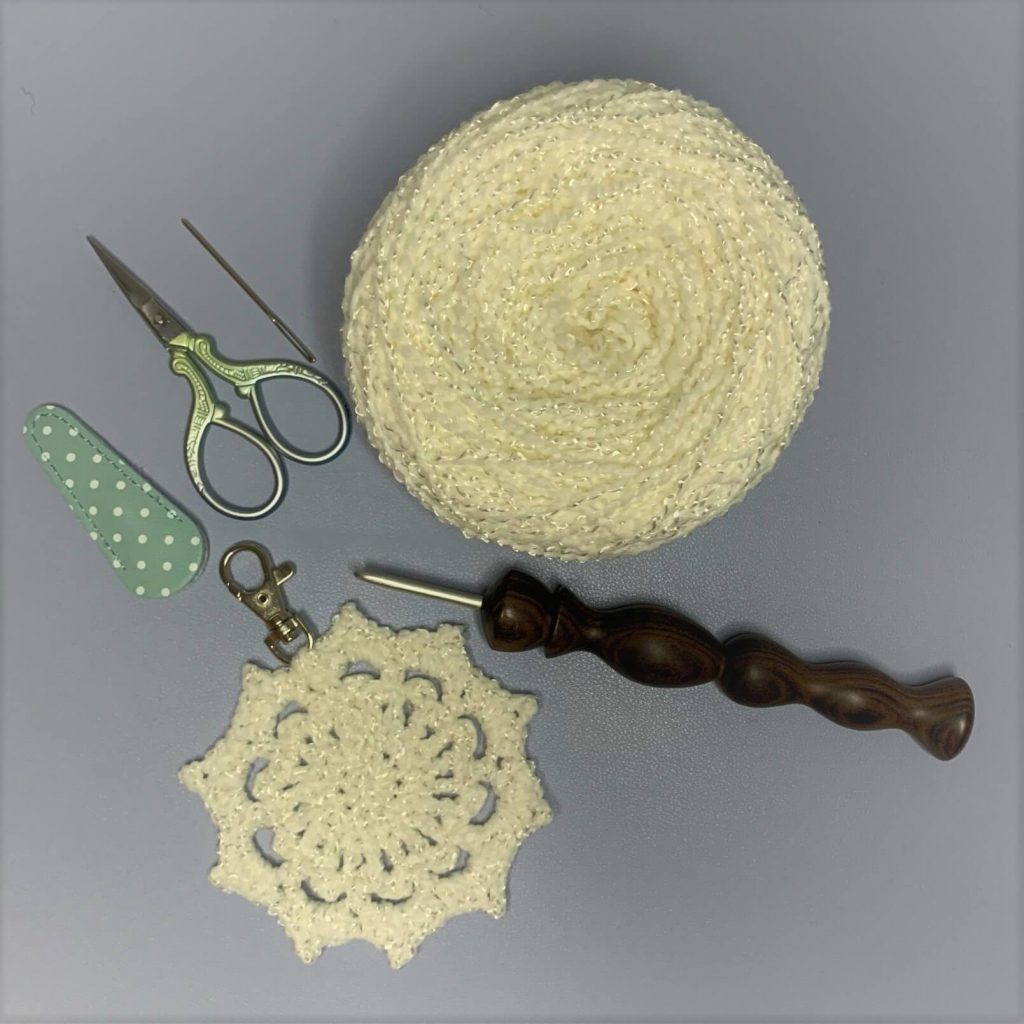
Supplies Needed
For the hat you will need:
– Approximately 100 yards of #6 weight yarn
– M/9.00 mm crochet hook
– Yarn needle
– Scissors
– Measuring tape
– Pompom (optional)
– Elastic hair tie (for messy bun style)
Stitches Used
Ch – Chain
Cl(s) – Cluster(s)
Dc – Double Crochet
Hdc – Half Double Crochet
Mc – Magic Circle
Sc – Single Crochet
Sl St – Slip Stitch
St(s) – Stich(es)
YO – Yarn Over
Gauge and Final Measurements
Gauge: 5 Cl x 5 rows = 4″ square
Final Measurements: 8″ tall x 11″ wide
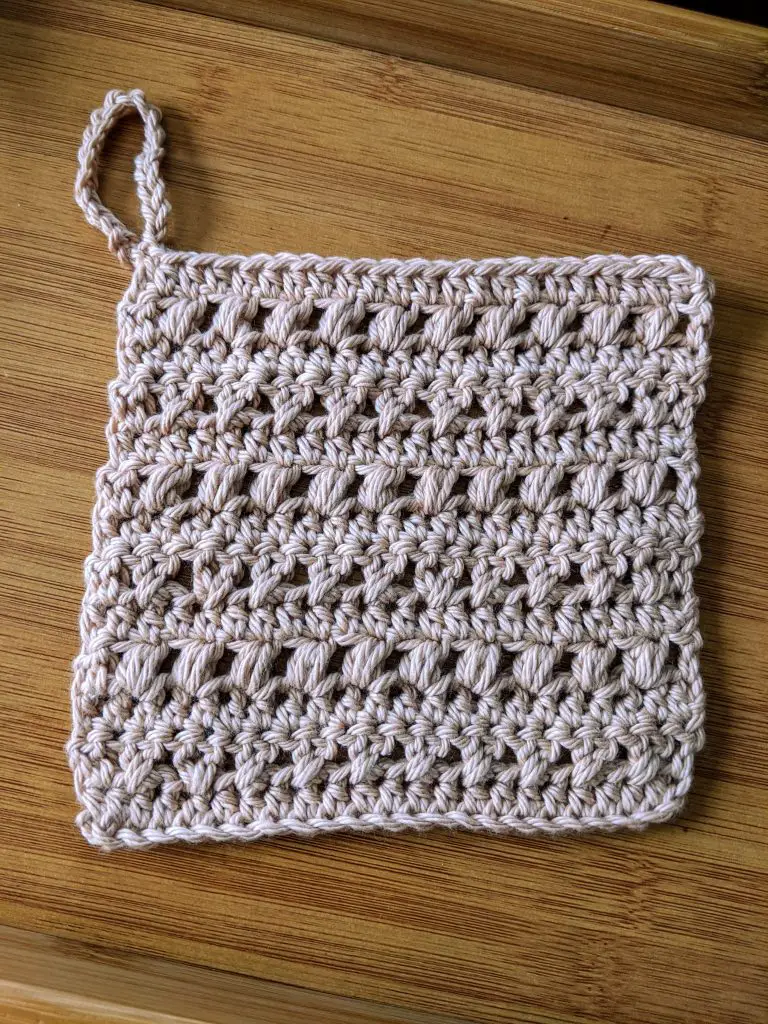
Stitch Definition
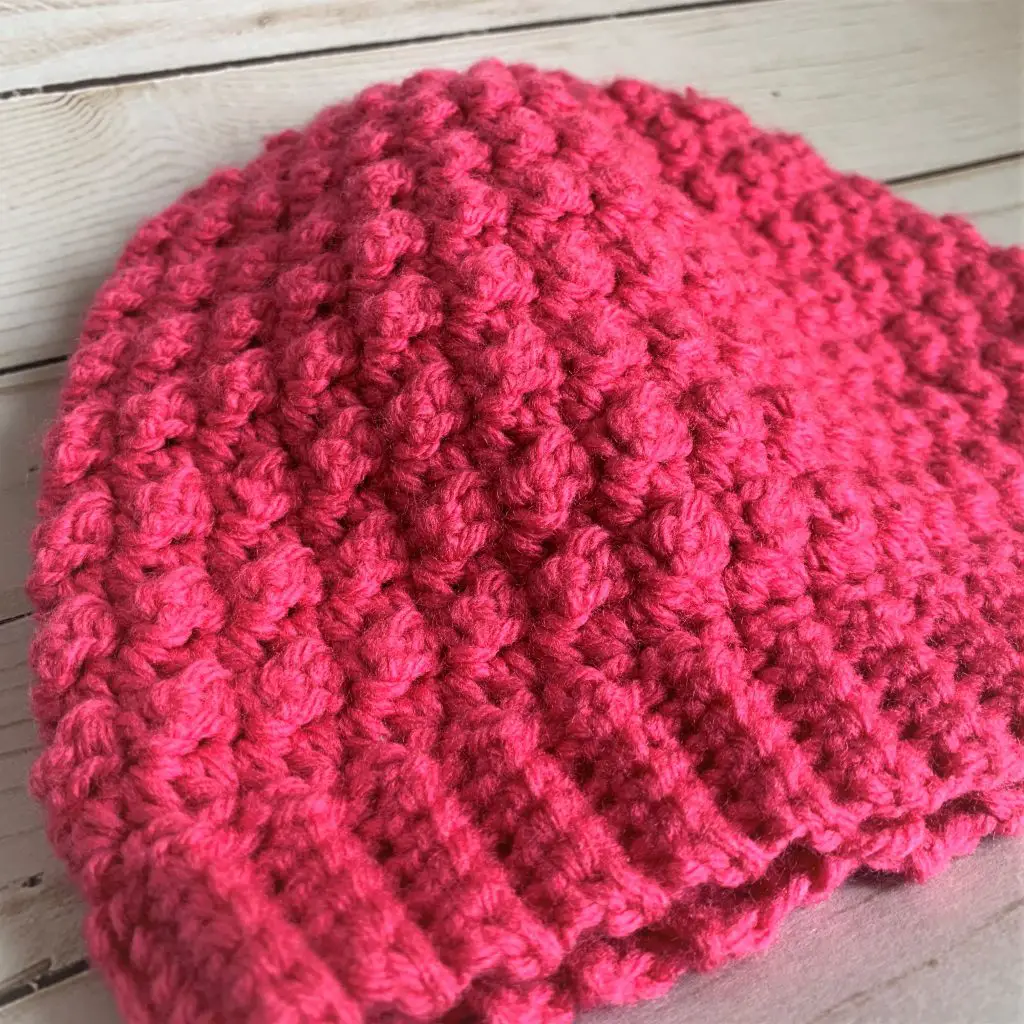
Cl(s) – Cluster(s):
[The Cl is comprised of a Dc and Hdc together.]
YO, insert hook into next St, YO and pull up a loop, YO, pull through first 2 loops on hook, YO, insert hook into SAME St, YO and pull up a loop, YO and pull through all 4 loops on hook. Cluster Completed.
Pattern Notes
When doing the Ch 1, pull up the loop a little higher than you normally would. This helps to not have the first cluster tight and have the seam noticeable.
Availability
Find out how you can get your Mountainside Hat pattern for free HERE.
An ad-free pdf is available to purchase on Ravelry.
The Pattern
In MC or around an elastic hairband.
1.) Ch1, 6Cls. Sl St into 1st Cl. (6)
2.) Turn, Ch1, 2Cl in 1st Cl, and each Cl around. Sl St into 1st Cl. (12)
3.) Turn, Ch 1, Cl in 1St Cl, 2Cls in the next Cl, Cl in next Cl, 2Cls in next St, repeat around. Sl St into 1st Cl. (18)
4.) Turn, Ch 1, Cl in 1st Cl, Cl in next Cl, 2Cls in next Cl, Cl in next 2 Cls, 2Cl in next St, repeat around. Sl St into 1st Cl. (24)
5.) Turn, Ch 1, Cl in 1st Cl, Cl in next 2 Cls, 2Cls in next Cl, Cl in next 3 Cls, 2Cls in next Cl, repeat around. Sl St into 1st Cl. (30)
6.) Turn, Ch 1, Cl in 1st Cl and each Cl around. Sl St into 1st Cl. (30)
Repeat round 6 until approximately 7” tall or desired height.
Ch 1, LOOSELY Sc in each Cl around. (30)
Ch 1, LOOSELY Sc in each Cl around. (30)
Finish off and weave in ends.
Join the
“Crochets By Trista Crochet Group” on Facebook
Follow Crochets By Trista on:
Facebook
Instagram
Pinterest
Etsy
Ravelry
I’d love to hear from you! Don’t hesitate to contact me. Let me know what you’re working on or designs that you’d like to see in the future. Use the links above or email me at crochetsbytrista@gmail.com.
If you’ve purchased my designs in the past, leave a review. I want to know what you think.
Want a matching set? Click here for the Mountainside Hat!