***Post contains affiliate links- which means if you make a purchase from the links below, I will get a small percentage of the sales at no additional cost to you ***
I have been following a few independent yarn dyers for a few months now and find the entire process so interesting. While I have no future plans of becoming a professional yarn dyer, I do like seeing the final results. However, I did have a whole lot of fun with the kids on our yarn dying adventure using Kool-Aid.
I stumbled upon Chemknits on YouTube last month and fell in love with her video series on dying yarn with Kool-aid. After watching her video “Dyepot Weekly #197 – Dip Dyeing Yarn in Two Flavors of KoolAid – A Great Beginner’s Project!” I knew this was a perfect project to do with the kids while they are learning from home.
Table of Contents
The Yarn
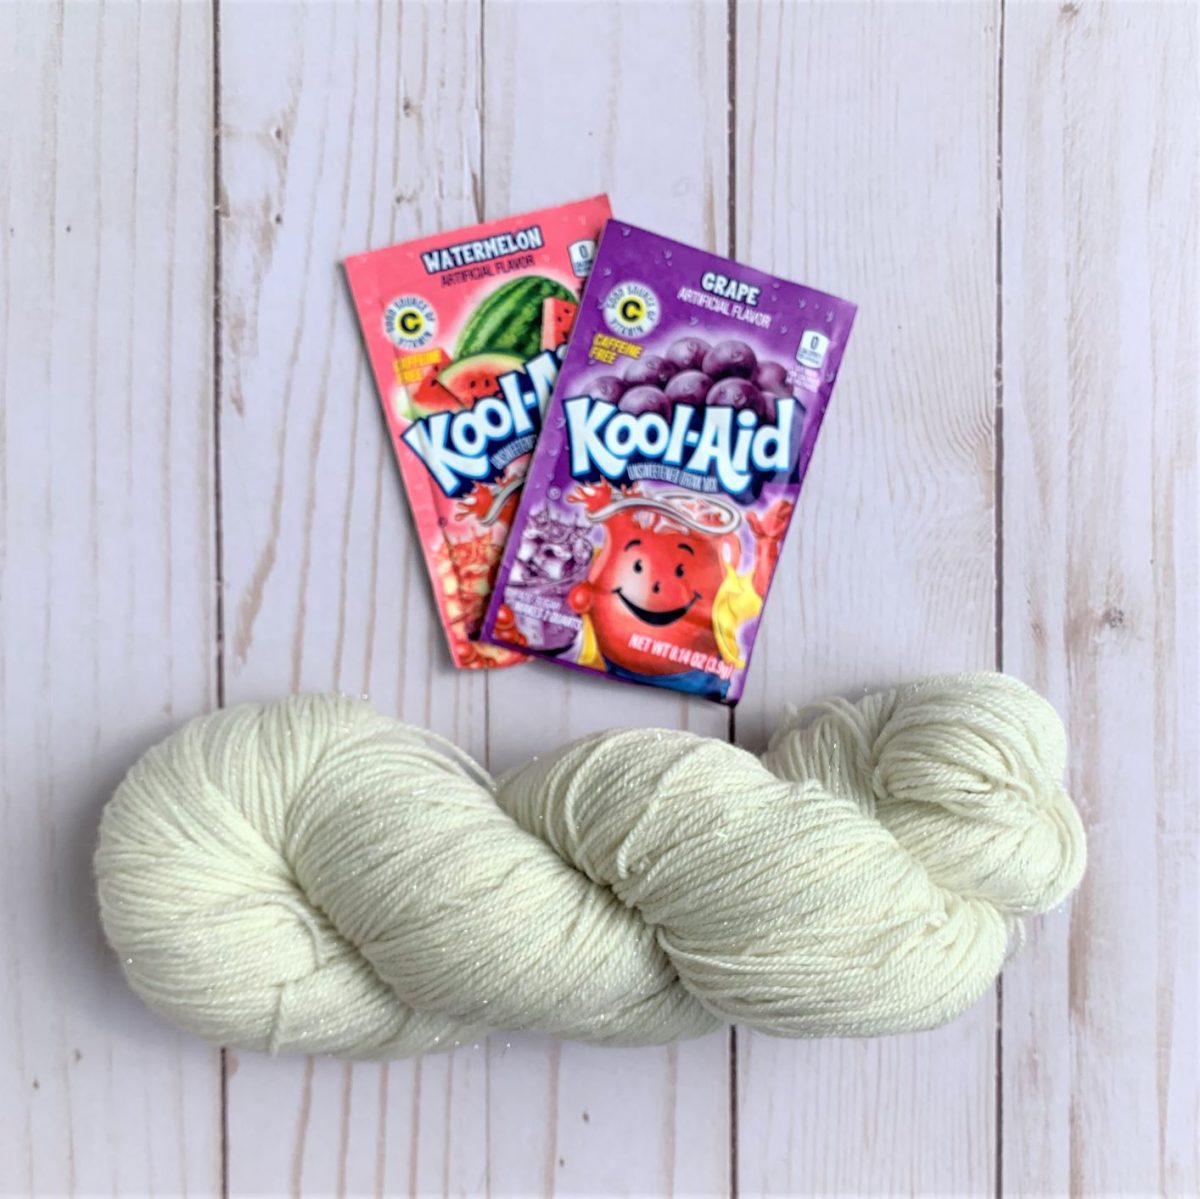
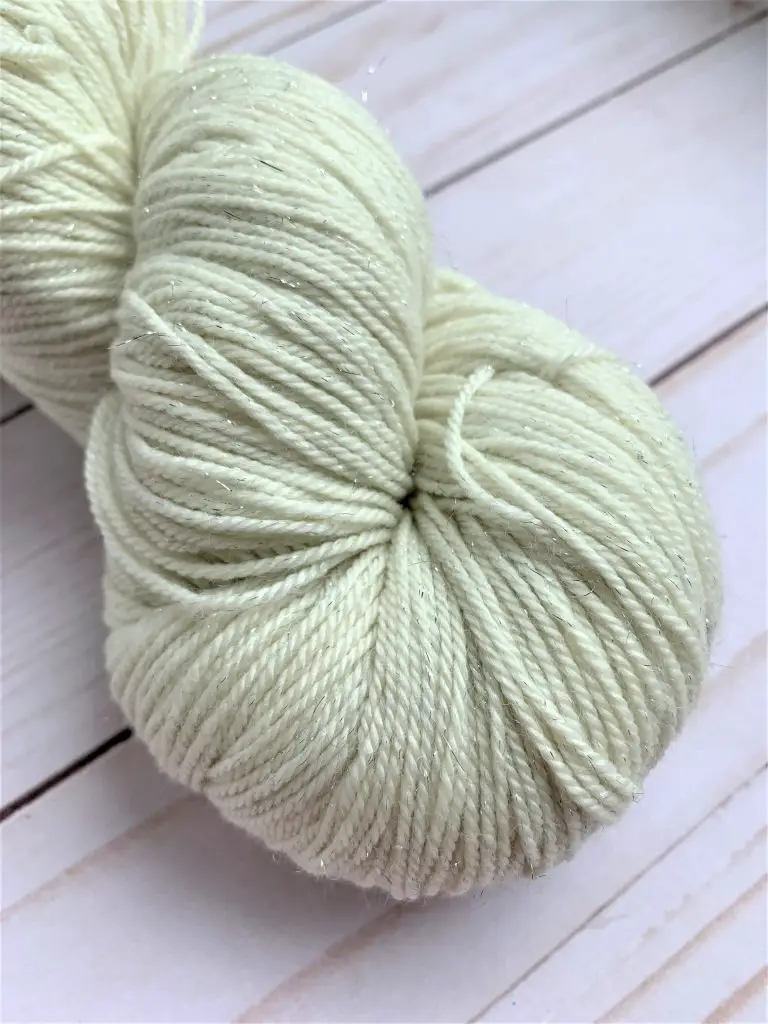
I wanted to use the yarn that Rebecca from Chemknits used, Sparkle Sock, for a few different reasons. The first reason is because I knew this yarn would work since she used it. Secondly, I’ve been working with a lot of fingering weight yarn lately. The last reason, THE SPARKLES!!!
The yarn can be purchased at DyerSupplier.com. The Sparkle Sock is a blended yarn containing: 70% Merino Wool, 20% Nylon, and 10% Stellina. There are A LOT of other options to choose from that you could use instead, and they should work the same way.
The Kool-Aid
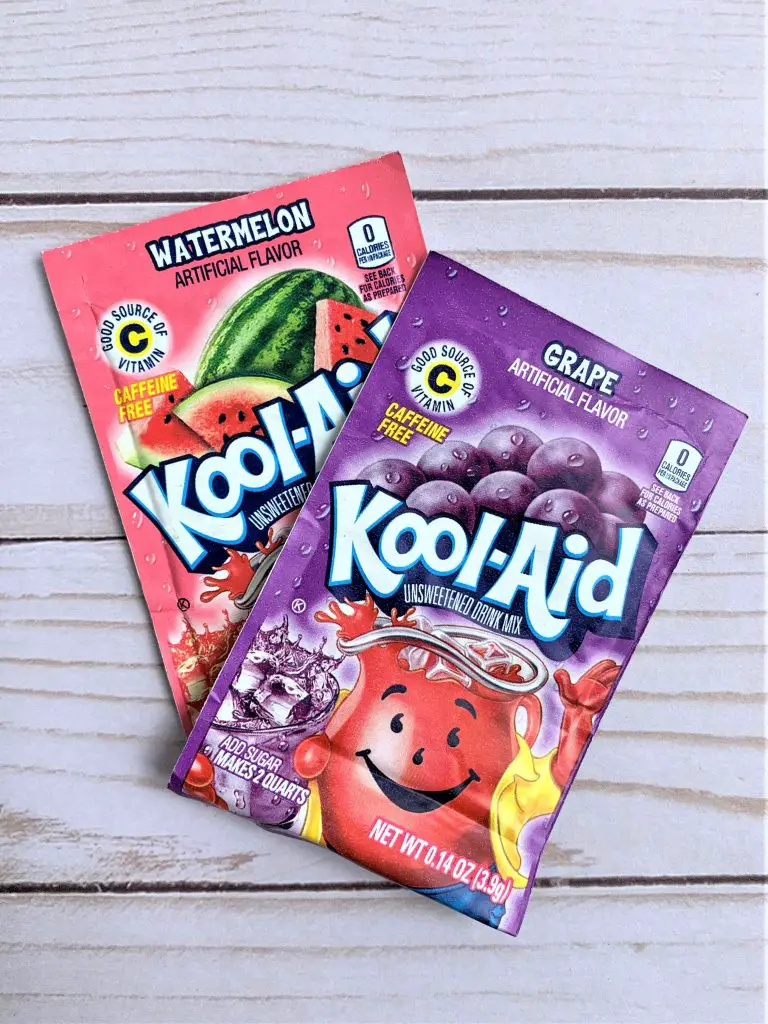
We have a large stash of Kool-Aid in our home. I tend to buy packets in pairs to make a gallon at a time, but I do have a few flavors where there is only one. According to Rebecca’s directions, I would need one packet of two different colors.
Once my yarn arrived, I dove into our Kool-Aid stash to see what color options I had. I saw that we had a single packet of Watermelon that was past the expiration date. One color down, one more to go.
The only other colors I have that would work well with the pink were red and purple; Cherry or Grape. Since I wanted two different colors, I decided on the purple that the Grape would provide.
Dying The Yarn
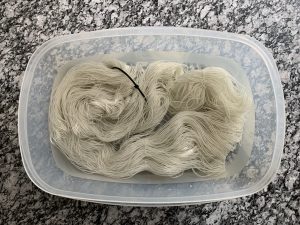
Using Rebecca’s video as a guide, I grabbed a large container that we rarely use to let the yarn soak in tap water for about 30 minutes. While the yarn was soaking, I grabbed all the other materials we would need.
I asked the kids which color they wanted to do, luckily they didn’t argue about it. Zoe wanted to do the Watermelon/pink and Gavyn picked the Grape/purple. Gavyn grabbed the pot and I had Zoe measure out the 8 cups of water we needed (a great way to practice fractions).
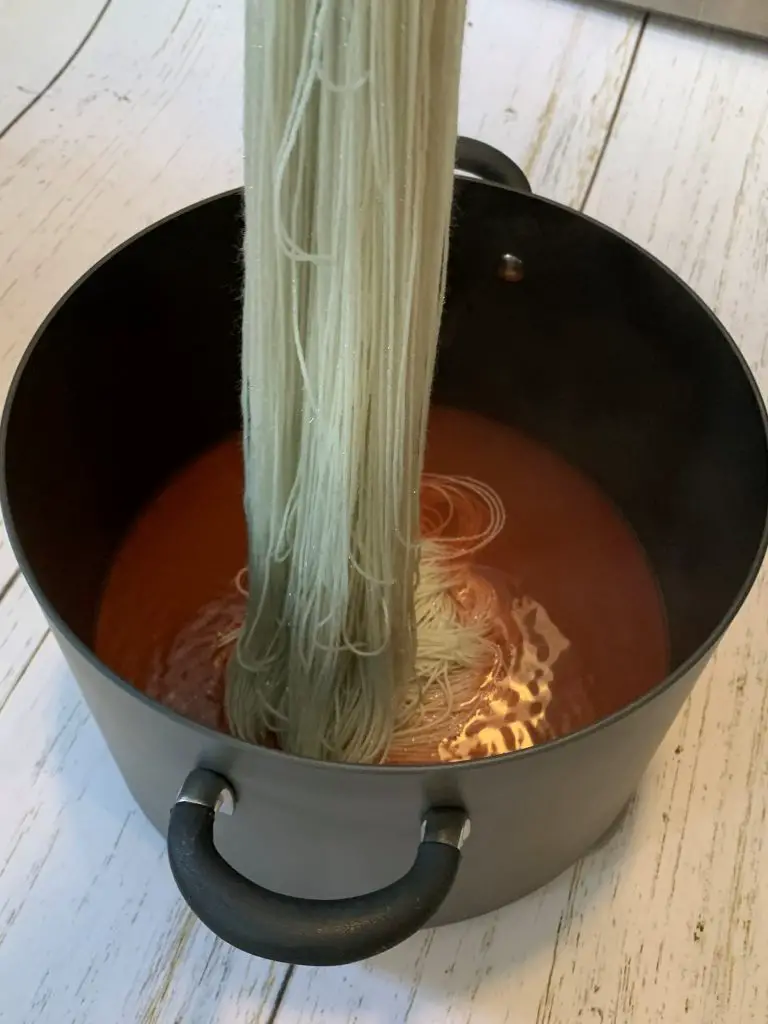
While the water was heating up on the stove, I added the first packet to the water. Rebecca advises to use the least concentrated color first, so pink it was. It worked out perfectly since Zoe wanted to do the pink, she will be the example that Gavyn needed to see. When the water reached a low simmer, I placed the pot on the kitchen floor. This made it easier and safer for the kids to reach.
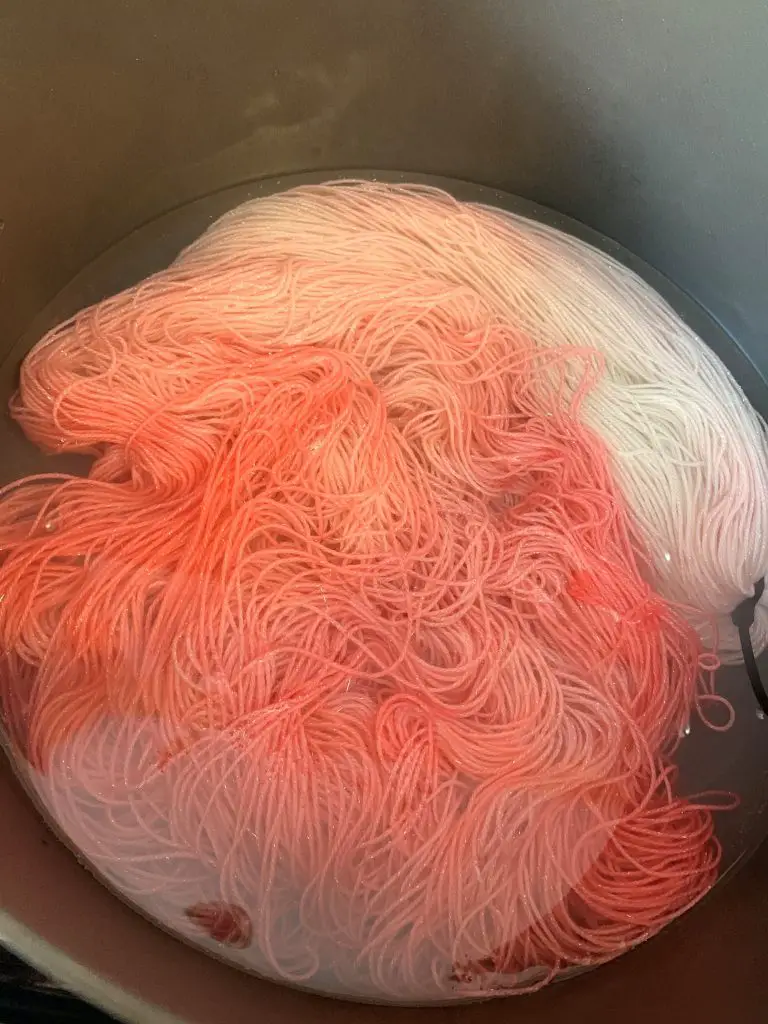
Zoe did a great job and followed directions really well. She slowly lowered the yarn into the pot and made sure each strand was able have access to the dye. After a few minutes 95% of the color was in the yarn and we just put the rest of the hank into the pot. I returned the pot to the stove and removed the yarn to a separate container to cool off.
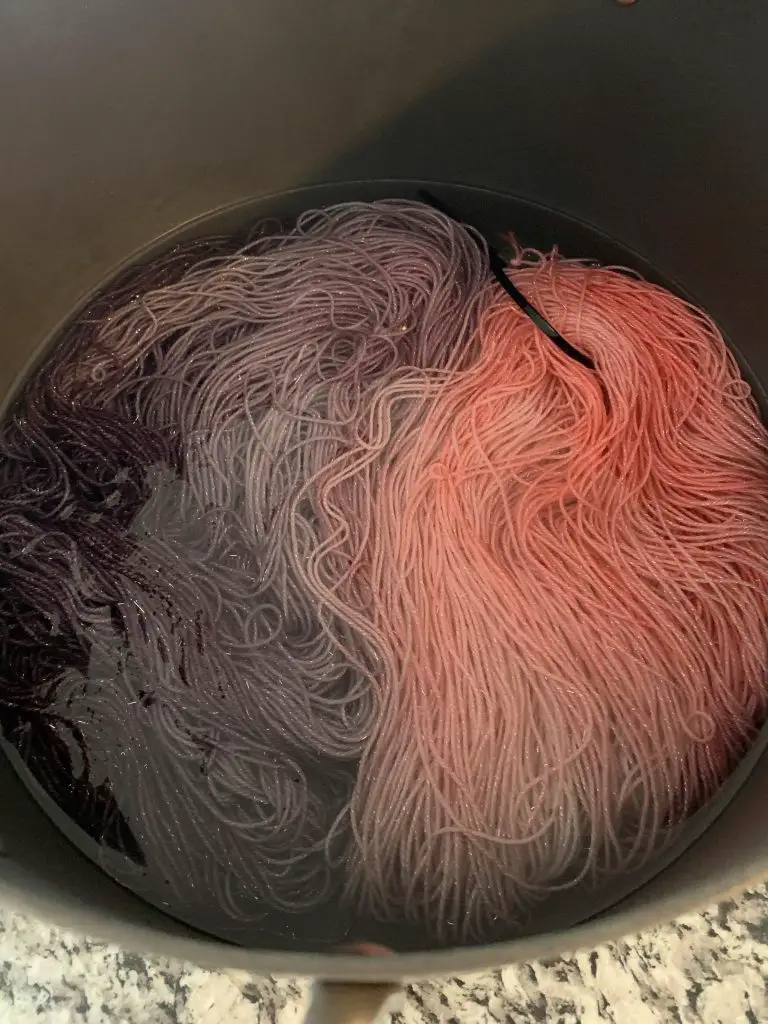
We followed the same process for the Grape/purple color. While the water was heating up again, I moved the zip-tie to the opposite end from where it was for when we dipped the pink. Gavyn dipped the yarn a few time and then gave up. It worked out perfectly so I could have a turn too.

The Results
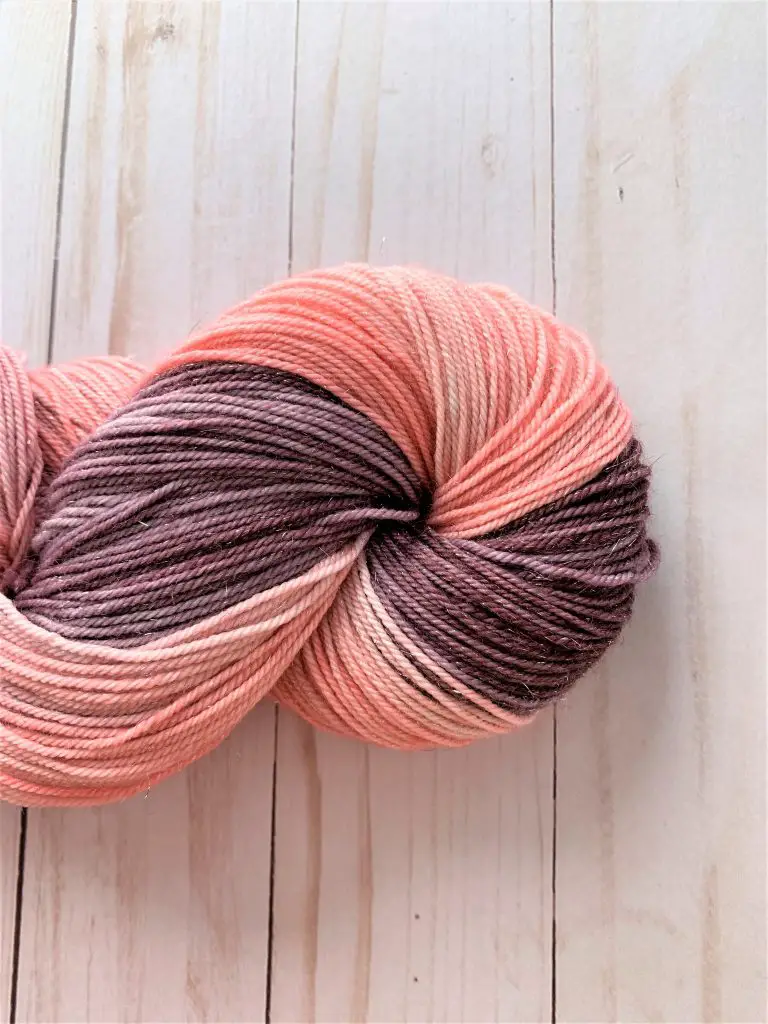
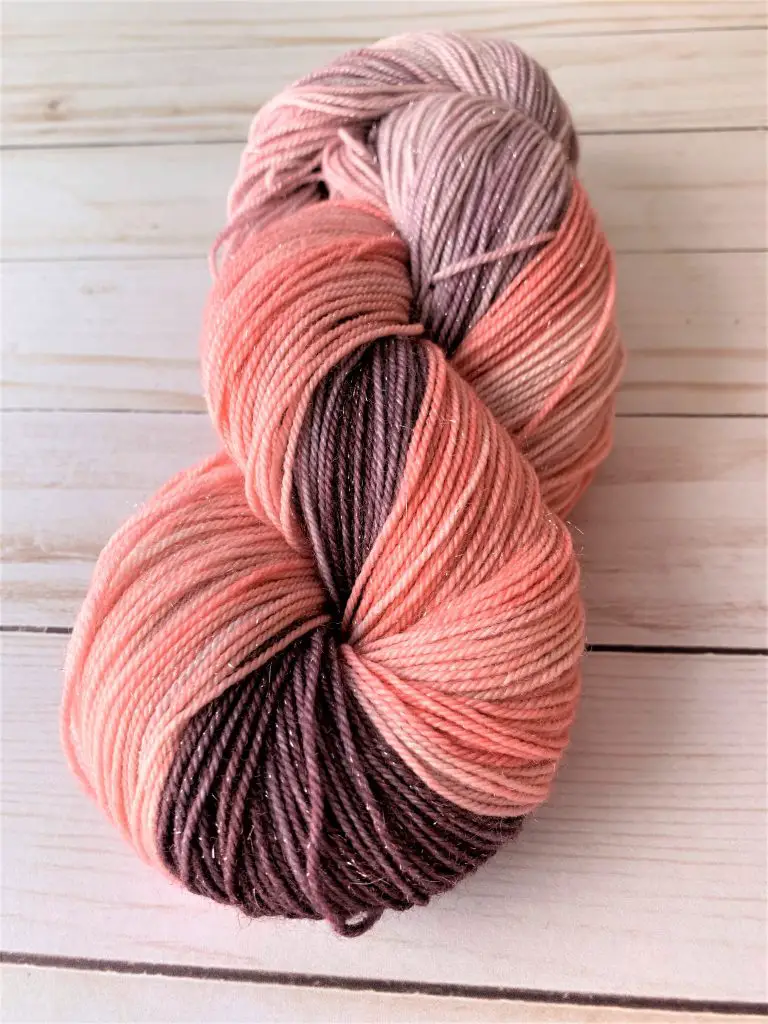
After washing and drying overnight, I was able to put the yarn back in hank form. The results are stunning!
The way the sparkles shimmer and shine against the contrast of the darker purples is absolutely gorgeous. I don’t know how long I can wait to start a project with it; oh wait, I already did.
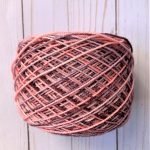
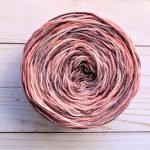
Right after I took these pictures I got my yarn swift and cake winder out. Ten minutes later, I had the cutest cake of yarn ready to be made into the project.
I ended up dying another skein in a semi-solid purple, using just the grape. I didn’t have enough to make my Amethyst Scarf in just the one color. I love the end result!
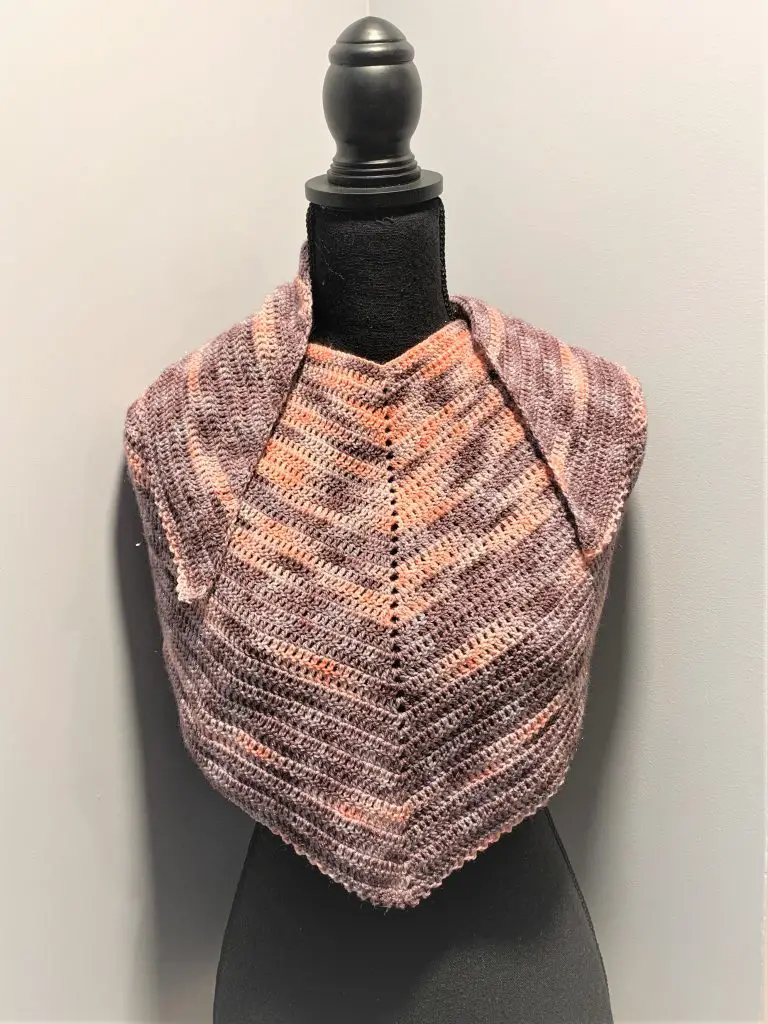
Purchase your Amethyst Scarf Pattern on Ravelry & Etsy.
Follow Chemknits here:
Etsy
YouTube
Facebook
Instagram
Pinterest
Blog
Twitter
Join the
“Crochets By Trista Crochet Group“
on Facebook.
Follow Crochets By Trista on:
